Processing the wool from the Elchenburg Castle sheep

The plan for the wool from the 3 new sheep at Elchenburg castle is to clean spin and weave them into a hood. The hood will be woven in hopefully a plan or gigham pattern depending on the amount of wool i can get from these 3 sheep.

The first sheep to be started on processing is Mareep.

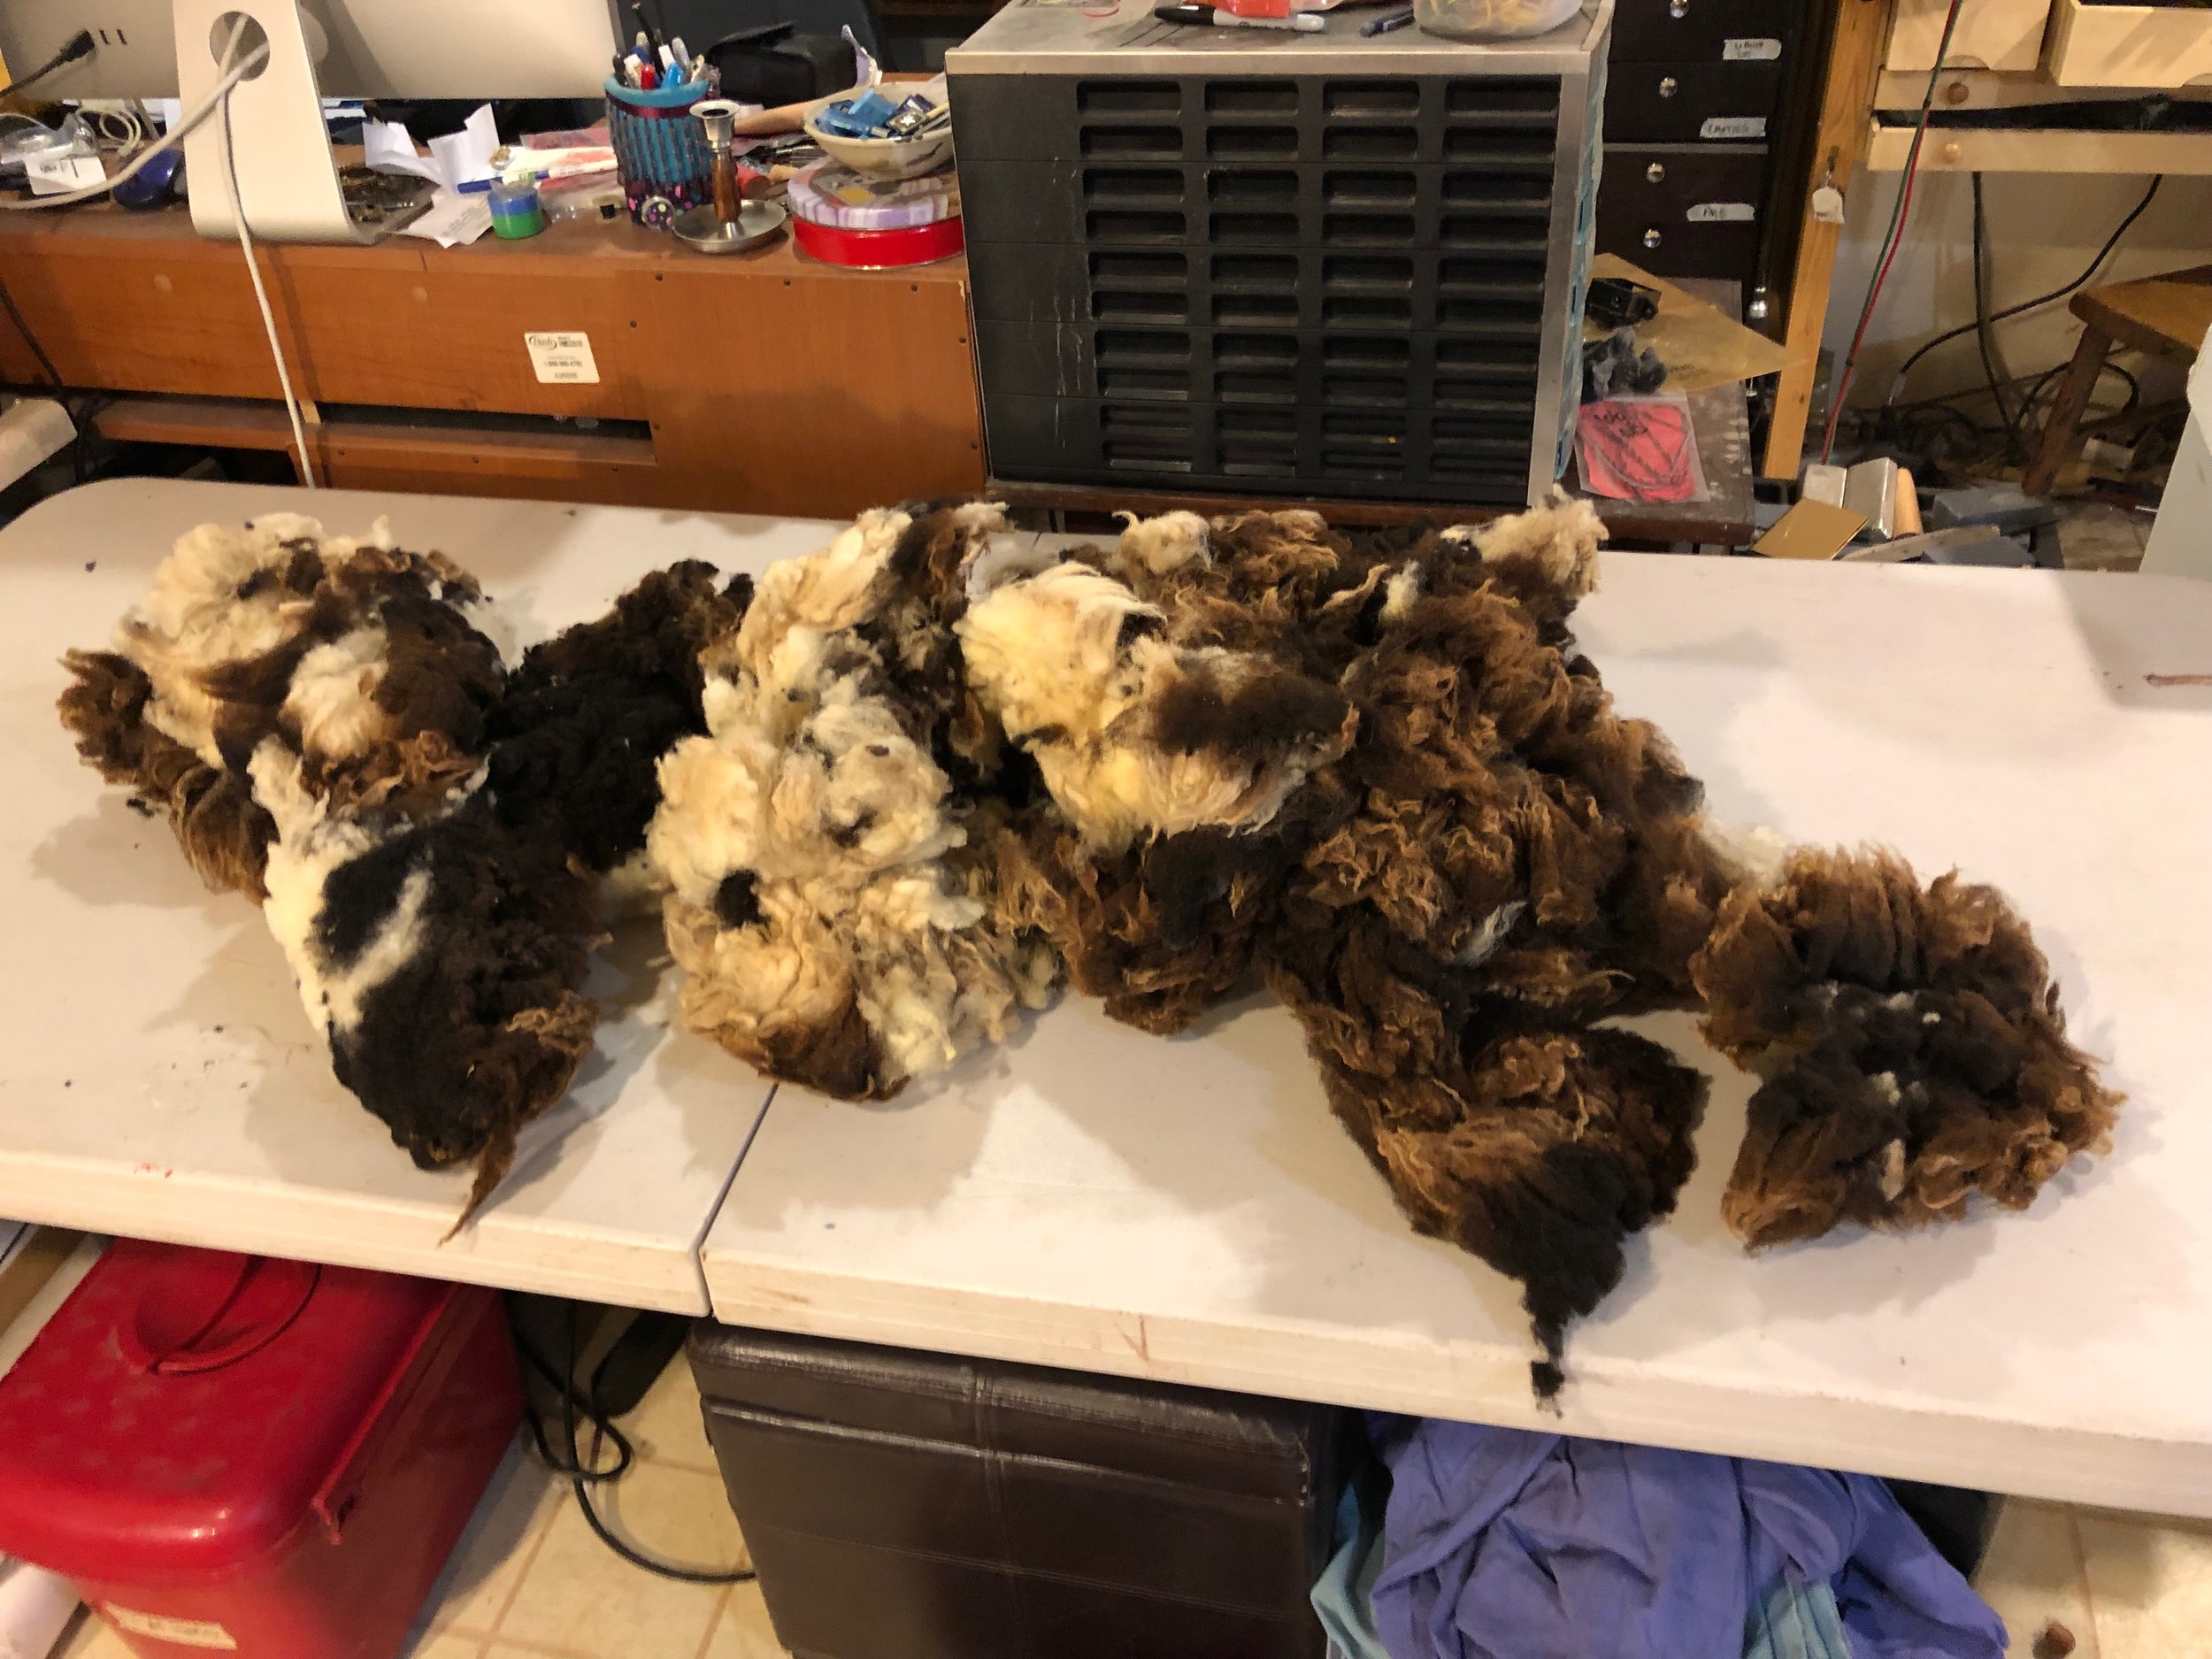
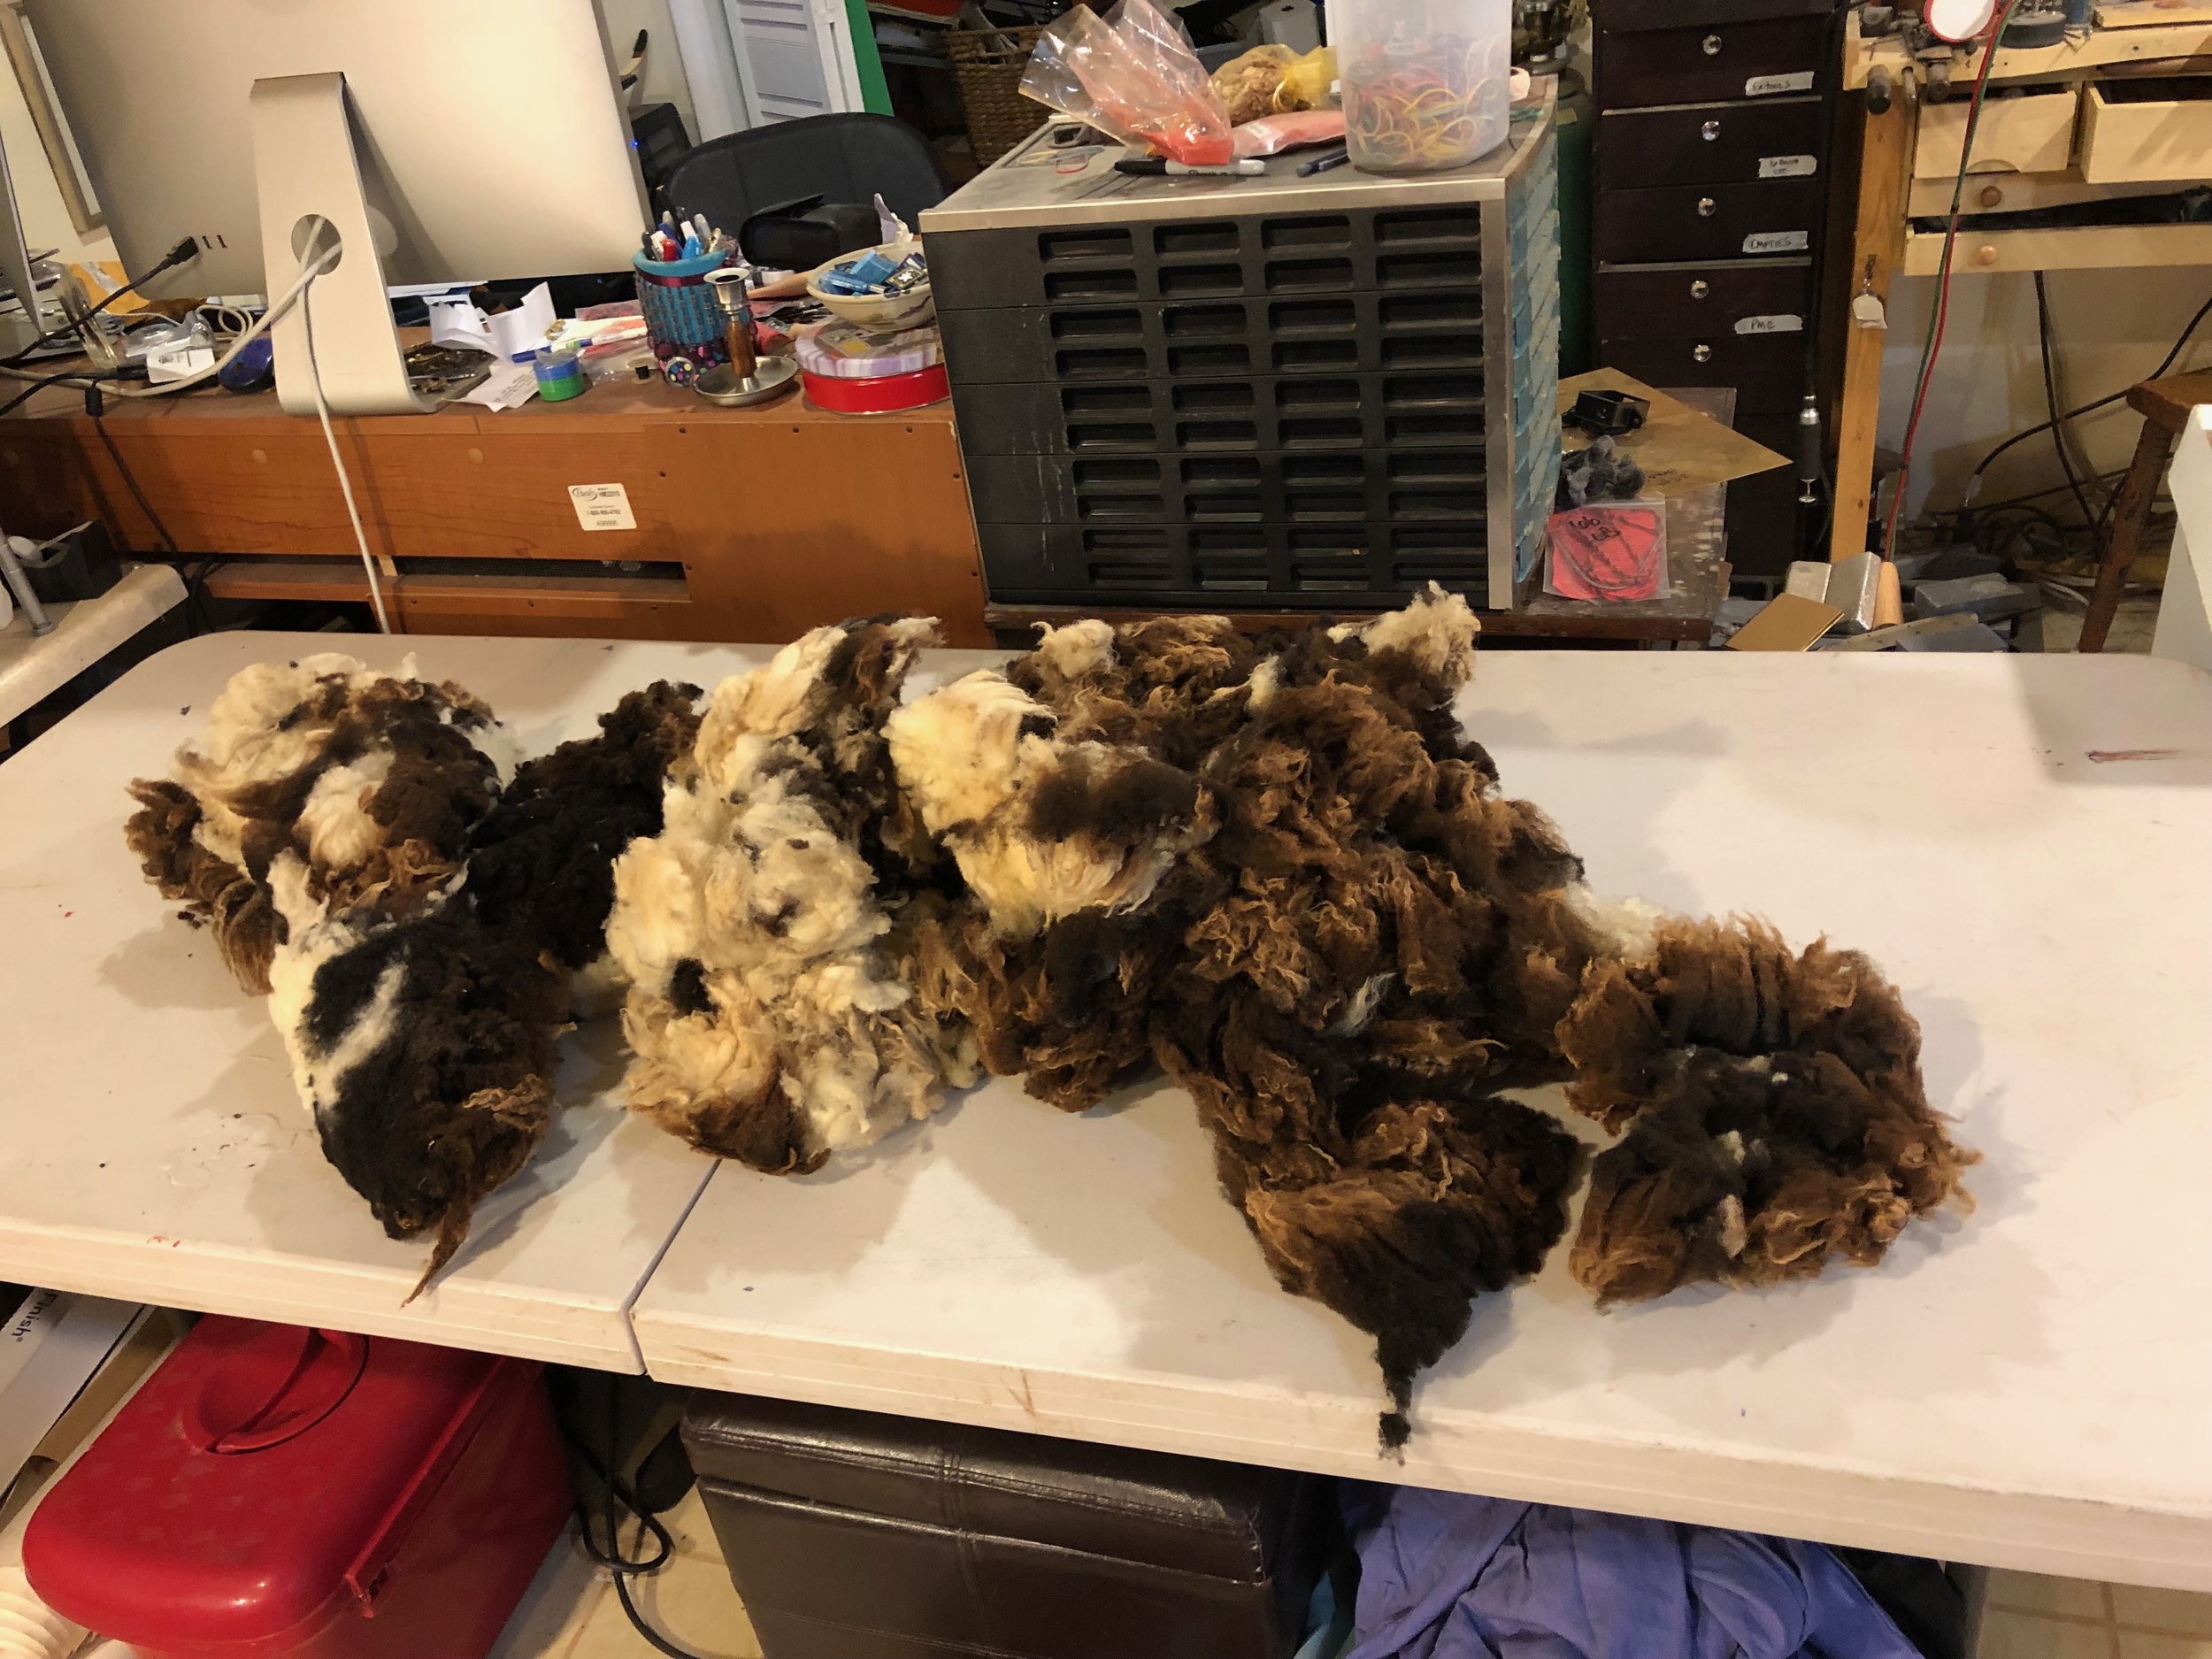
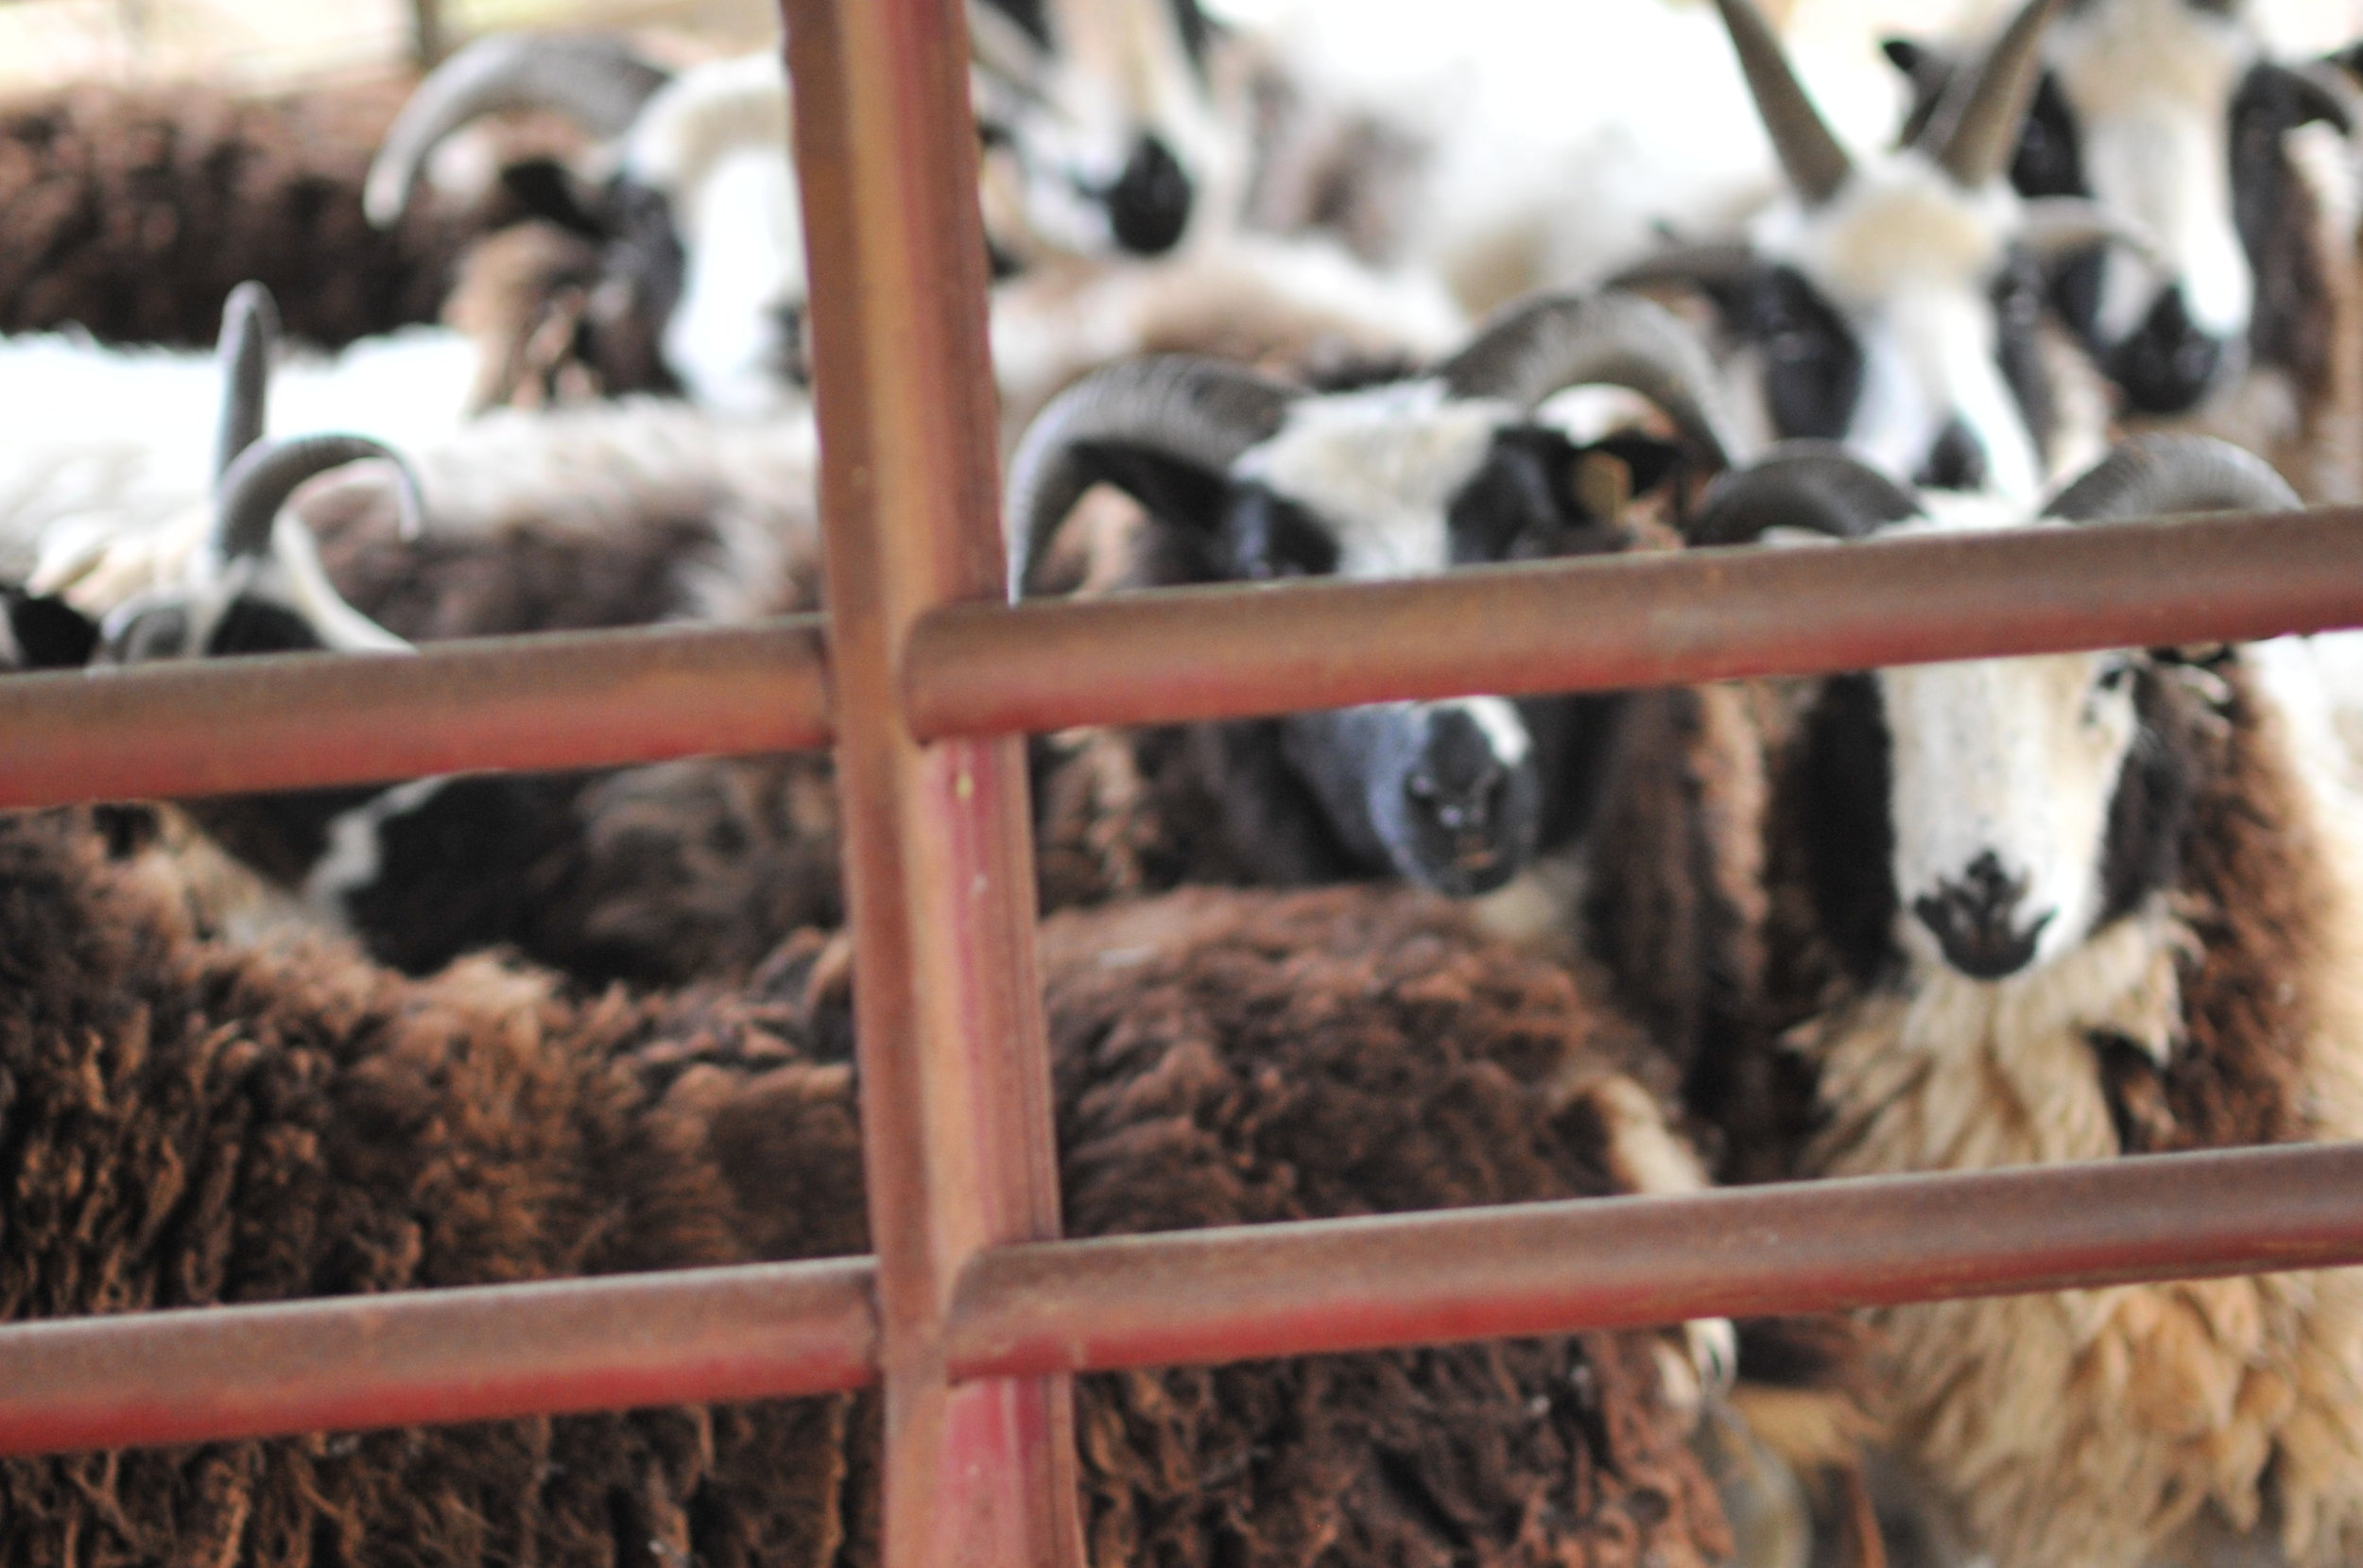
Although the sheep (Jacob) seem to have 4 possible distant colors, Black, Brown, Tan & White, I will concentrate this weaving on making a 2 color hood, Dark and light. the wool is being devided before washing and will be wash and picked by color. Here is Mareep decided bt color:

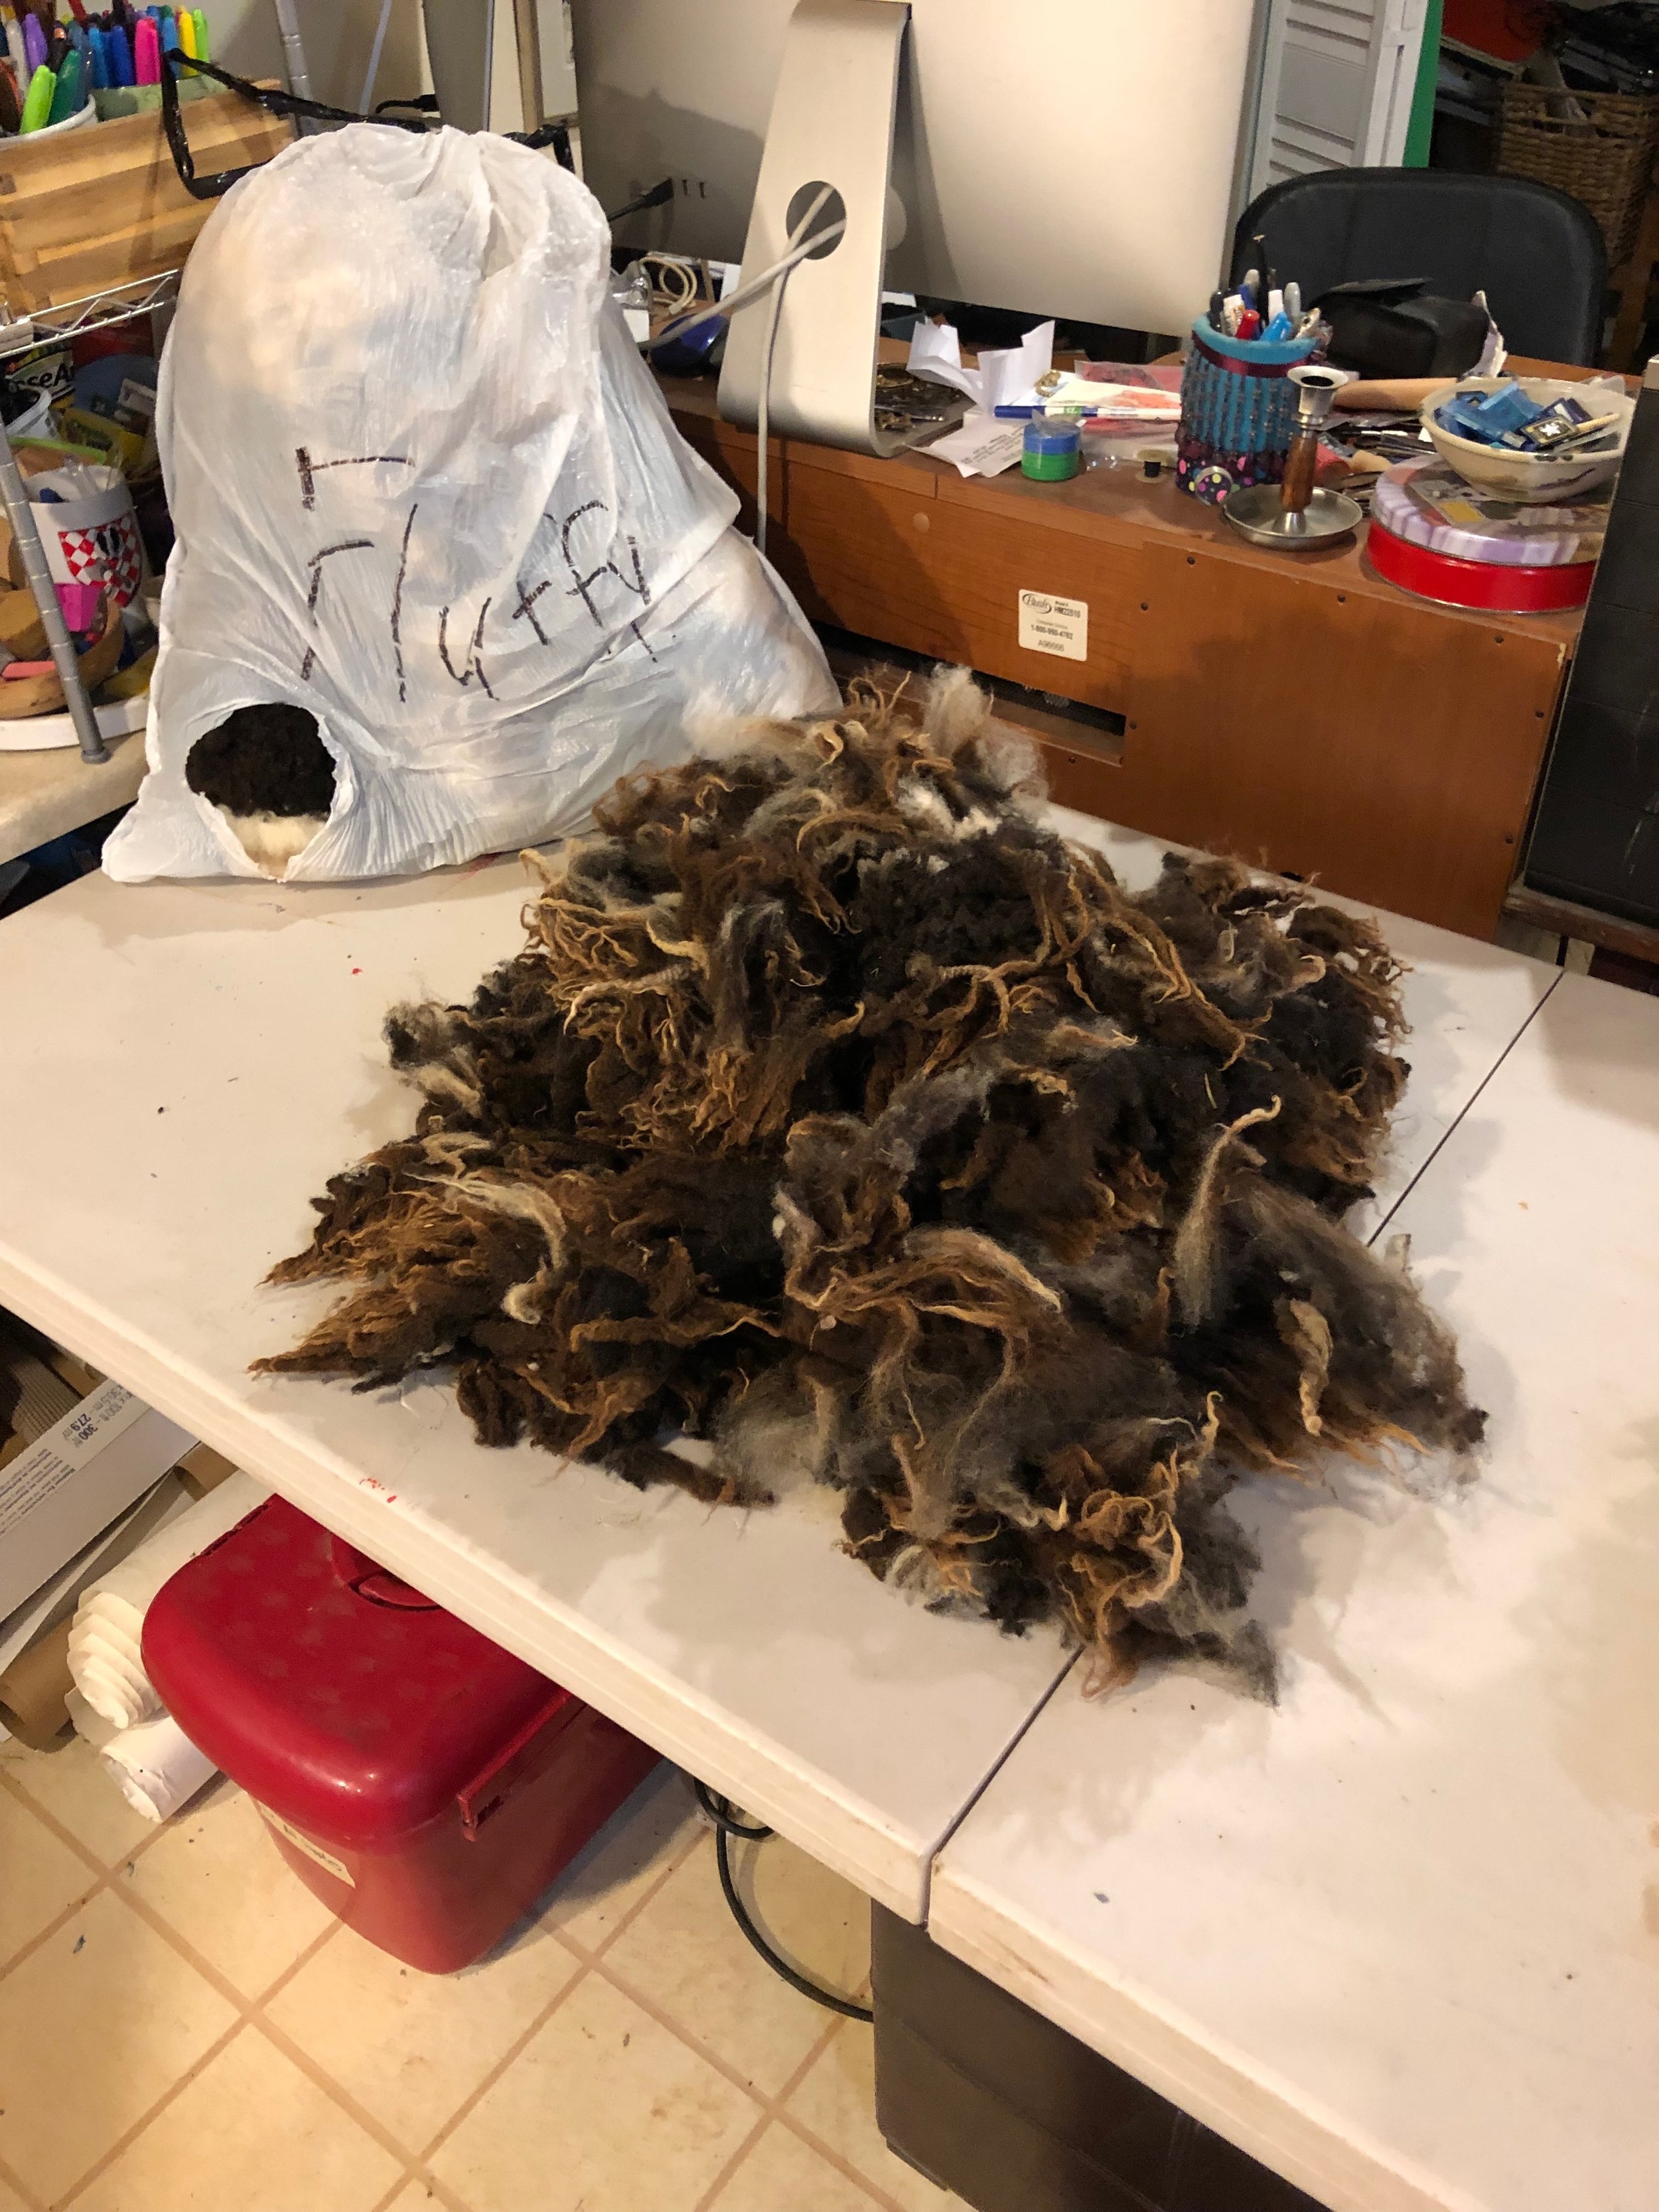
The other sheep to be processed is Fluffy.

This wool was also decided into dark and light

These were then combined together and washed by color

The dark wool was processed first and was done it 2 batches. Each batch was done using the following steps:

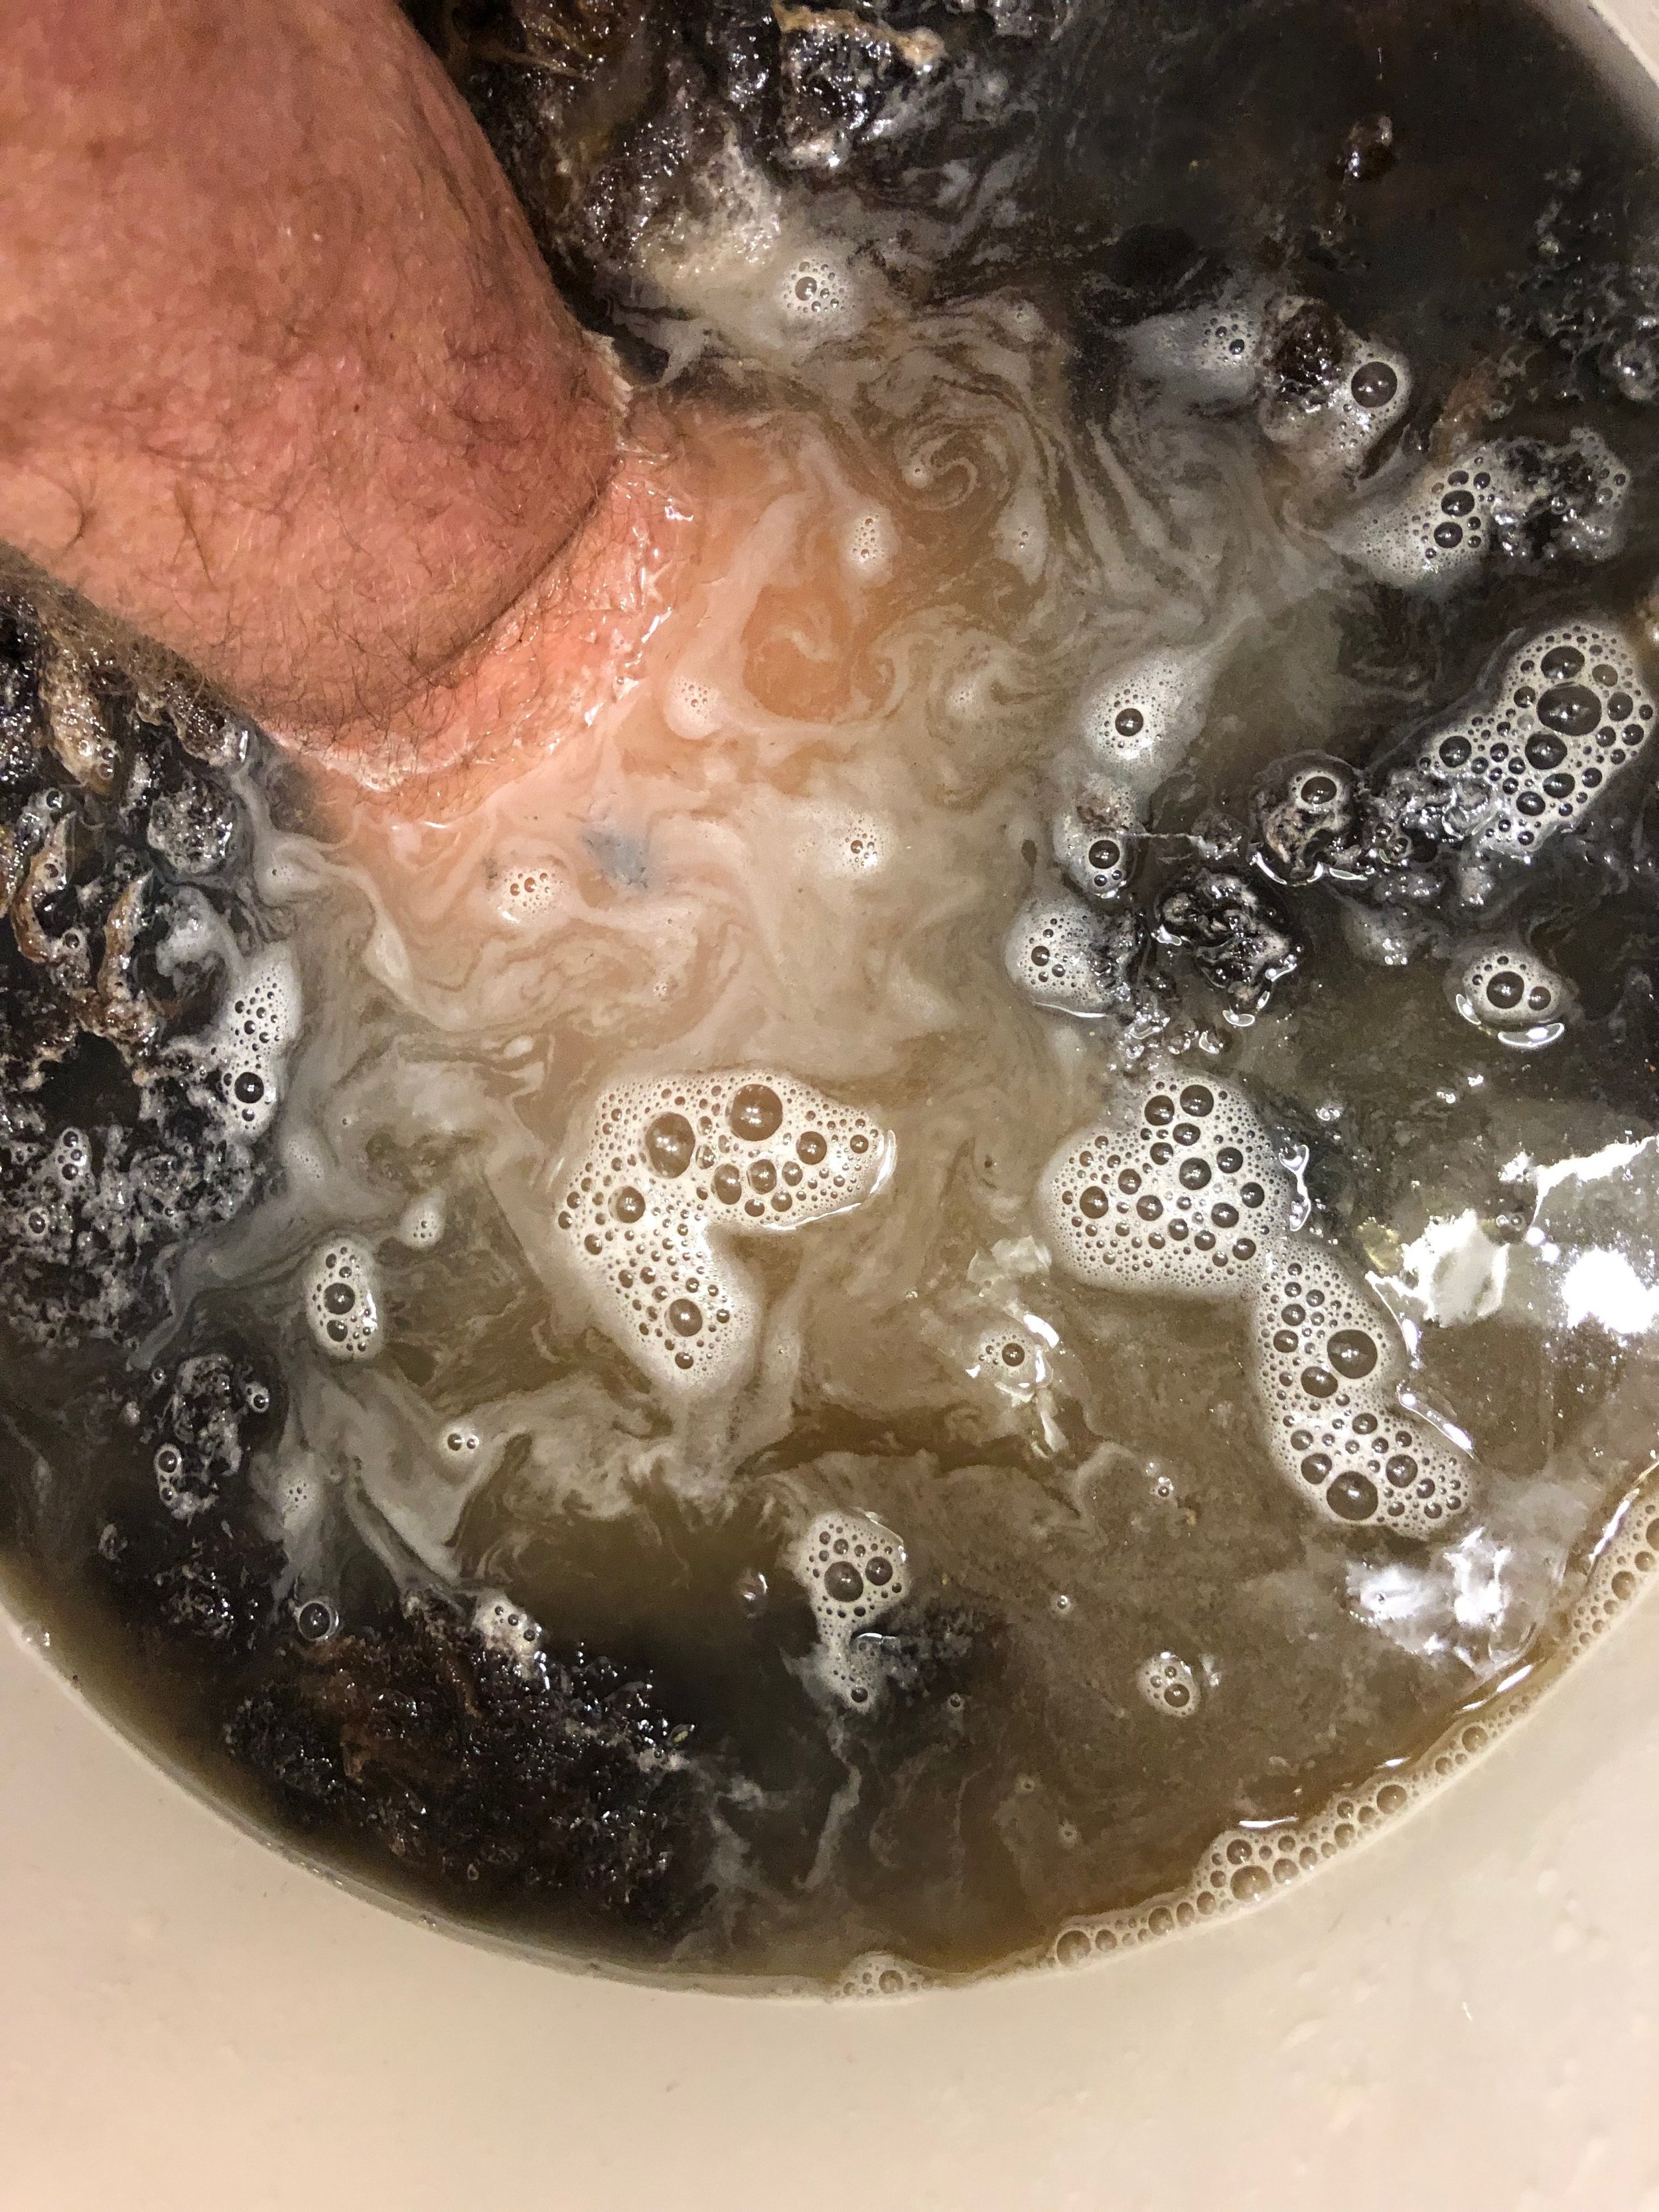
  1. Initial hot water rinse. The wool is soaked in hot water for approximately 30 minuteds to help soak off most of the grossest impurities in the wool. This removes a lot of the dust, dander foreign matter, poo and pee.

  2. The 2nd bath is done with hot water and dishwashing detergent. This is used to remove a lot, but not all of the lanolin. With each bath great care is taken not to stir the wool which would cause it to begin felting.

  3. The 3rd and 4th baths are hot water baths to remove the soap and the rest of the dirt.


The next step is to dry the wool:

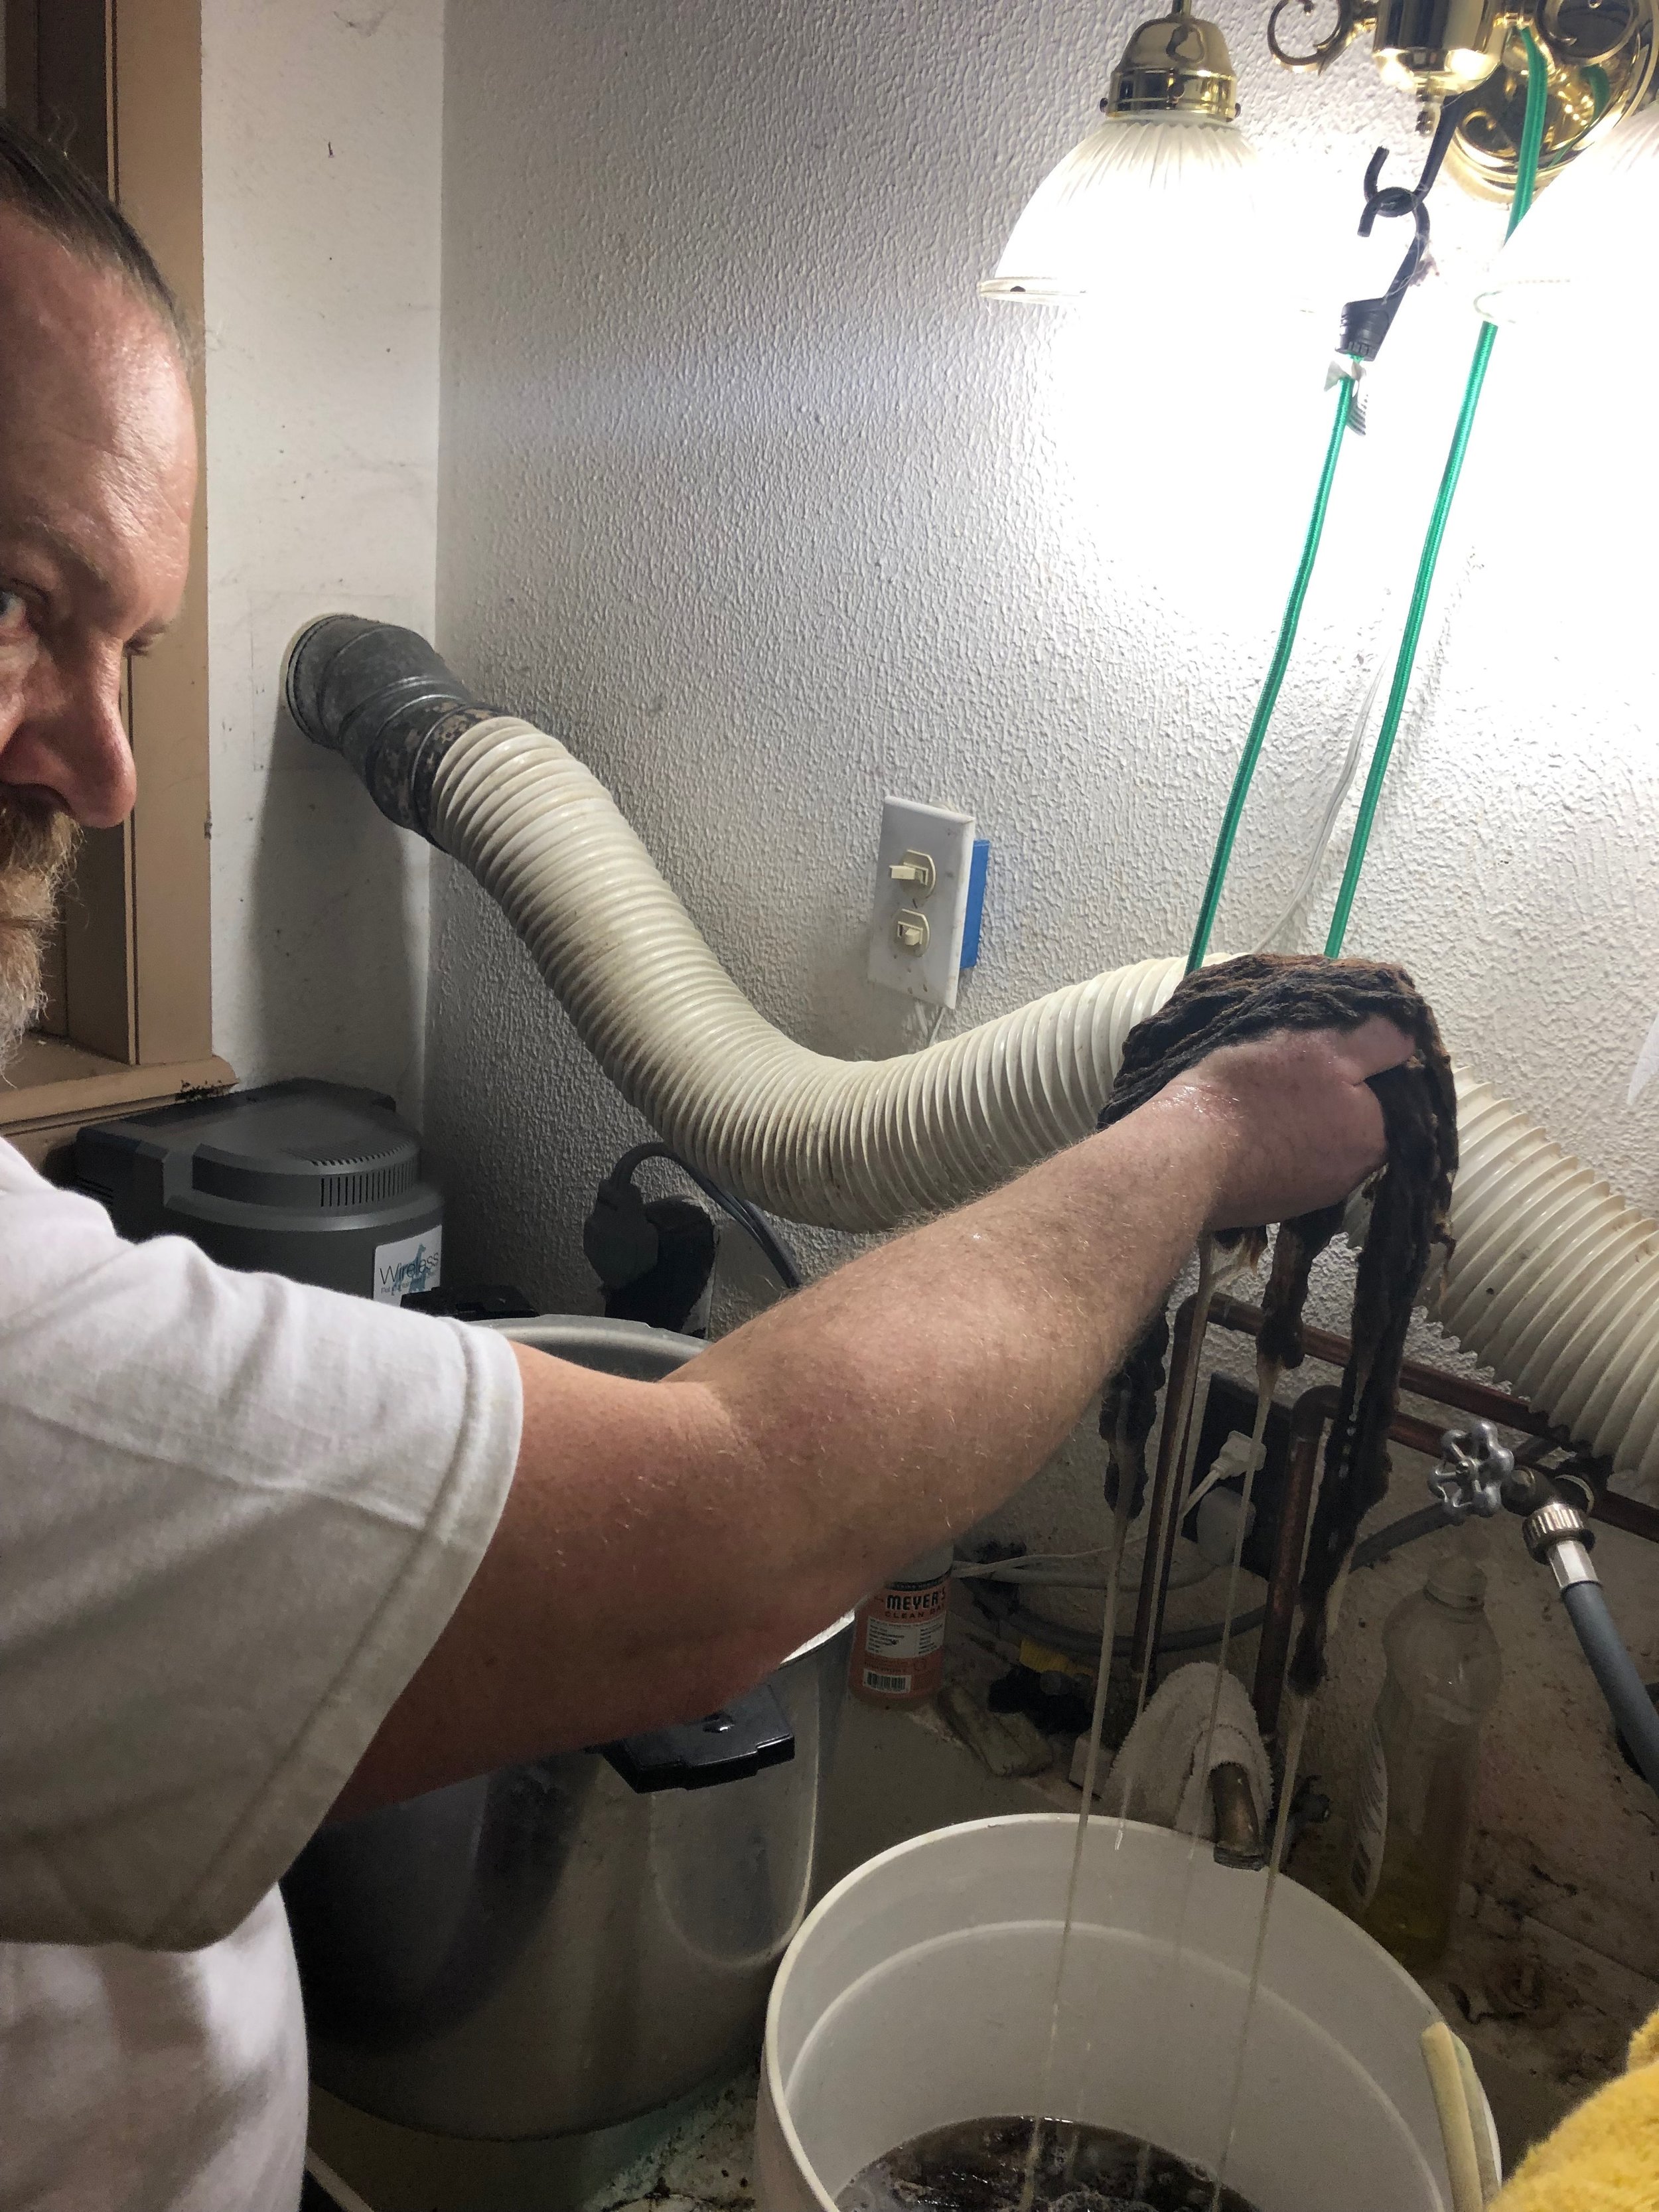
  1. the wool is wrung dry and spread out on a towel.

  2. This is then rolled as tight as possible to squeeze out as much water as possible. This method is used to avoid felting.

  3. the wool is then removed from the towel and spread on drying racks.

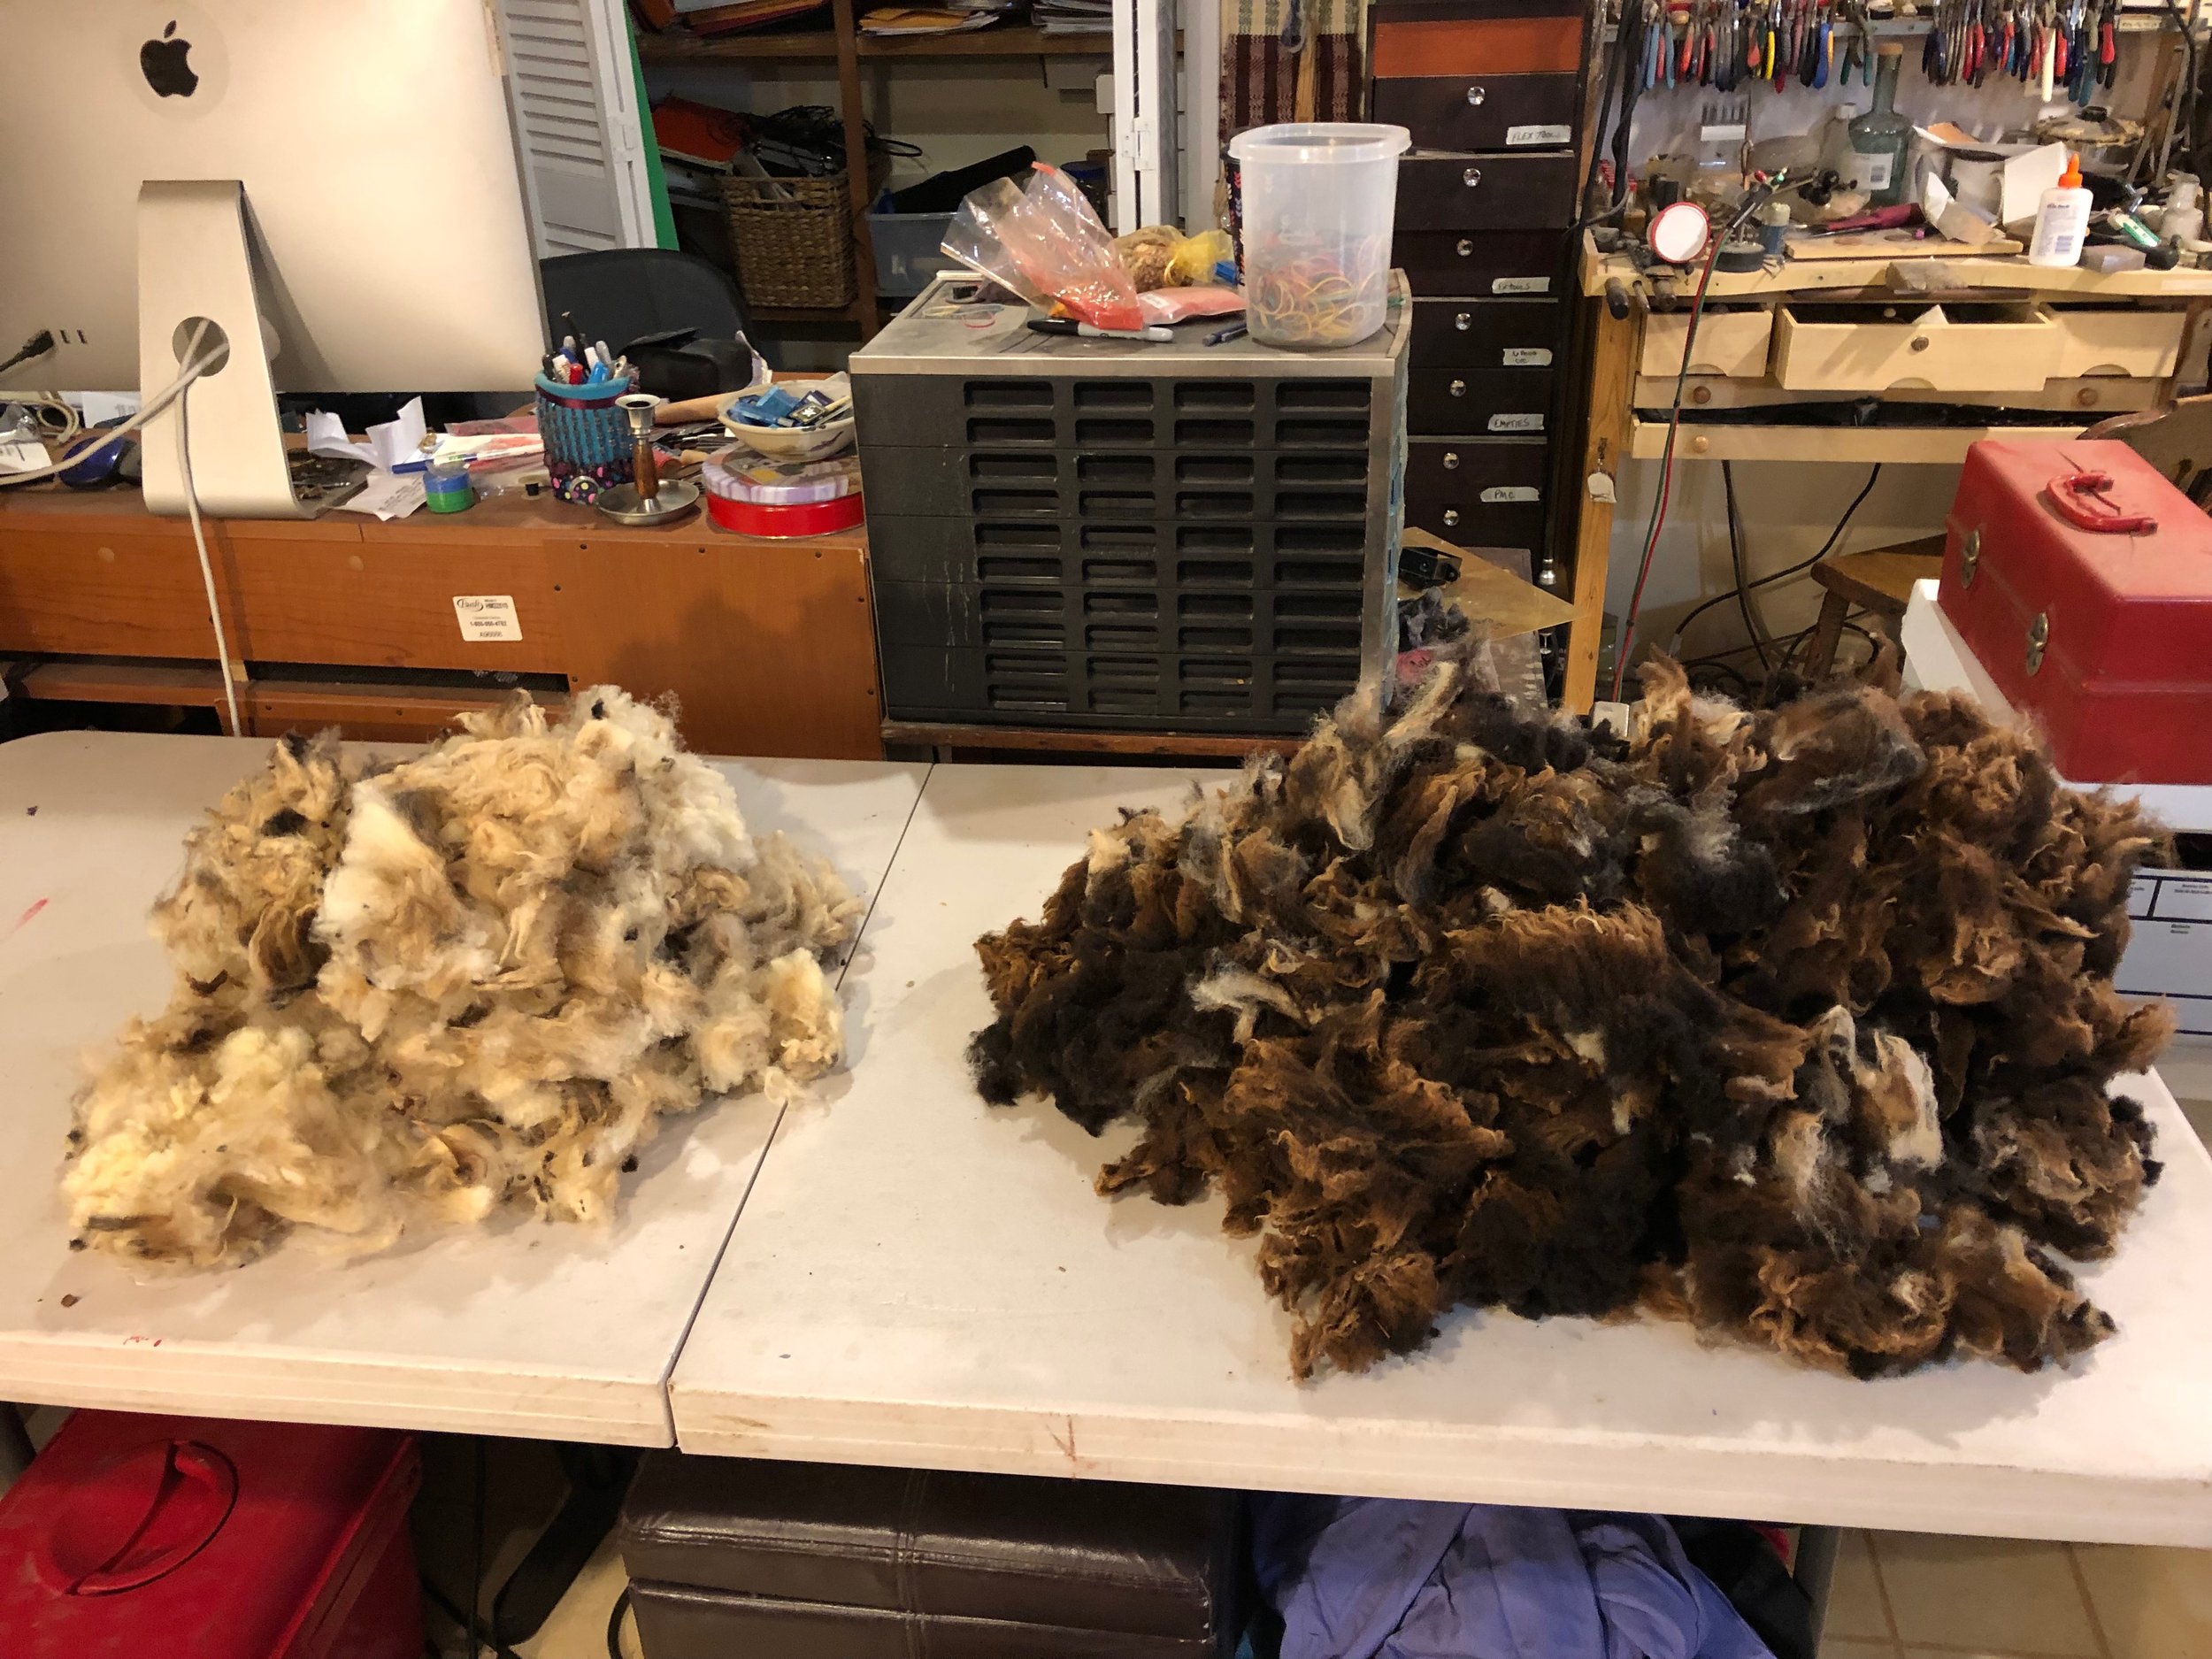
  4. The wool is allowed to air dry with will take between 1 and 3 days. With the racks full, I am at a stopping point until i can clear the racks and wash some more wool. This is the dark wool from 2 of the 3 sheep used for this project.

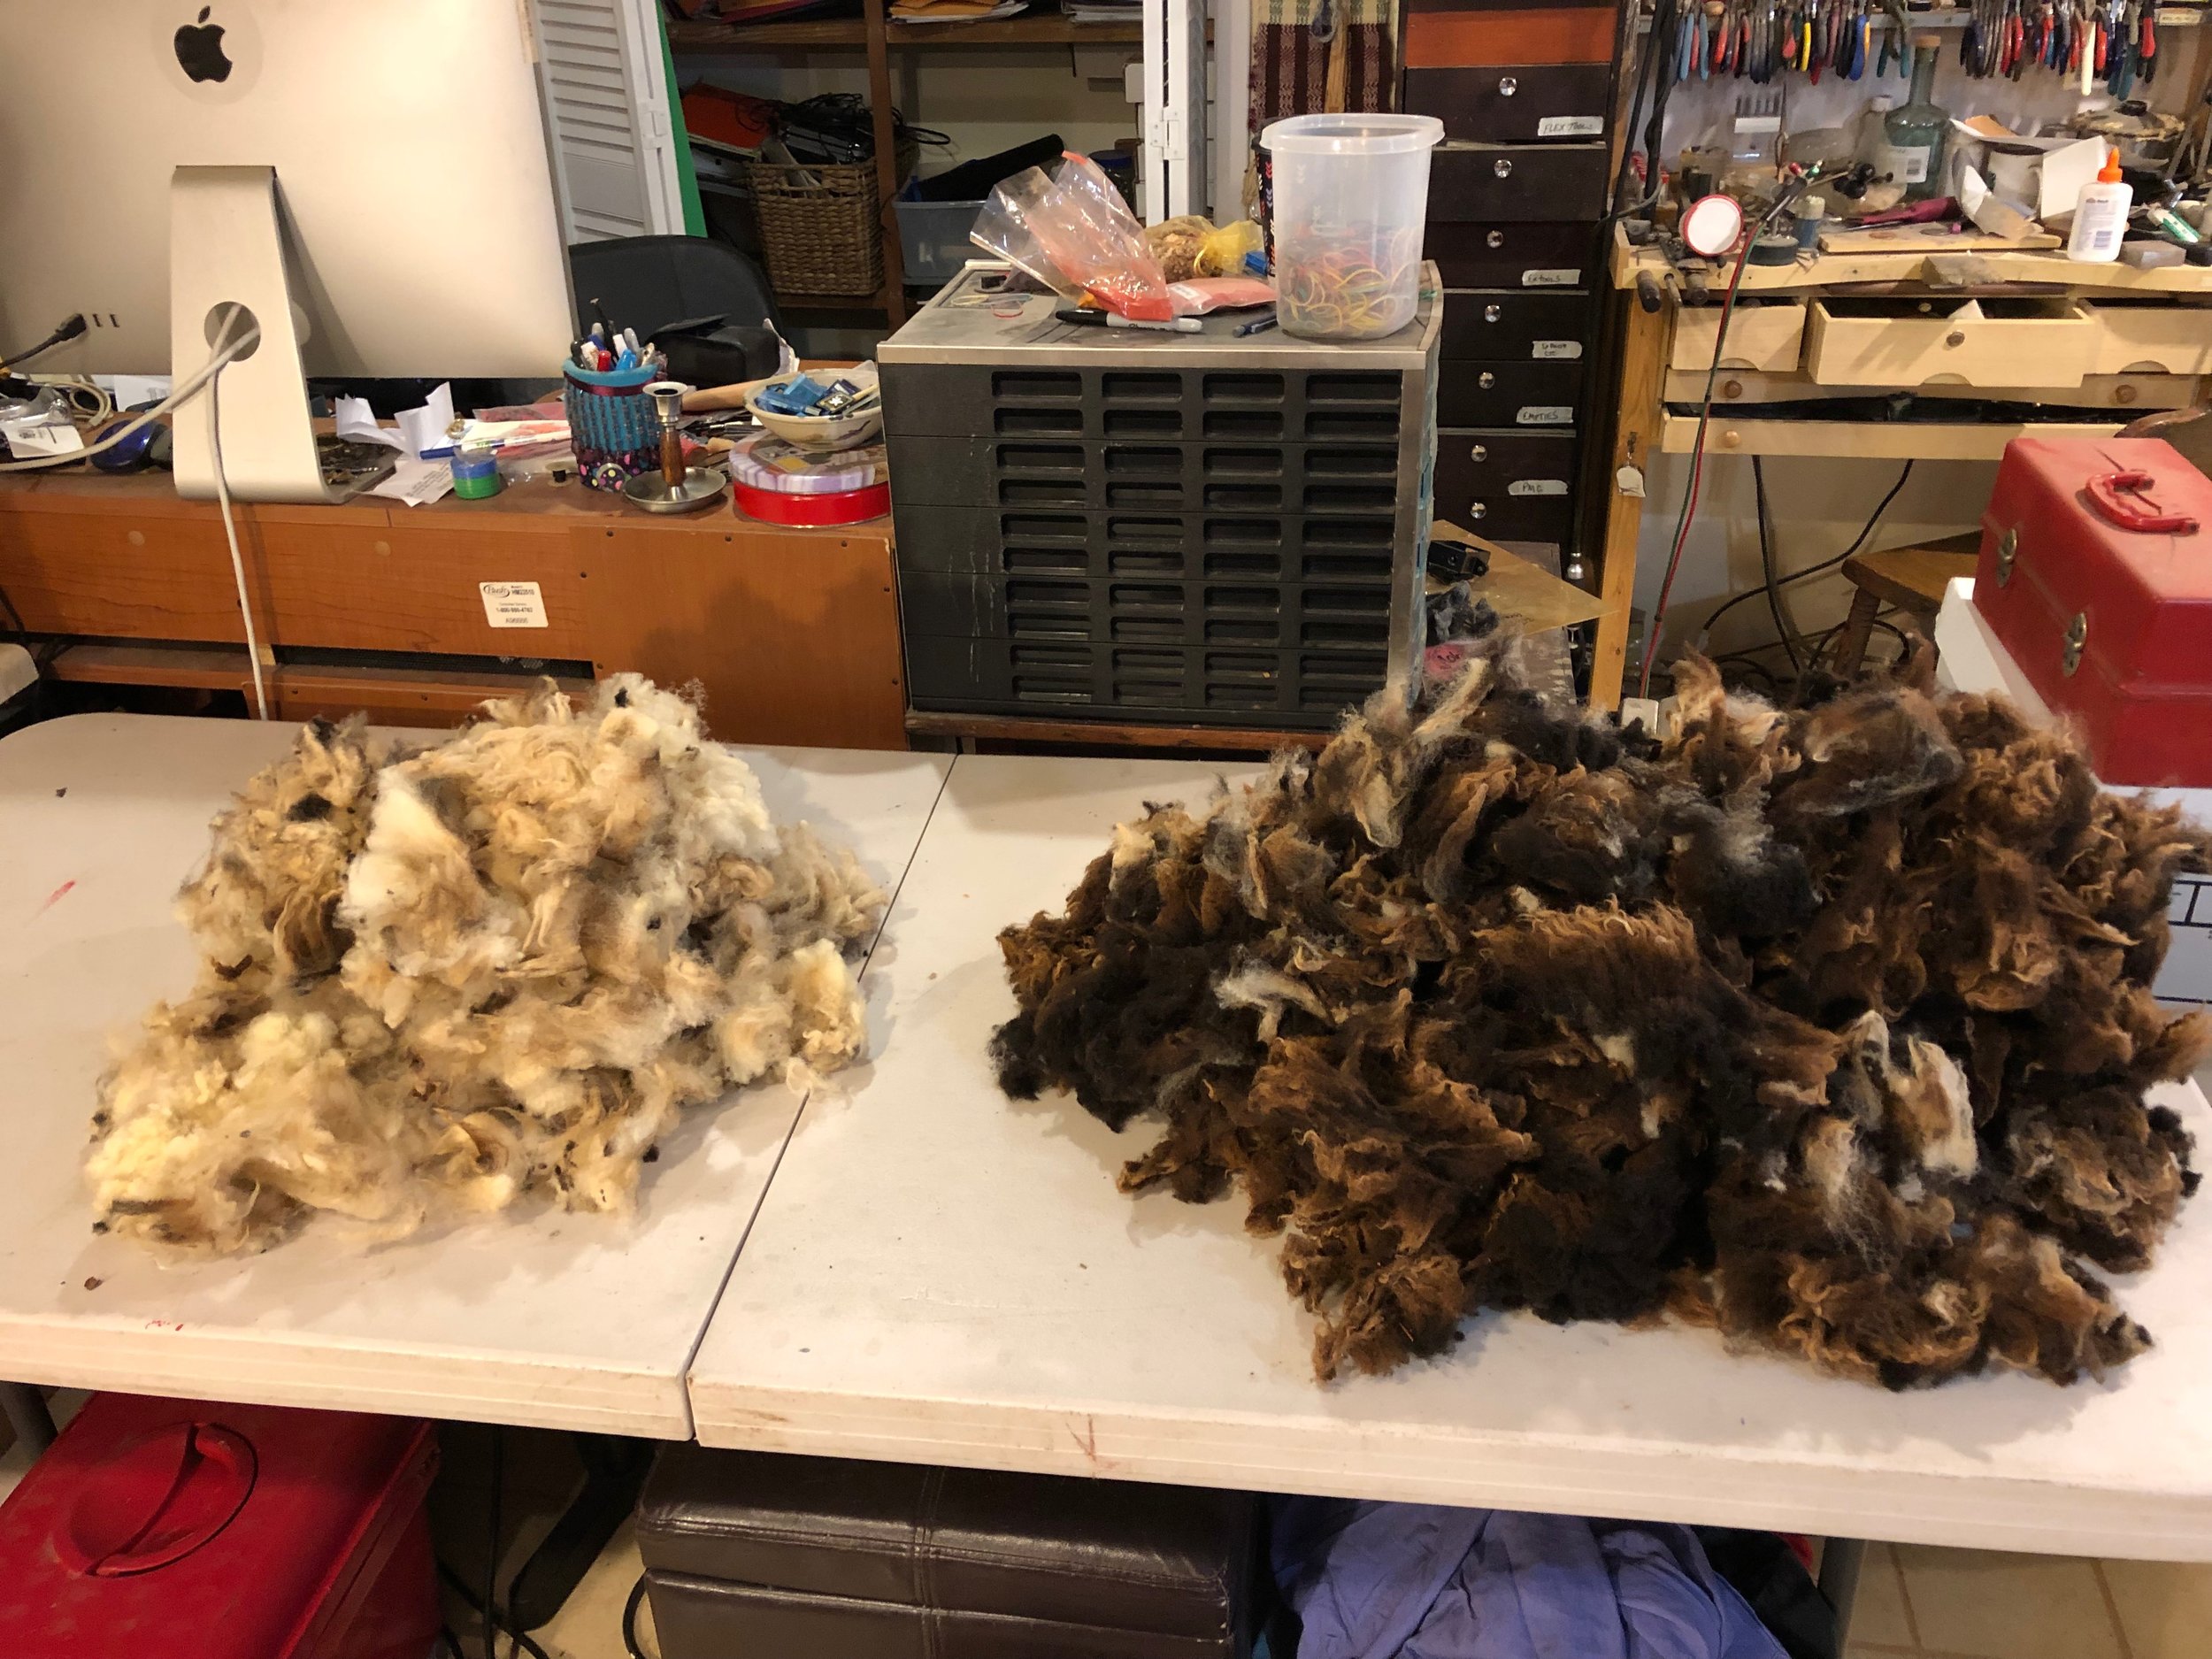
A bit of the white wool was washed in the batch and here it is next to some unwashed wool:

Shearing the sheep

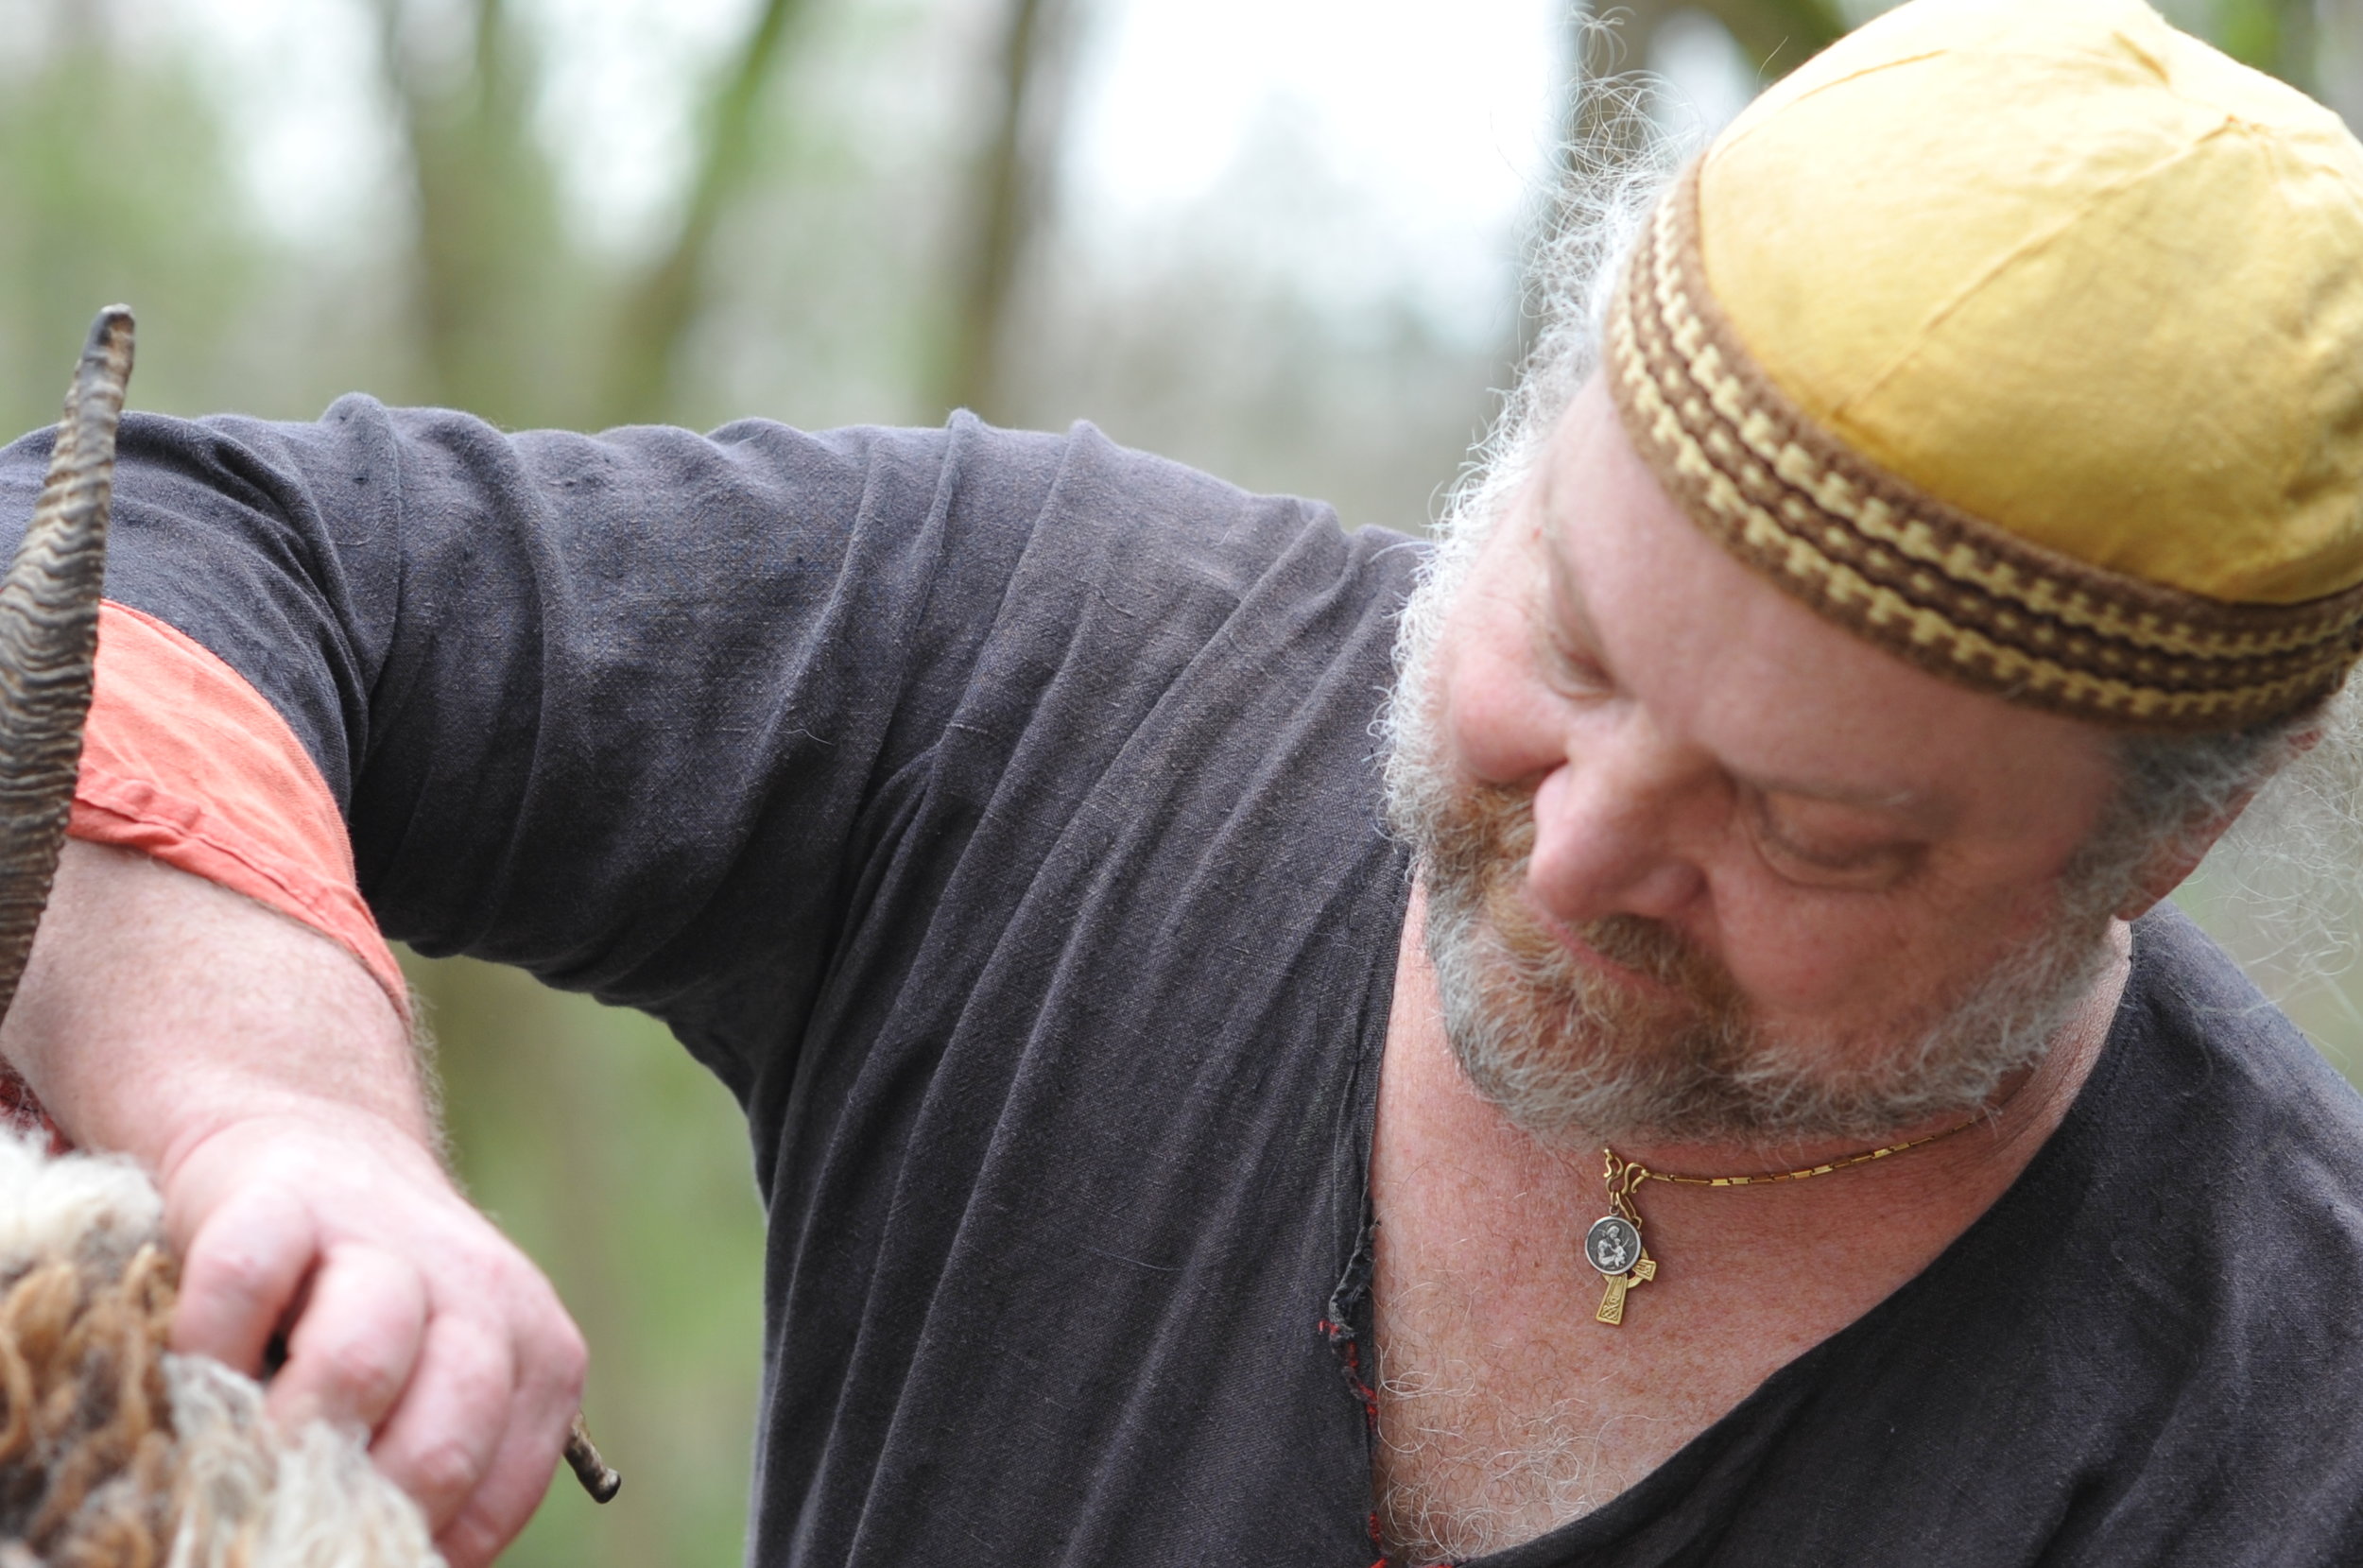
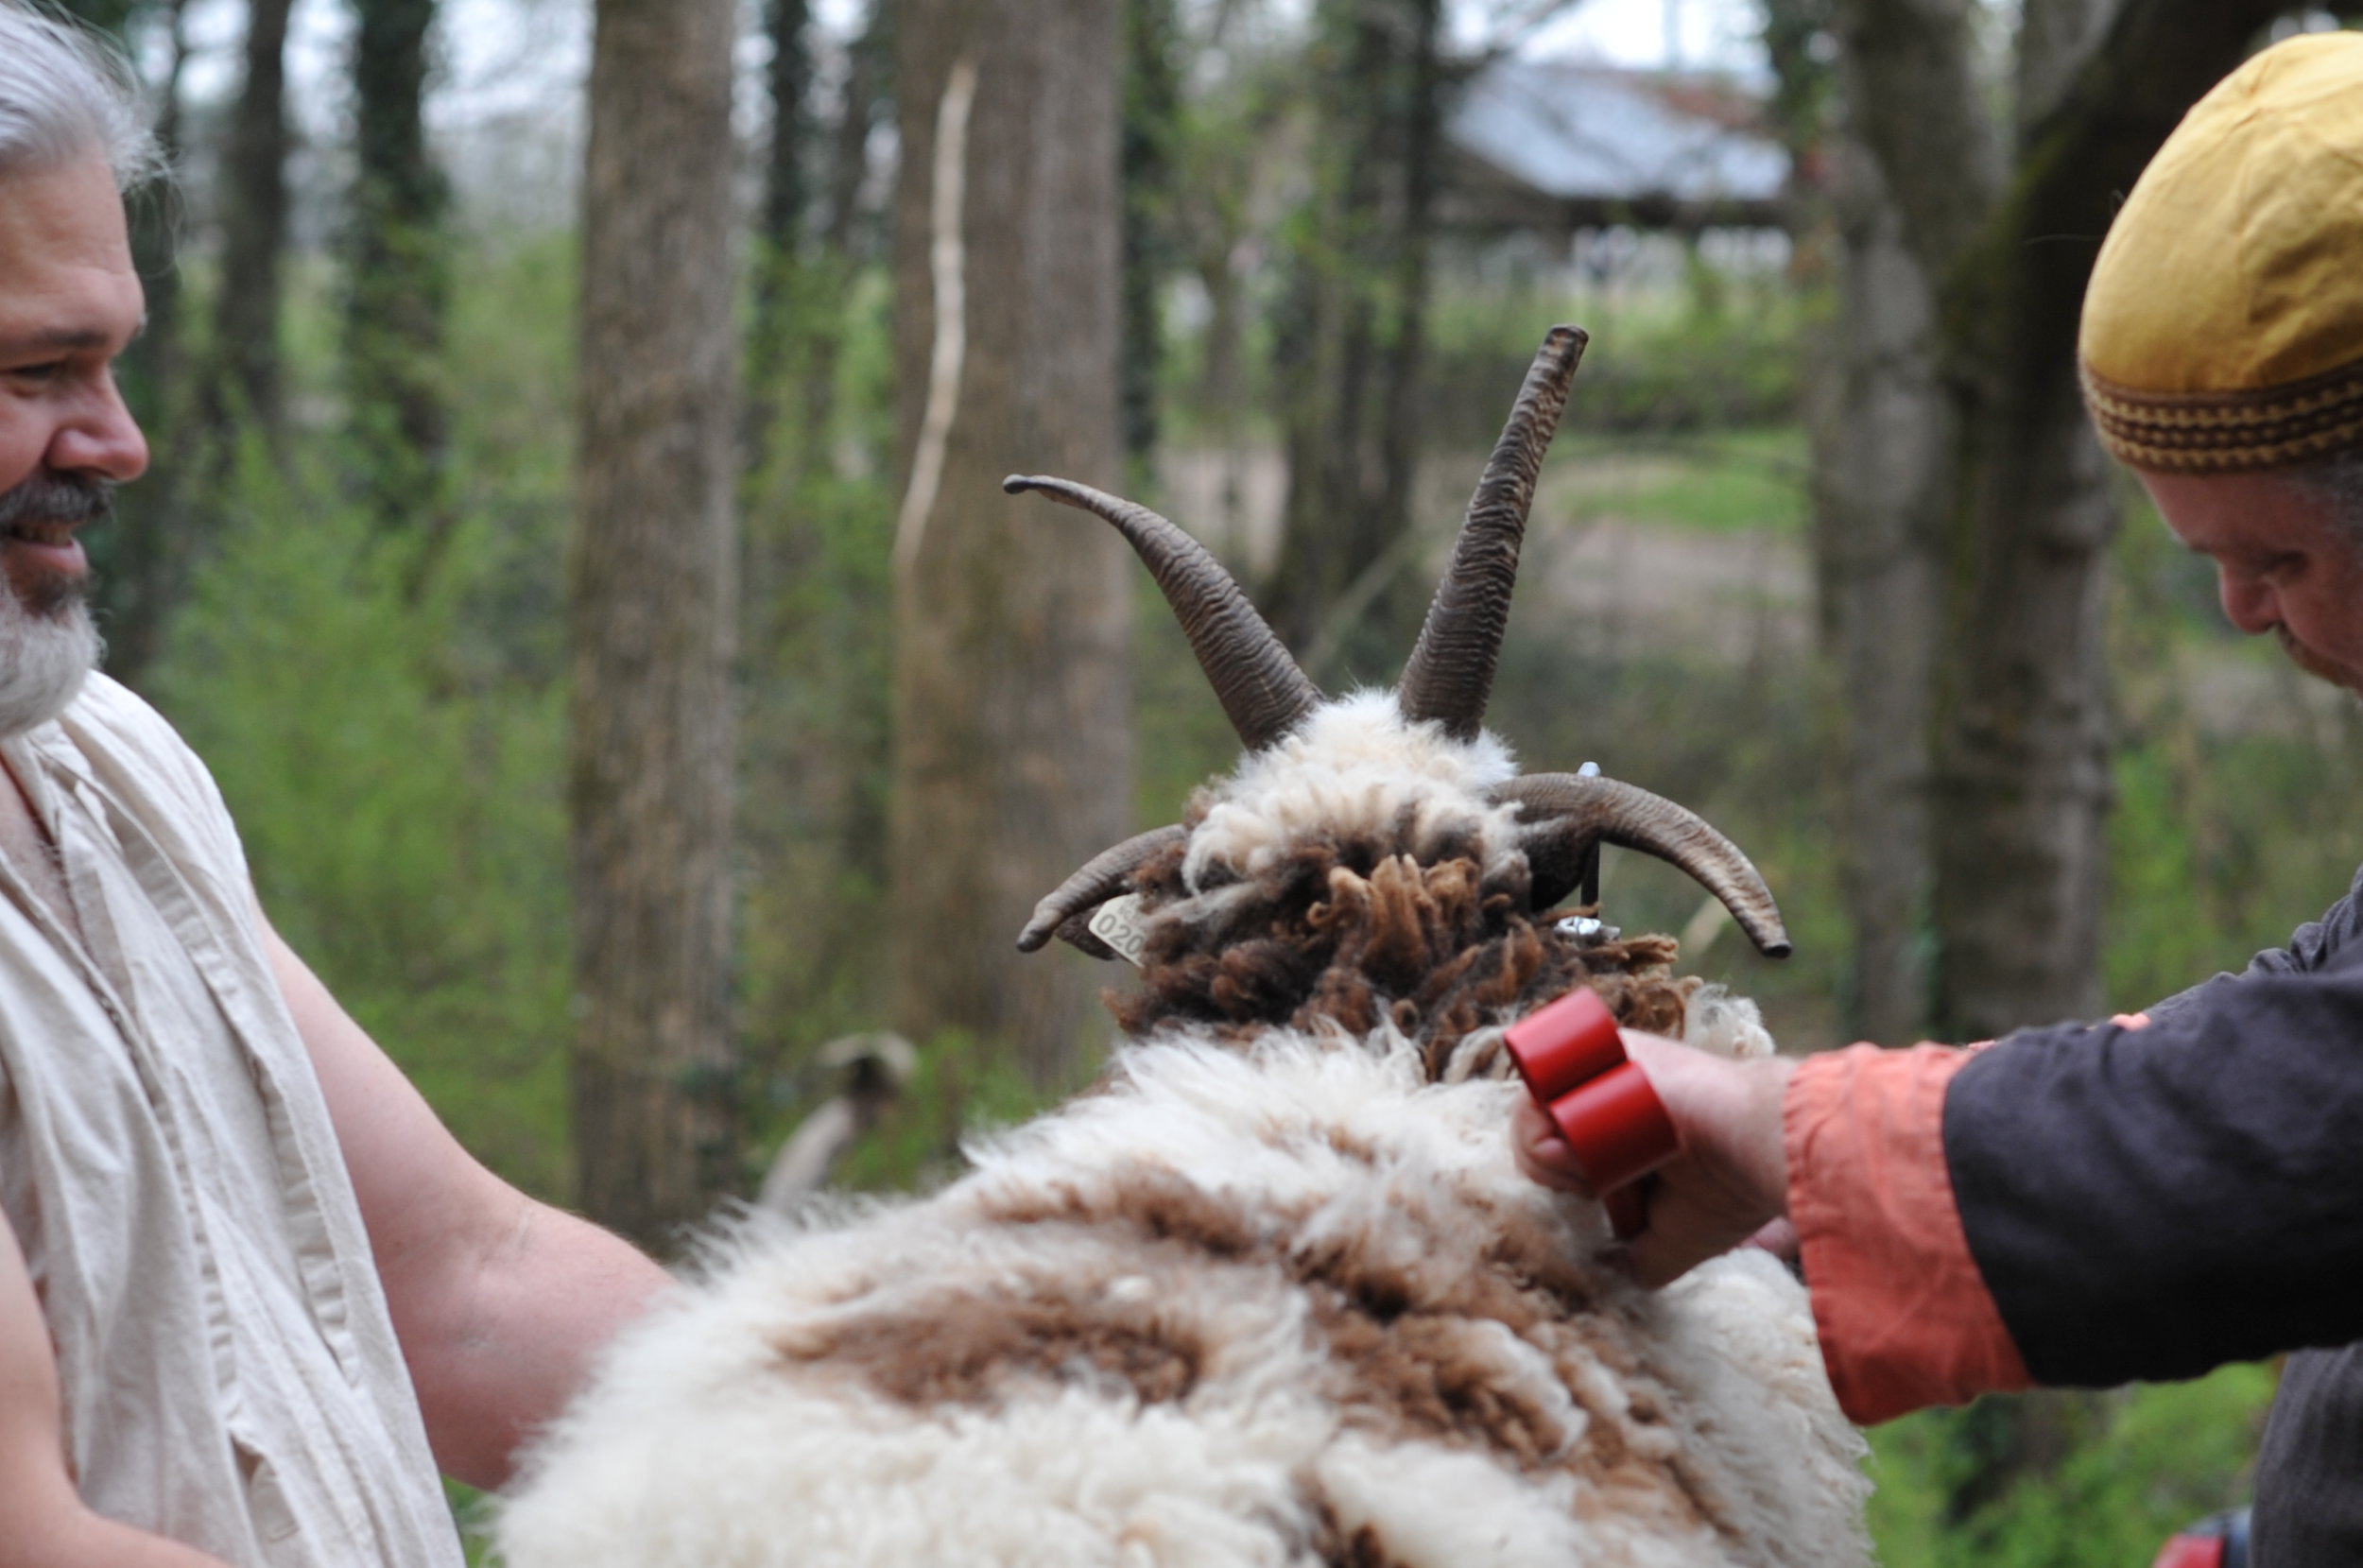
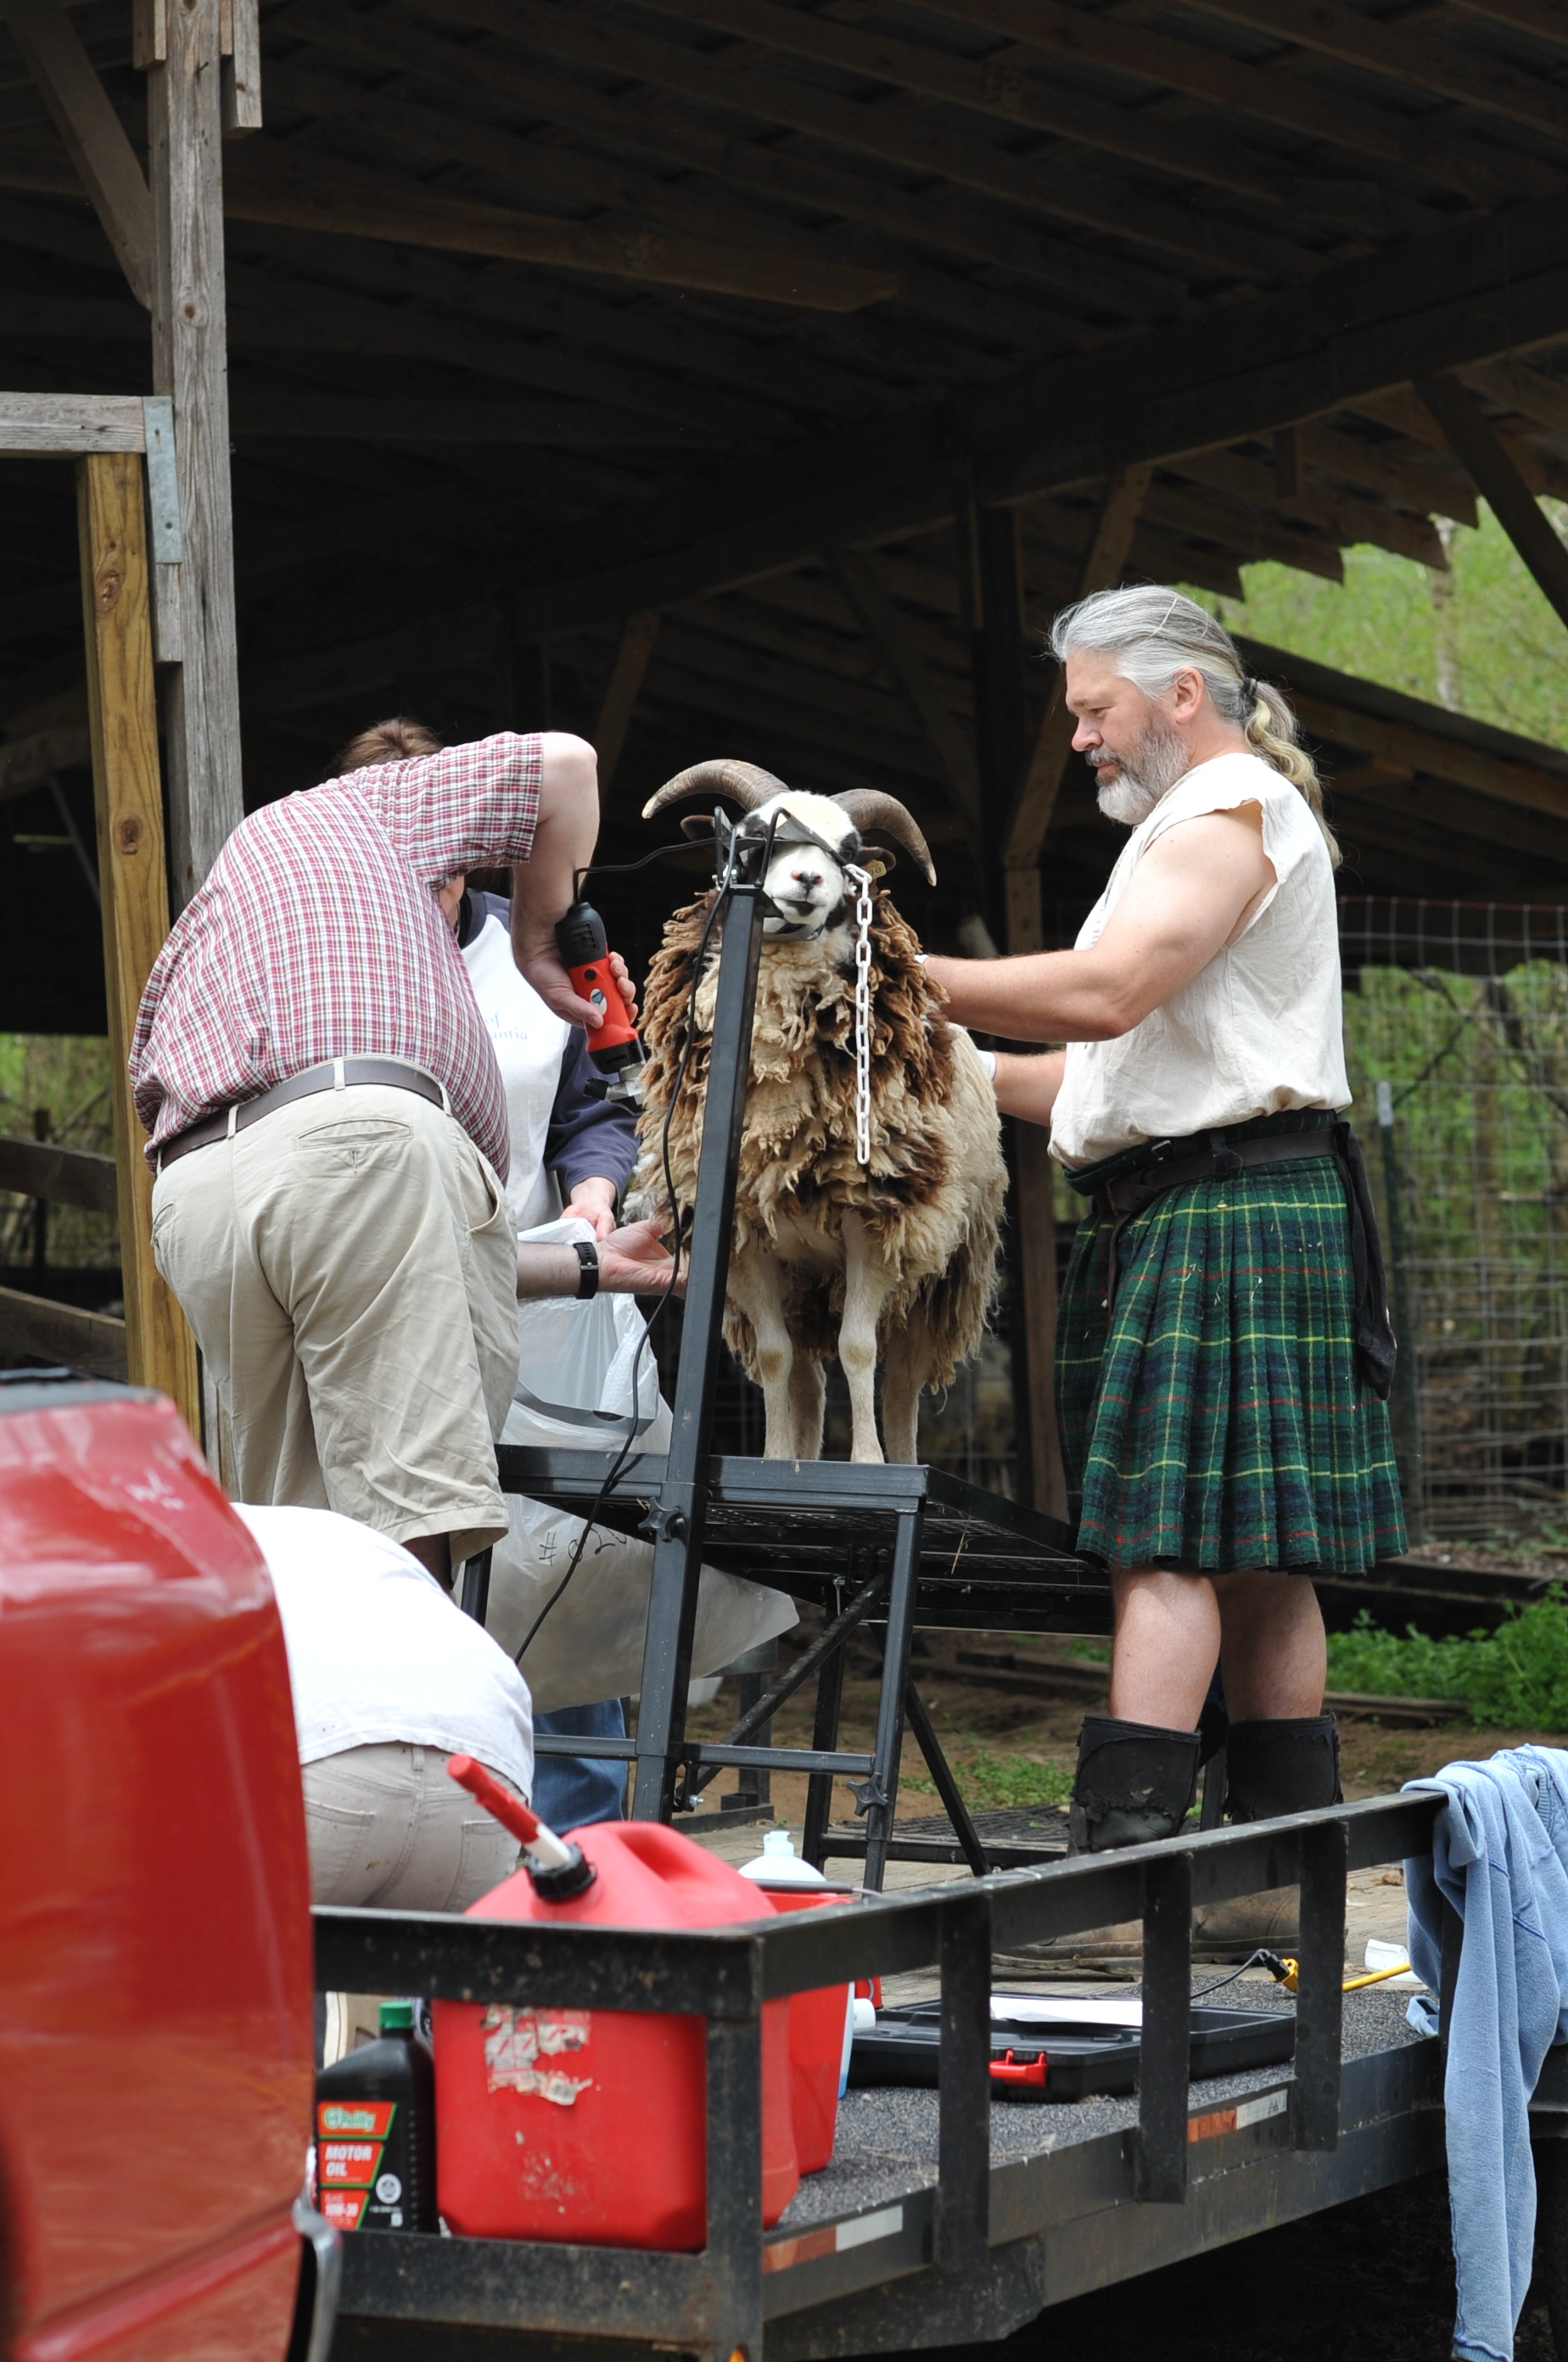
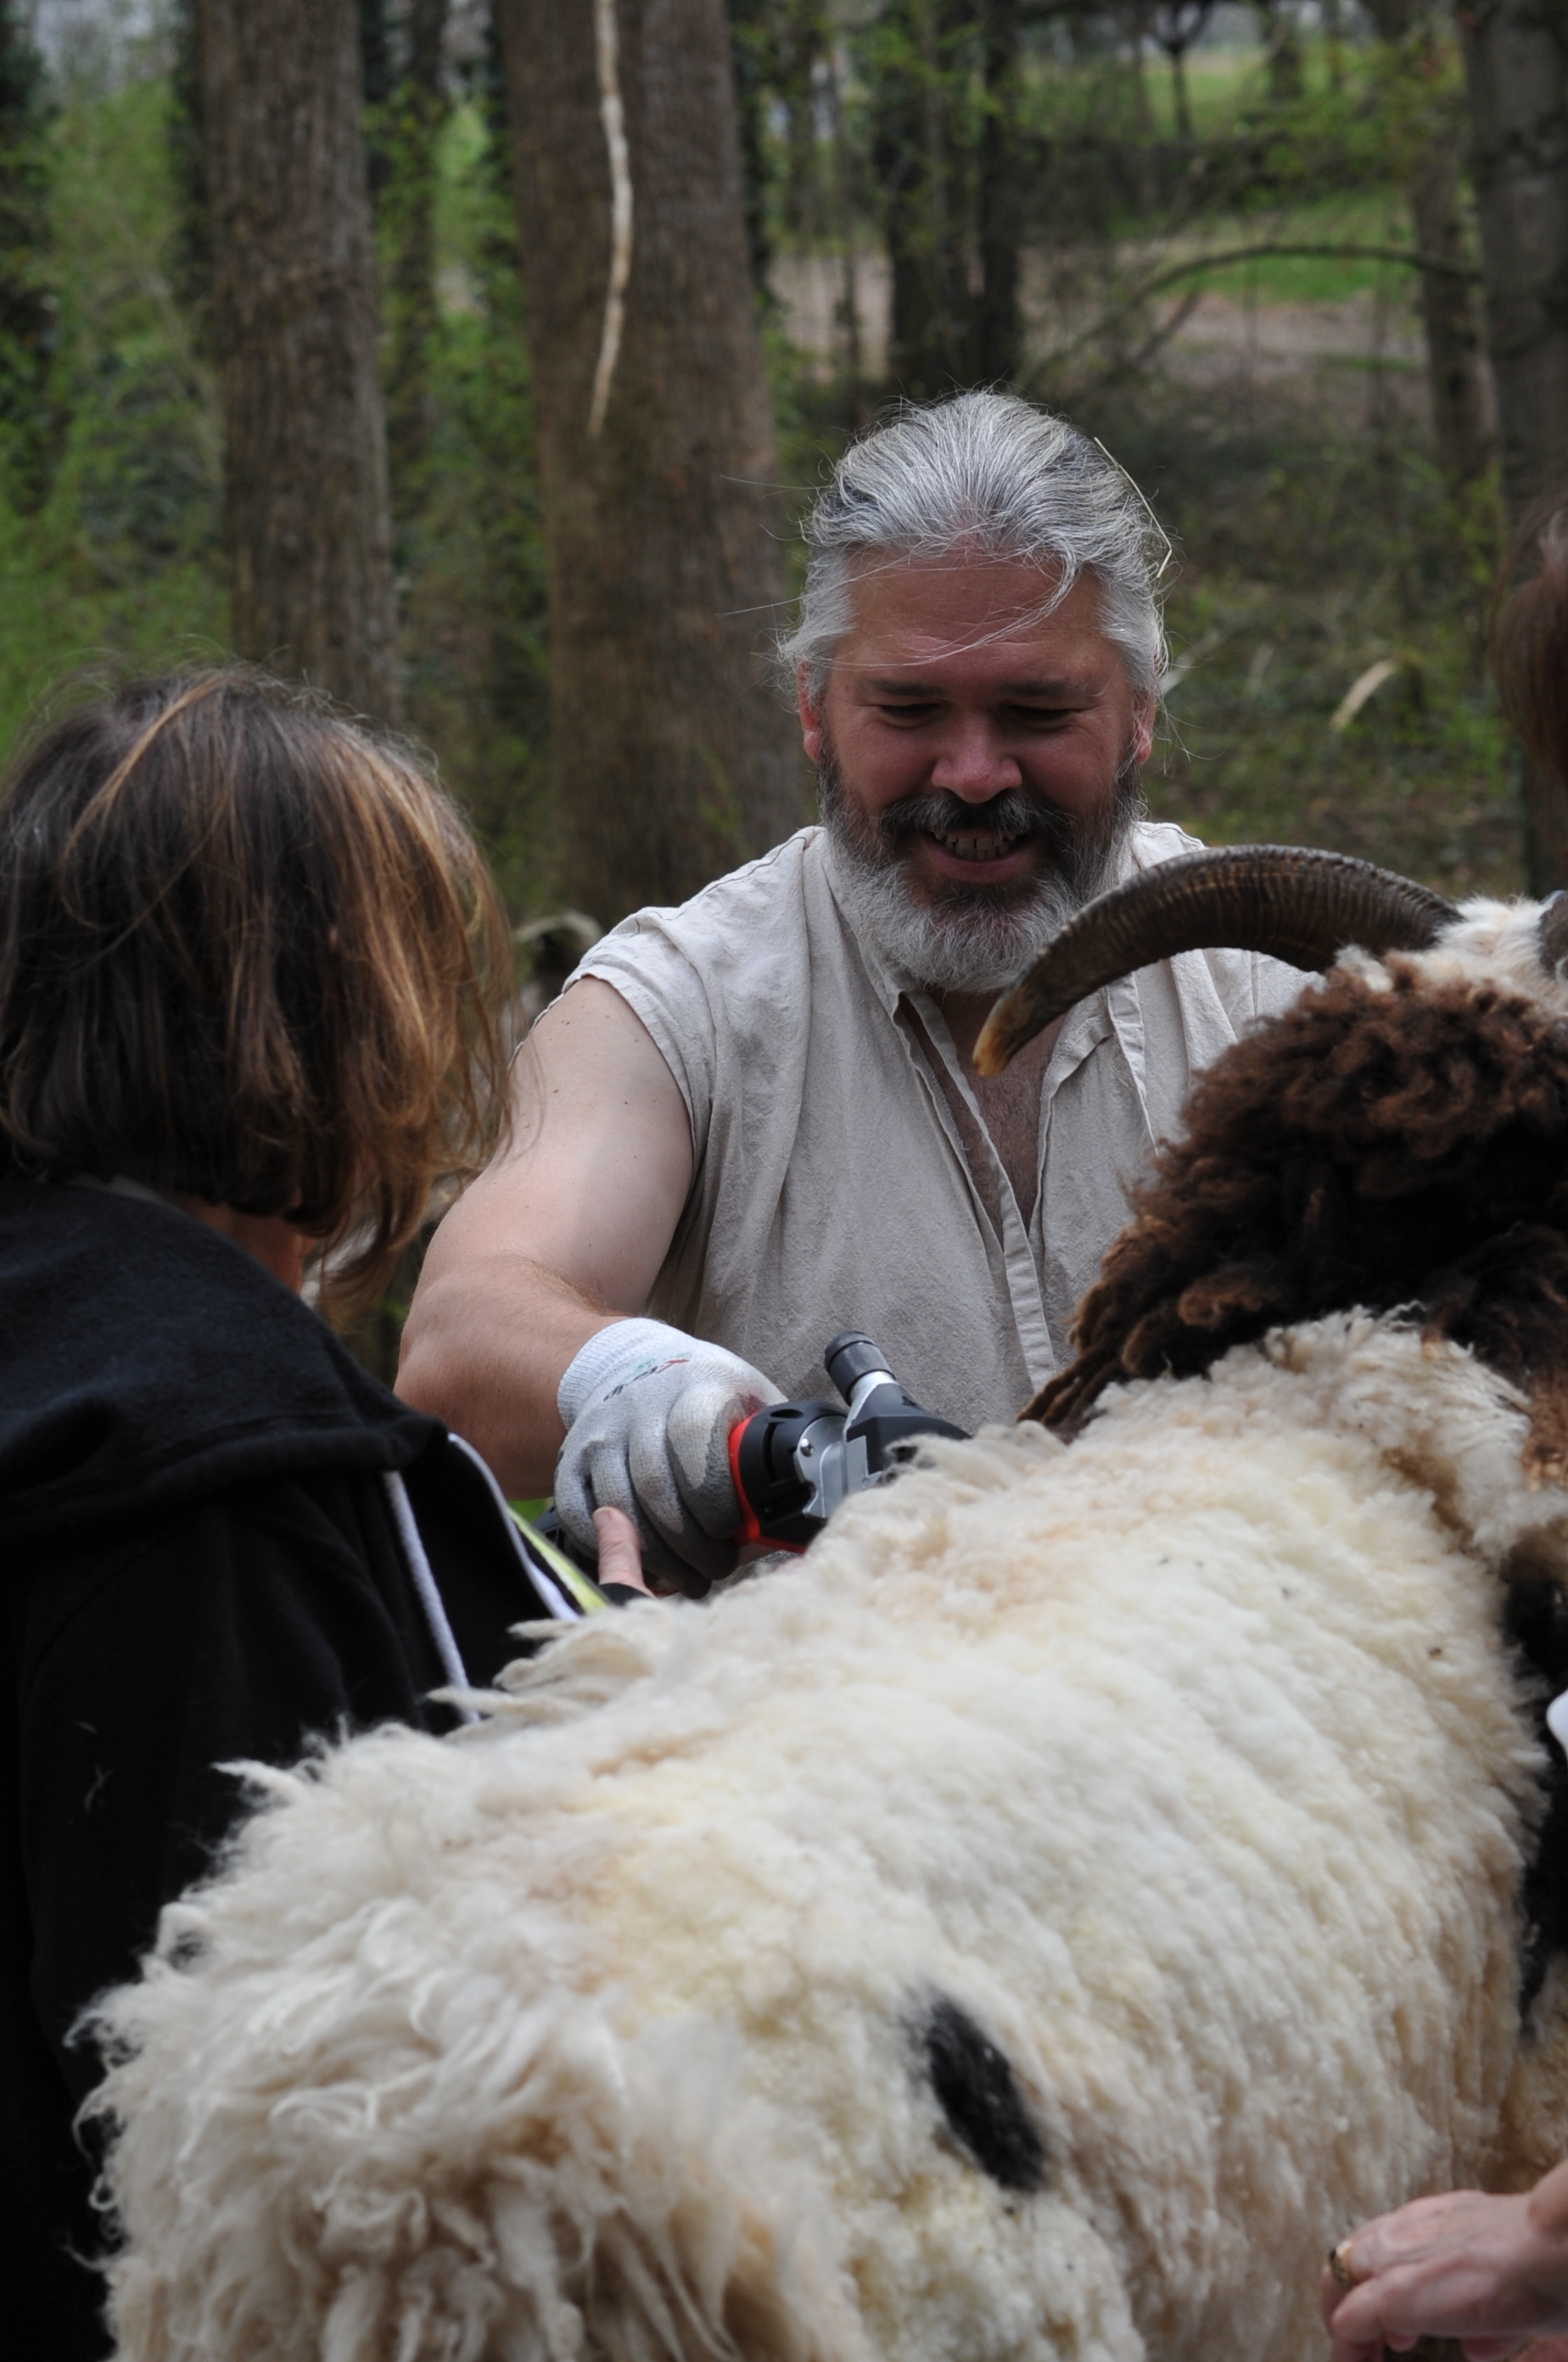
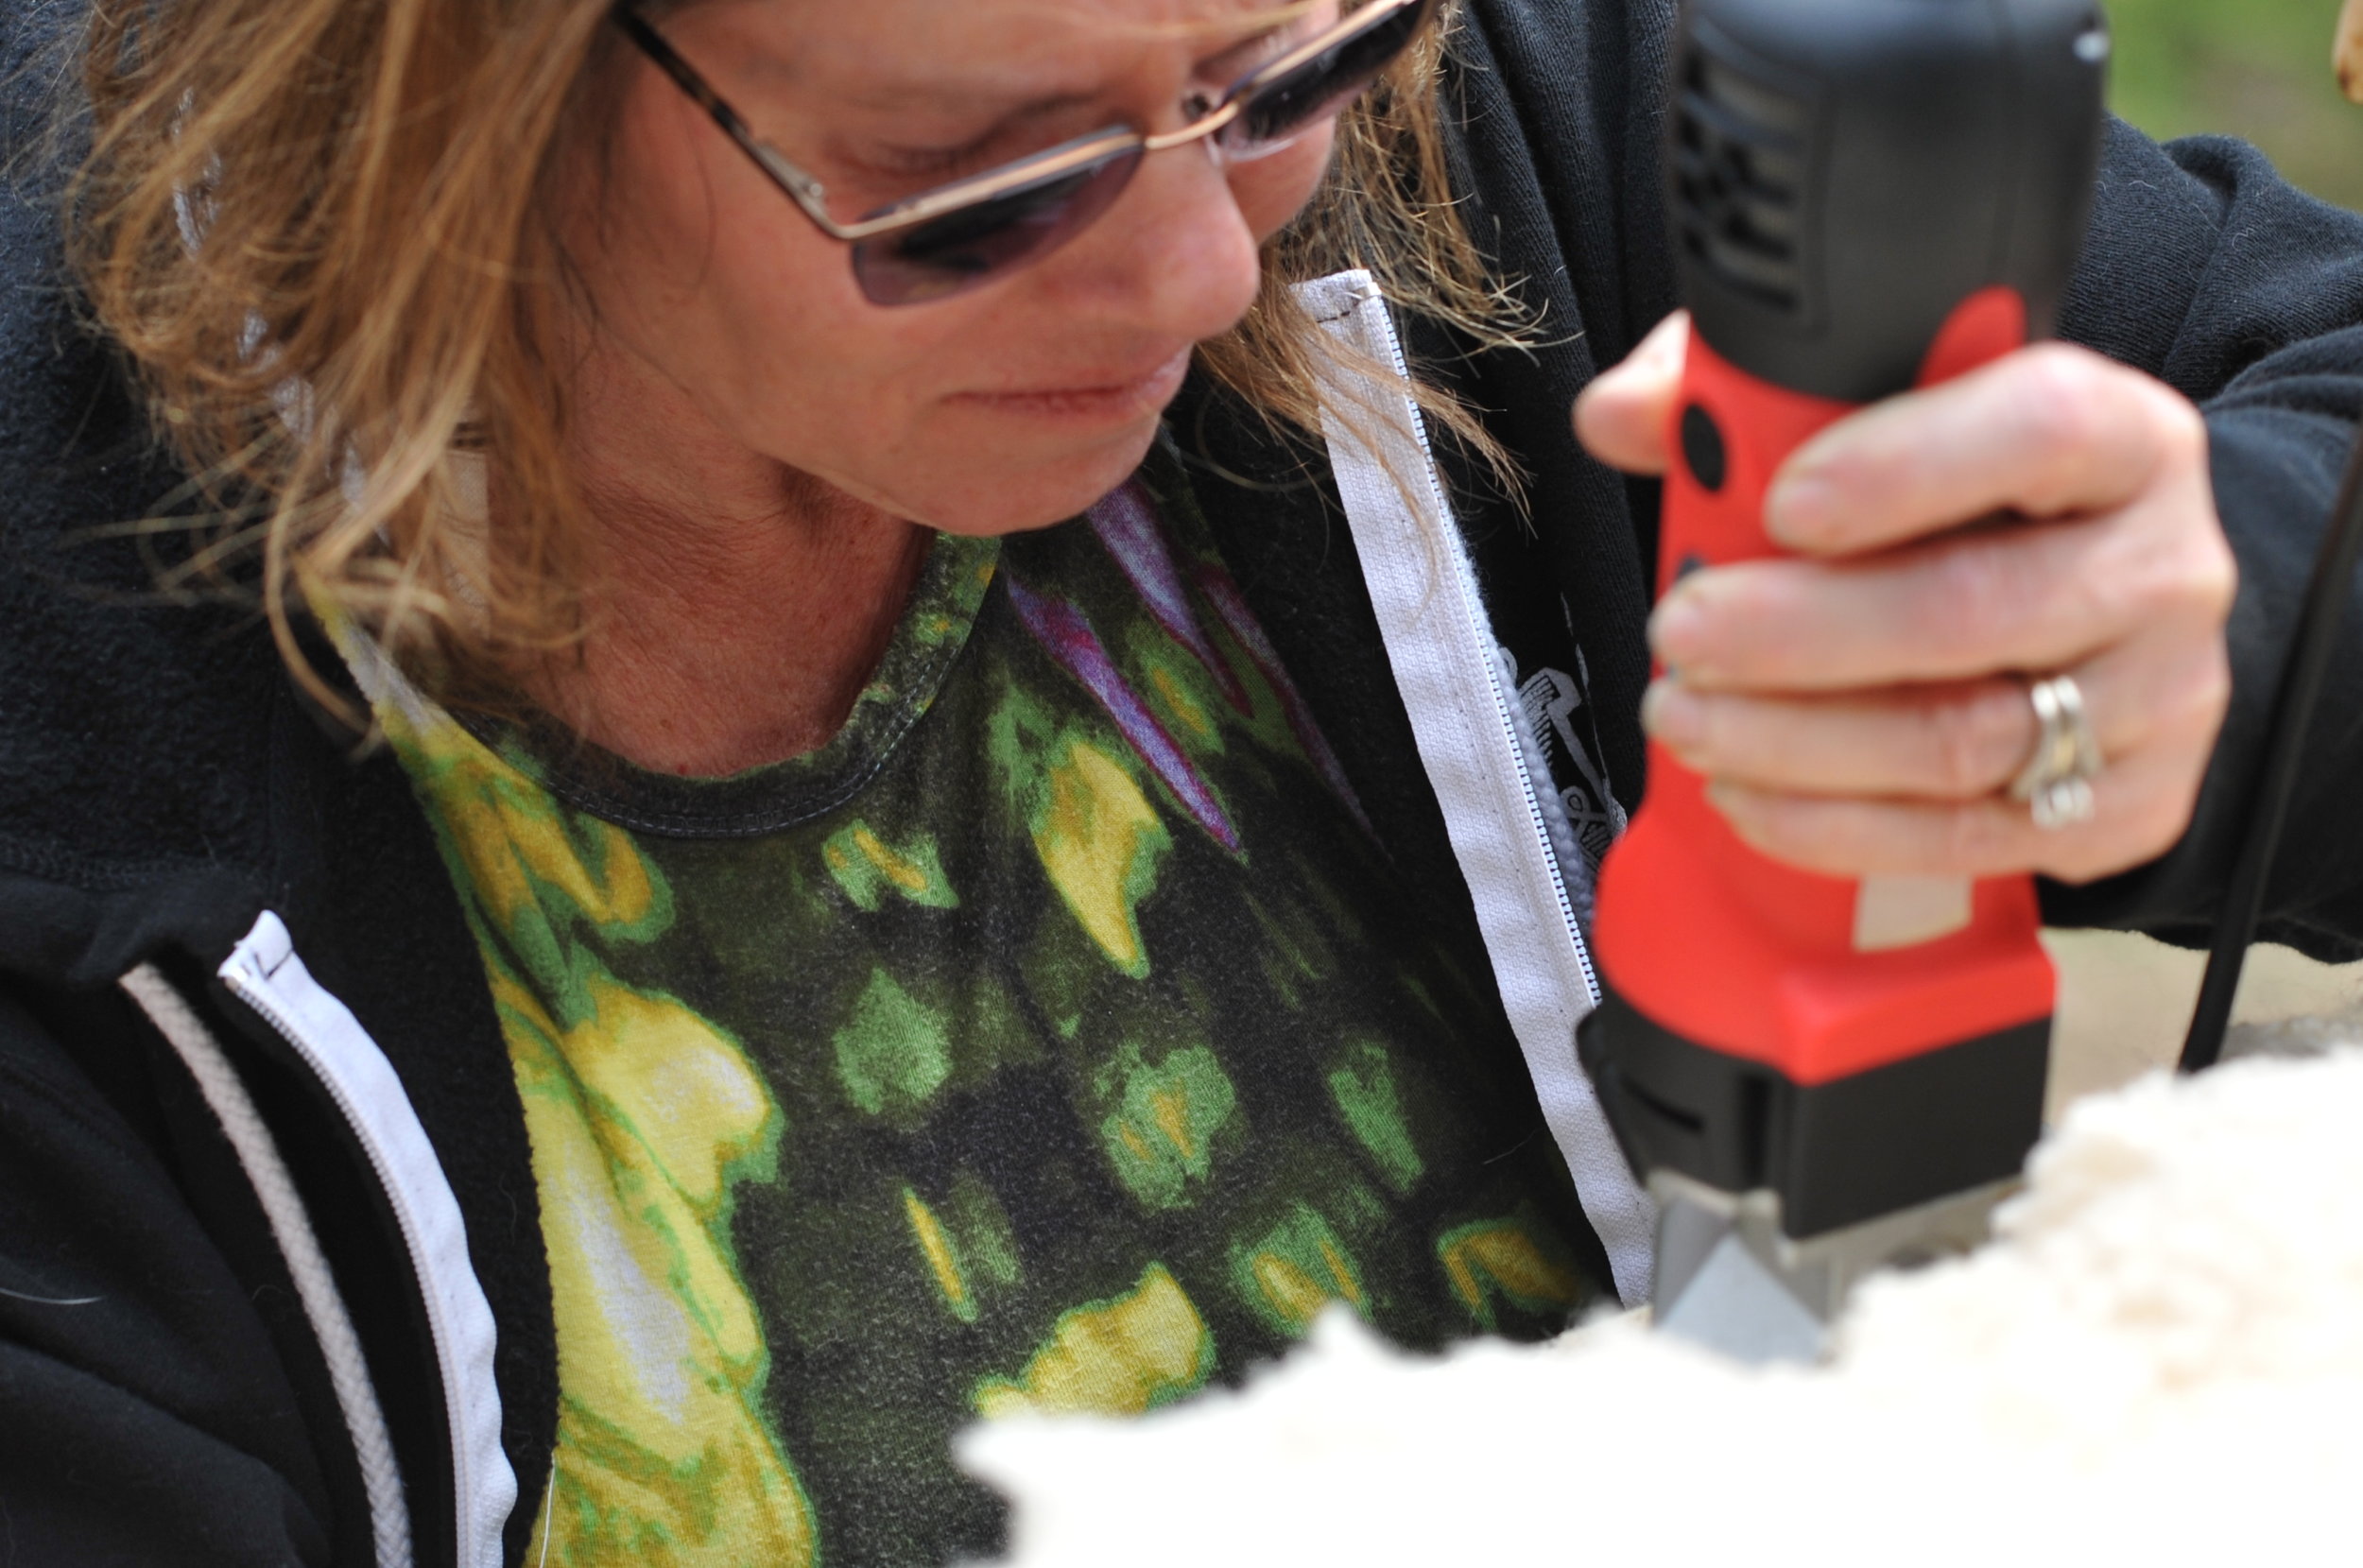
Last weekend I received a wonderful gift from a man I am happy to call friend. I was invited to shear the sheep. There is a long standing joke about this, but i will not go into it yet. Either way,, I was able to sheer 2 sheep for myself and help shear 3 others for a special project. The next couple of blog entries should be documenting the story of the fleeces of the 3 new sheep at Elchenburg castle.

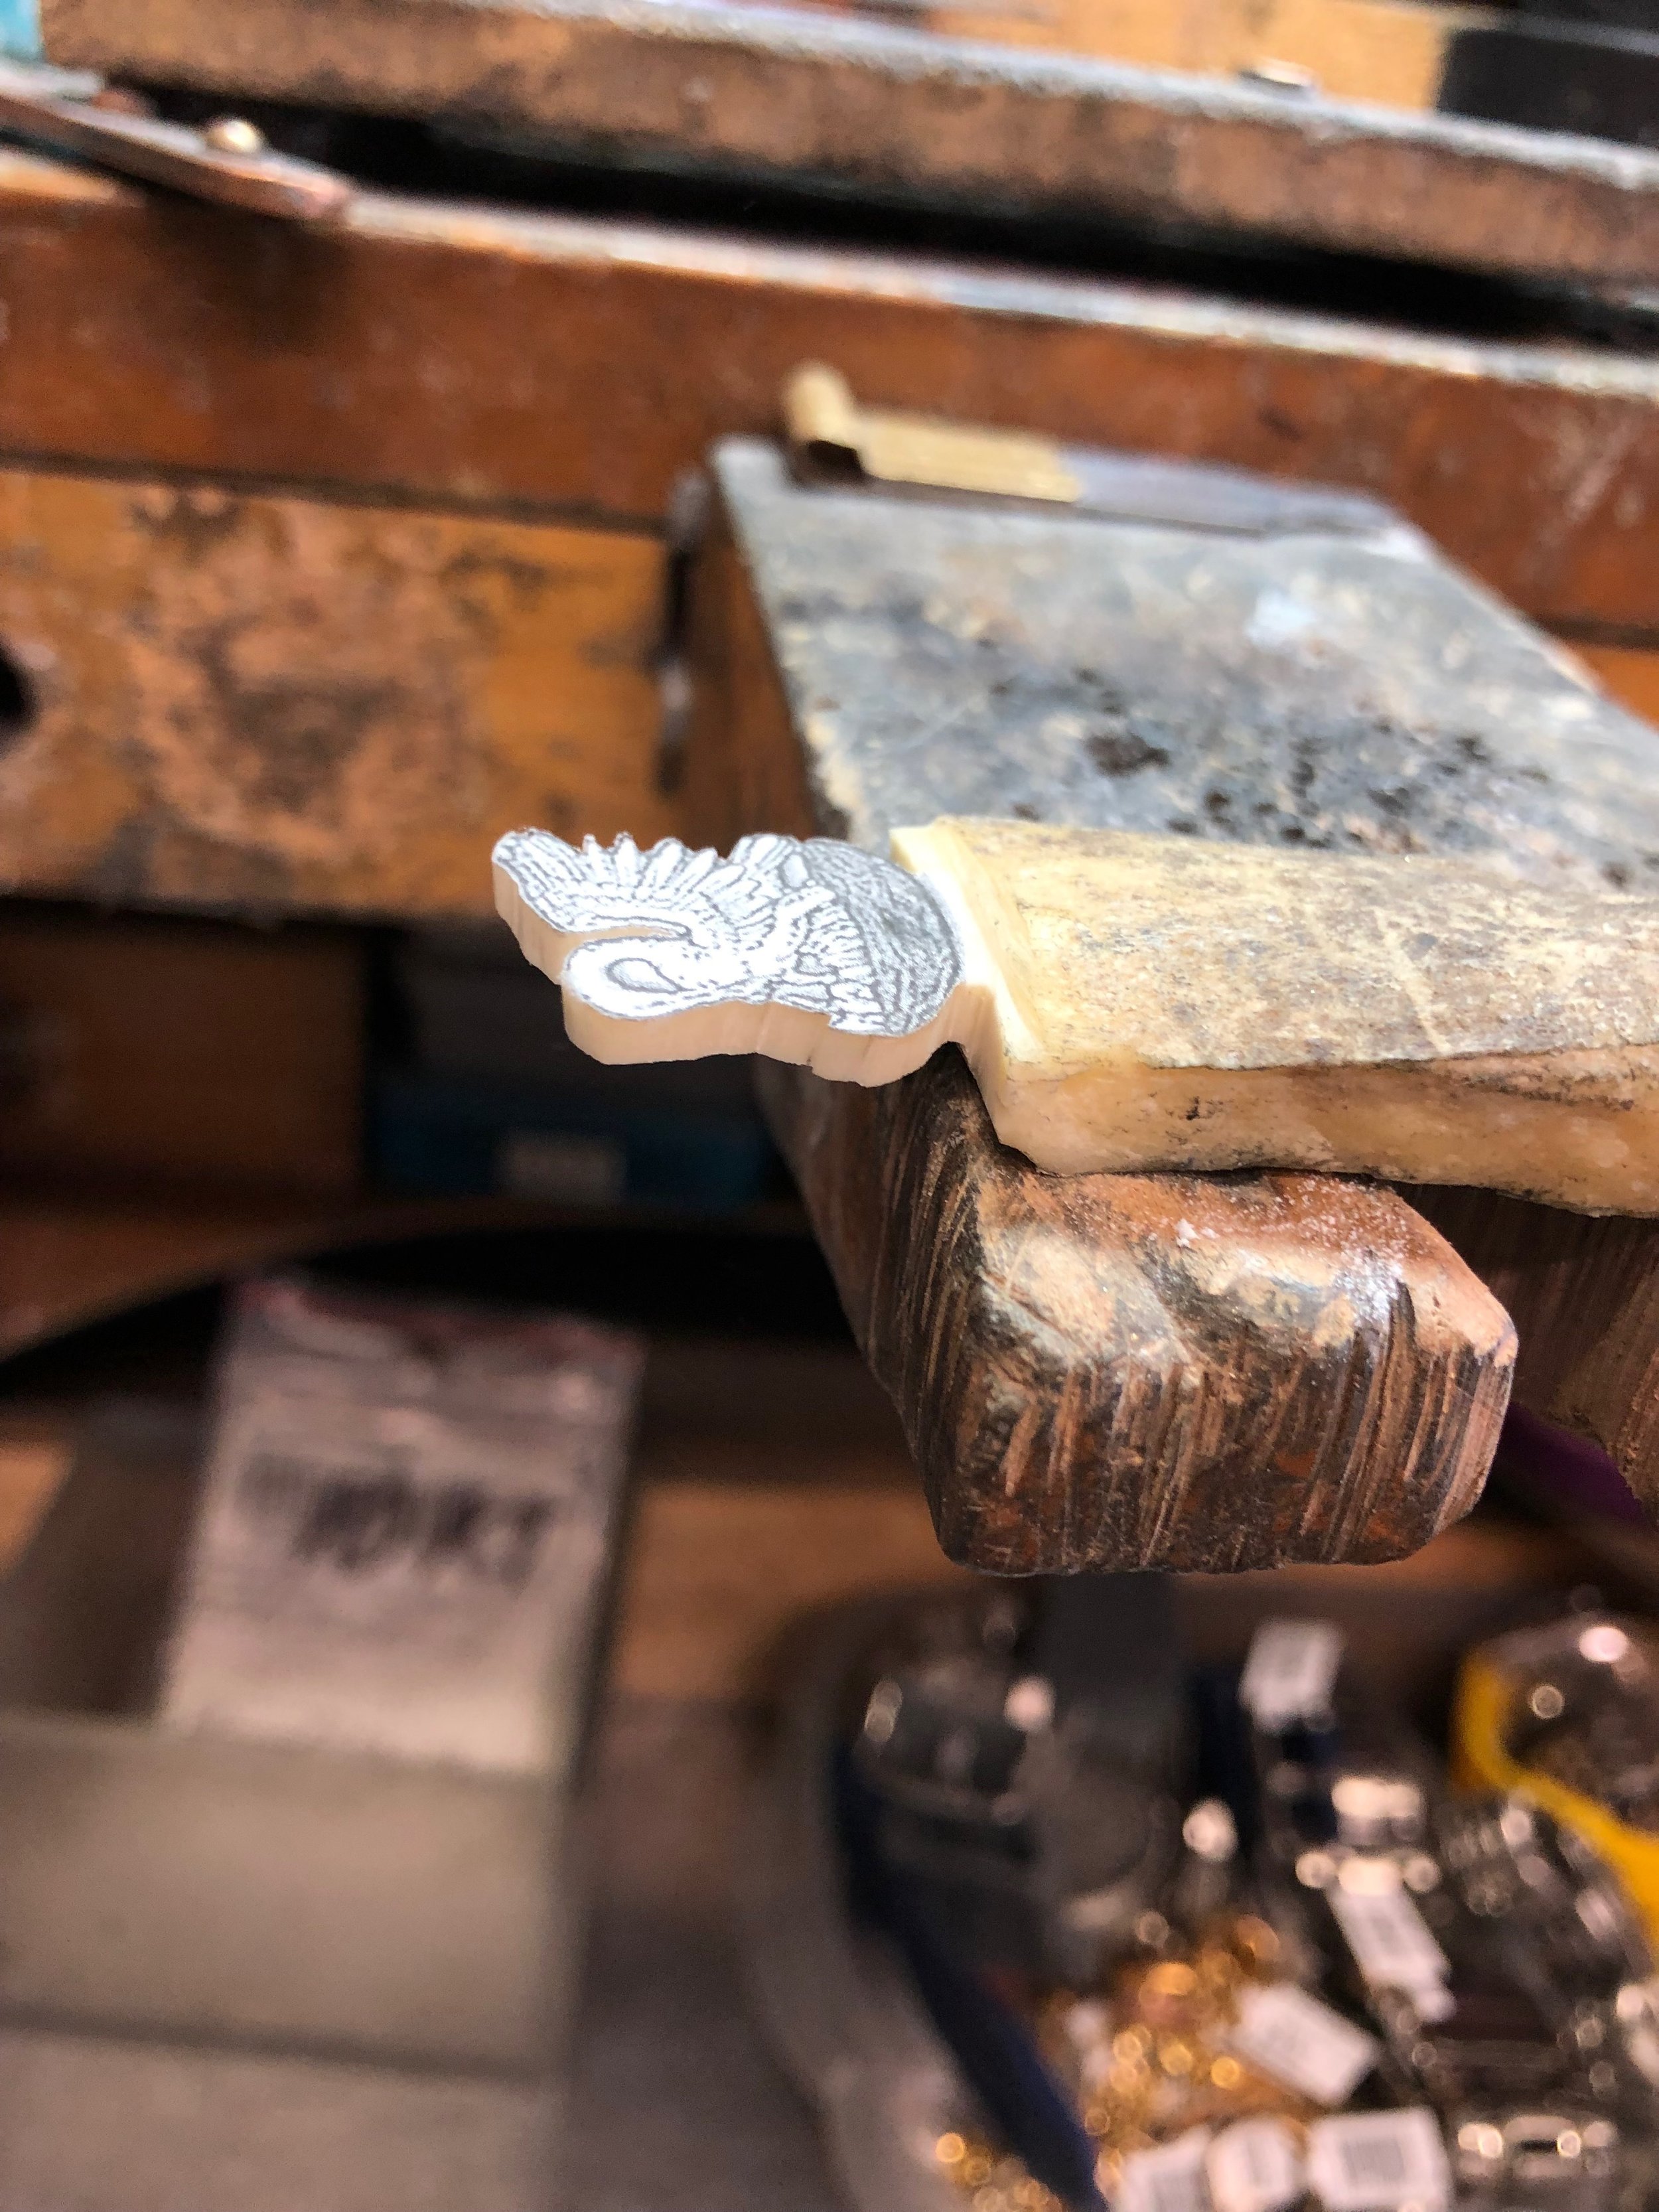
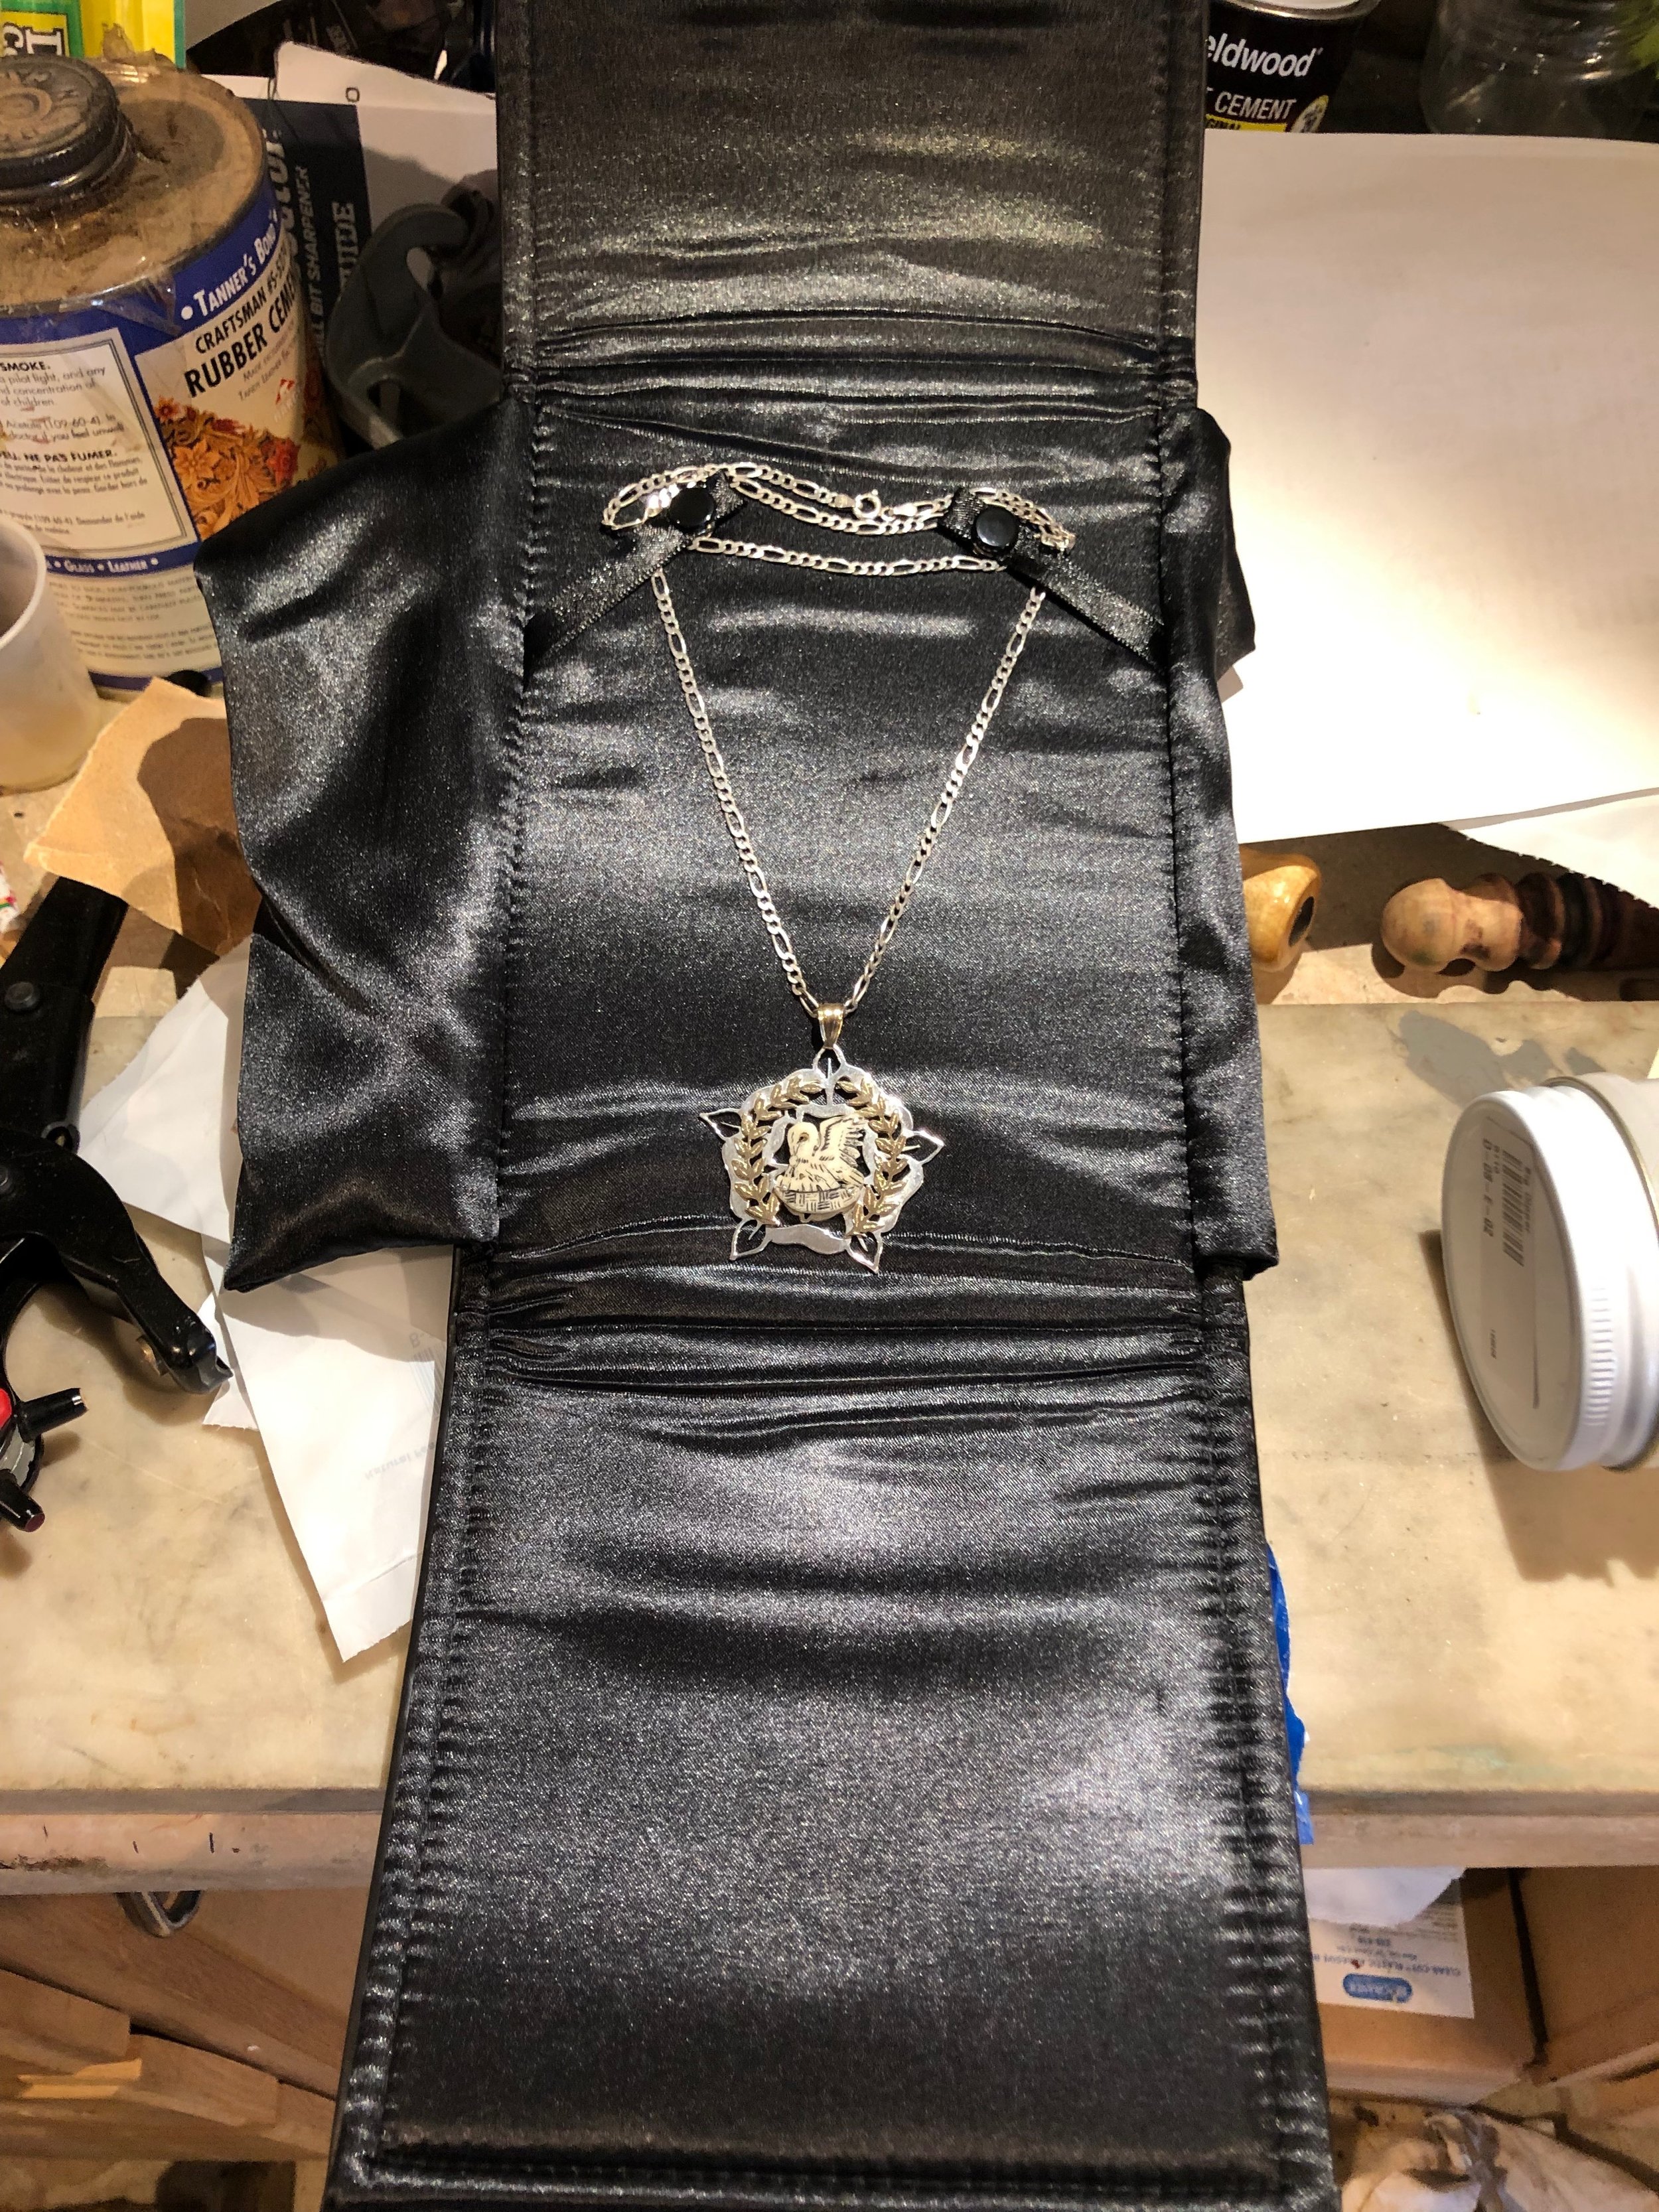
Lady of the Rose, Pelican, & Laurel Medallion

So, in honor of our previous Queens reign I wanted to make her a thank you gift. This was given to her after her reign. Silver, 14 kt gold and bone.

Back to Blacksmithing

A hoof pick and a wall hook that I forged last night. Nothing to special about them, EXCEPT: I used my new touchmark from JeraMetalArts. I AM SO HAPPY with how it came out. I wish I was a better blacksmith to show of their work better.

The making of a Vigil Book

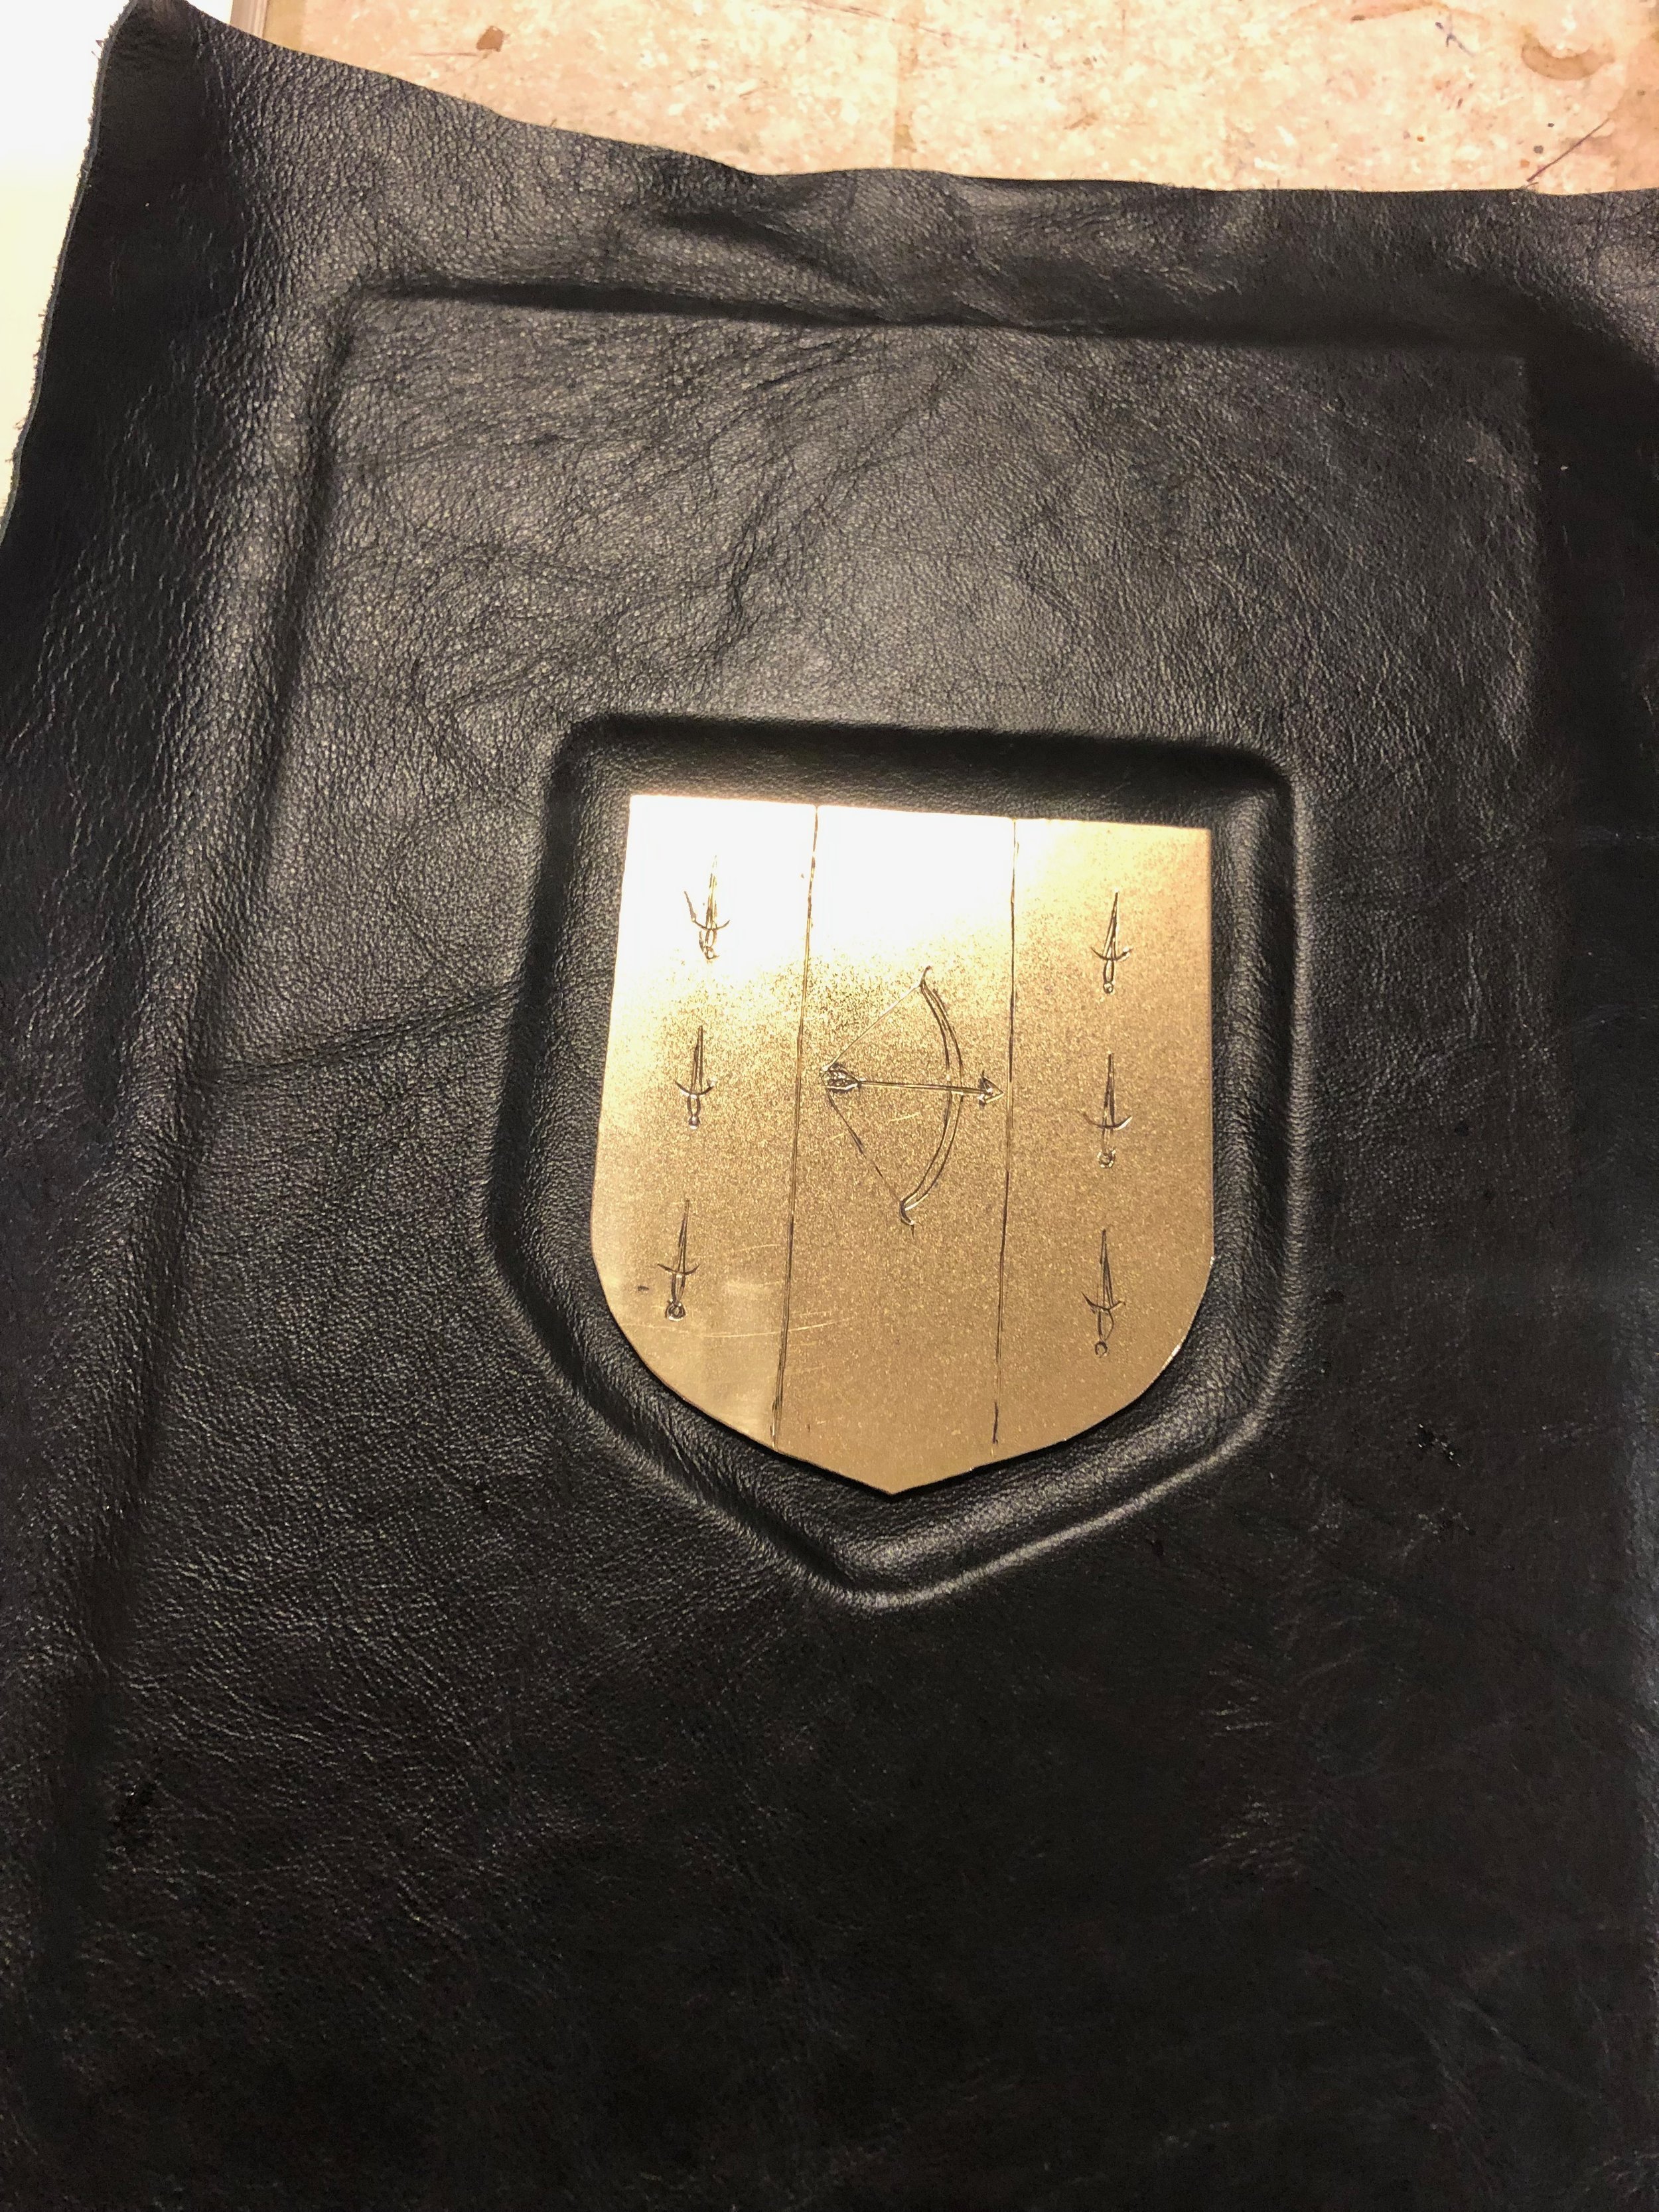
This will be my first attempt at writing my documentation as I work on my project. I have been asked to make a vigil book for Baron Colum Maxwell. At first I was just going to make a leather slipcover for a blank book, but then I decided to go whole hog and actually try and make him a medieval book. Because of time restraints, this experiment of working and writing was a failure. This also did not make for a very good blog entry because of the secrecy involved in the project. The documentation for the book can be found here

Update for the month of February

So, Grimm got this cool blog all set up and I subscribed and what do I get, crickets!.

Sorry about that. Some of my projects have gotten bogged down and some are just spinning their wheels. I was hoping to have a new update each week or more, but I have been lax.

So where are we:

  1. Cooking Table:

    The work on the cooking table has ground to a halt. The next few steps involve setting the table up and doing some woodworking. These steps are going to wait till warmer days. So other then forging the accessories, I am at a standstill.

  2. Jewelry

    1. Mistress Amie Sparrow has requested that I set the diamonds in her Laurel medallion that I had originally hoped to have set before I ran out of time for her elevation. I was going to channel set the diamonds, but this is proving more difficult then I first thought in this piece. Now I have gone onto plan 2 and need to order some new parts.

    2. The other piece I am working on had been back burner-ed for the time being.

  3. Spinning.

    With my increased hours at work, i find i am having trouble finding time to work on projects. Because of this I find myself spinning in front of the TV as a way to relax. This has resulted in several skeins that I need to write up. They are pictured below and the details are forthcoming.

  4. Book Binding.

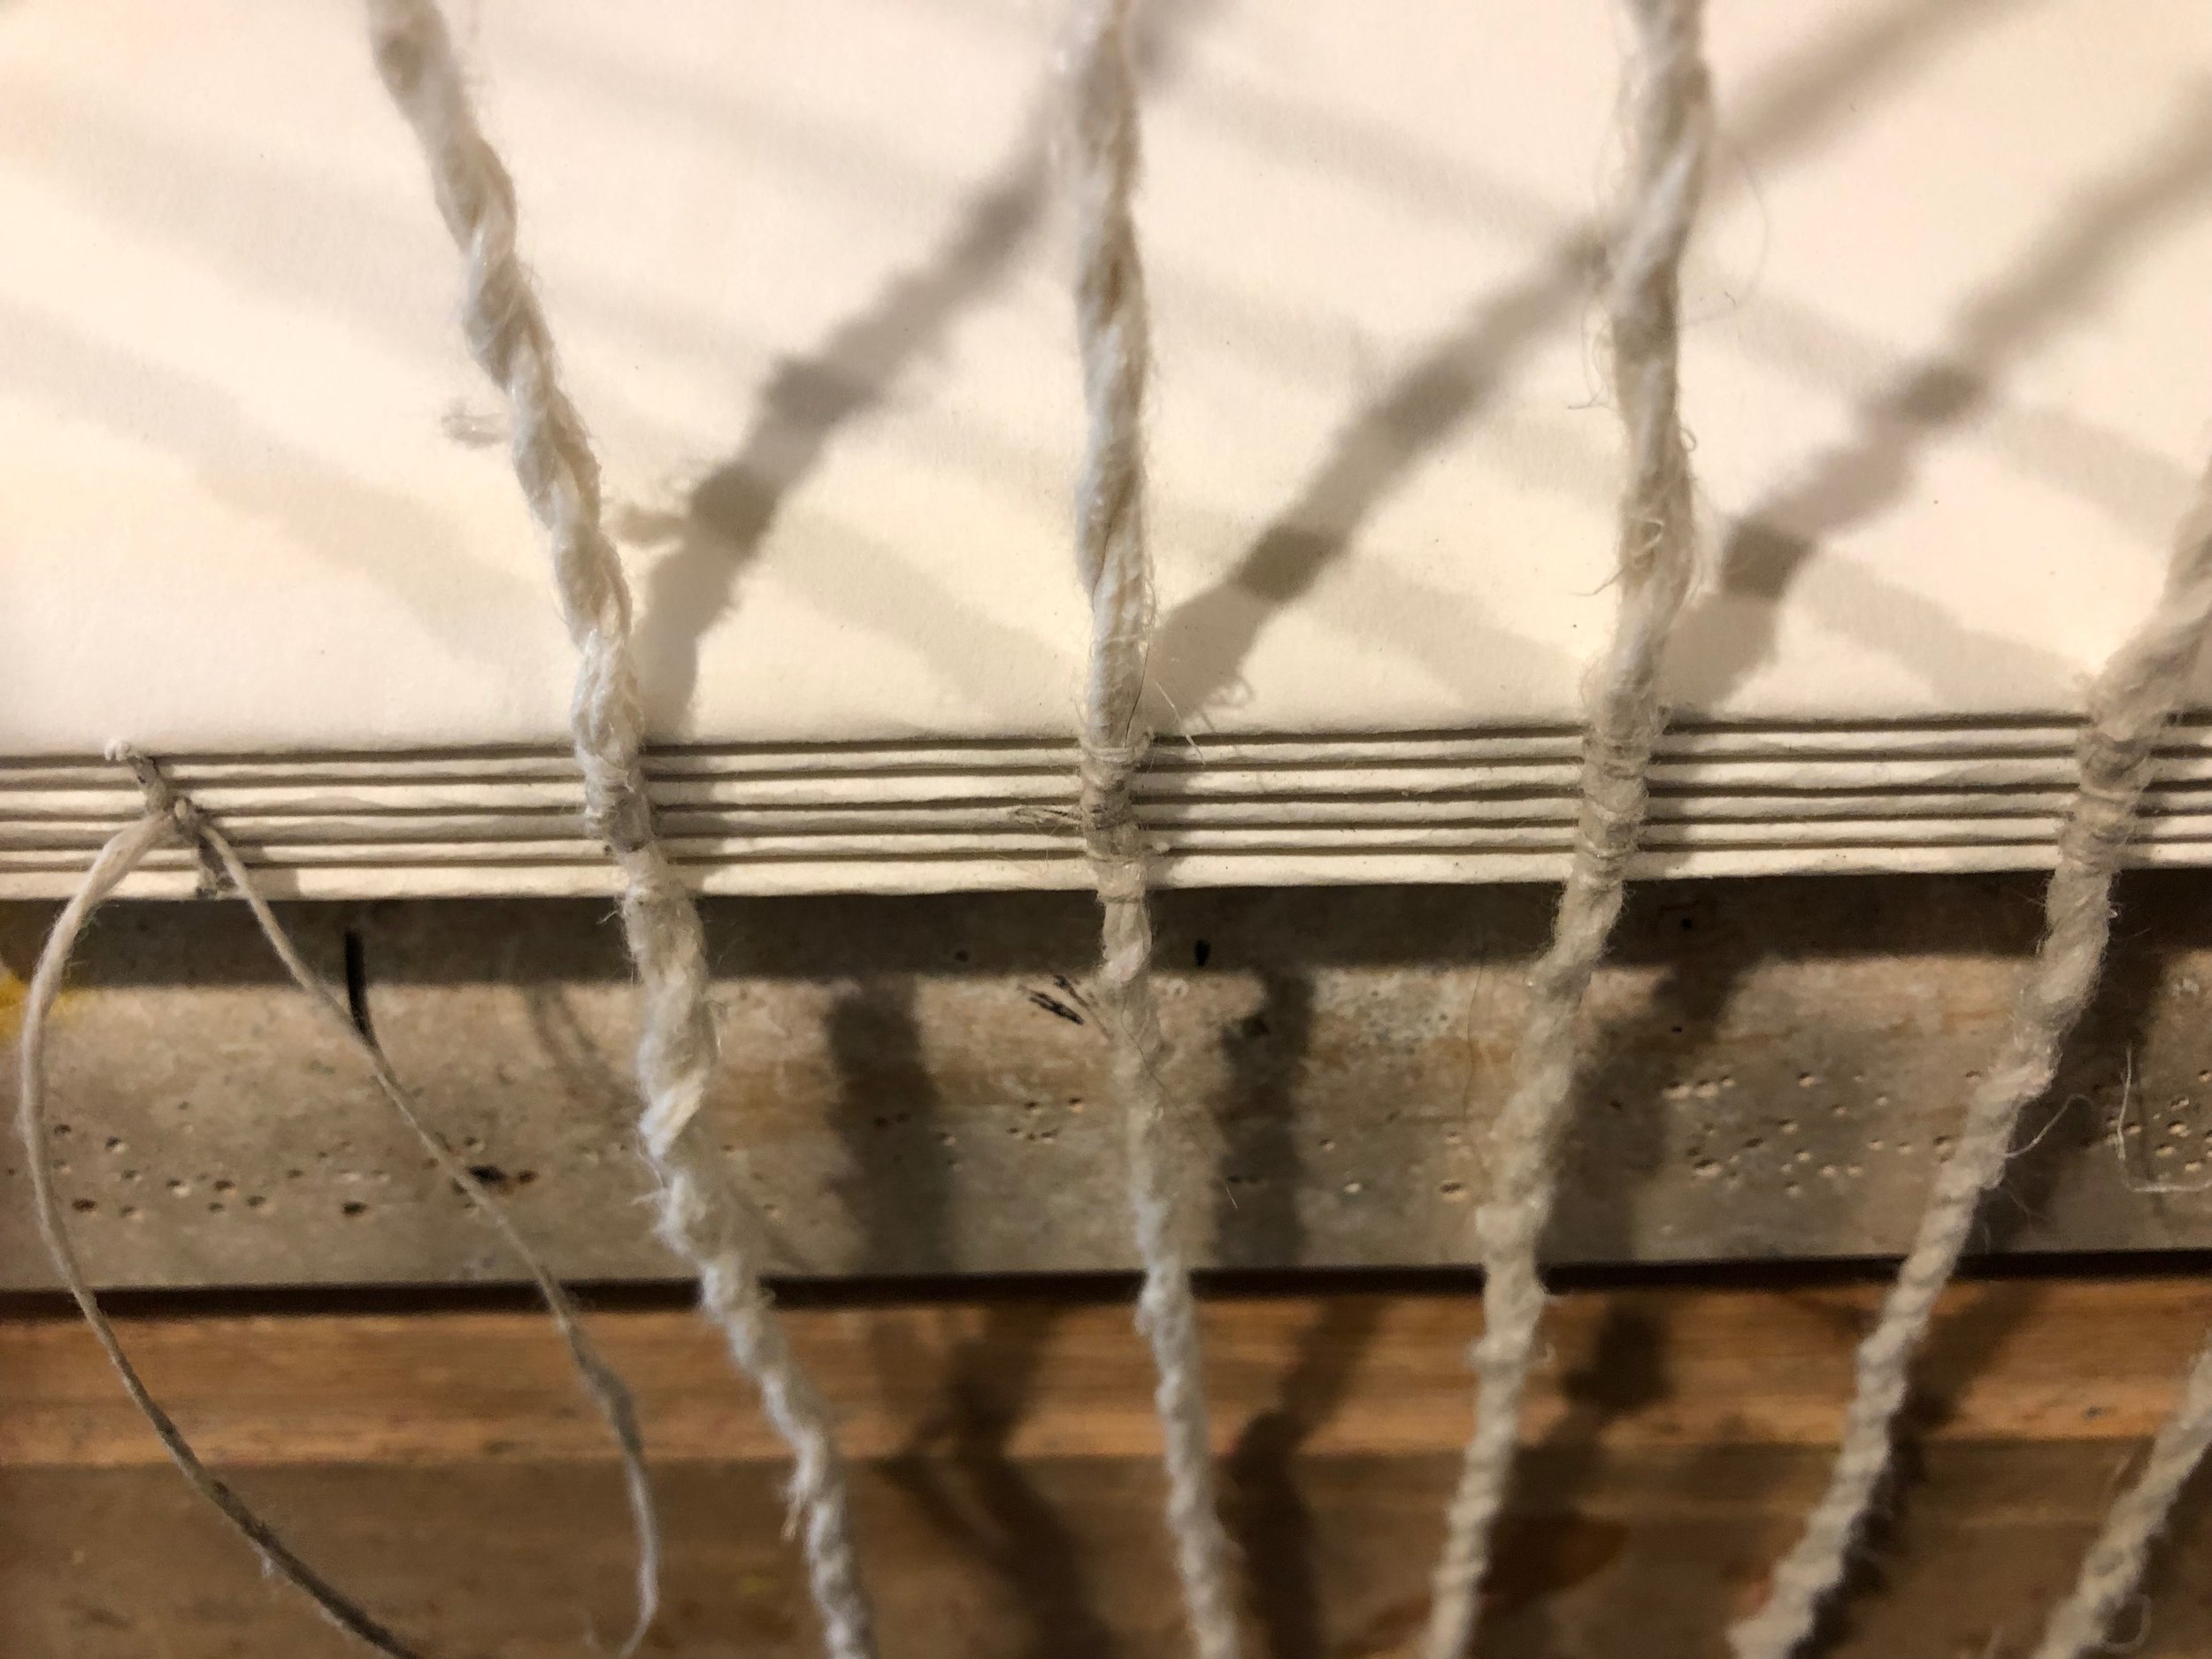
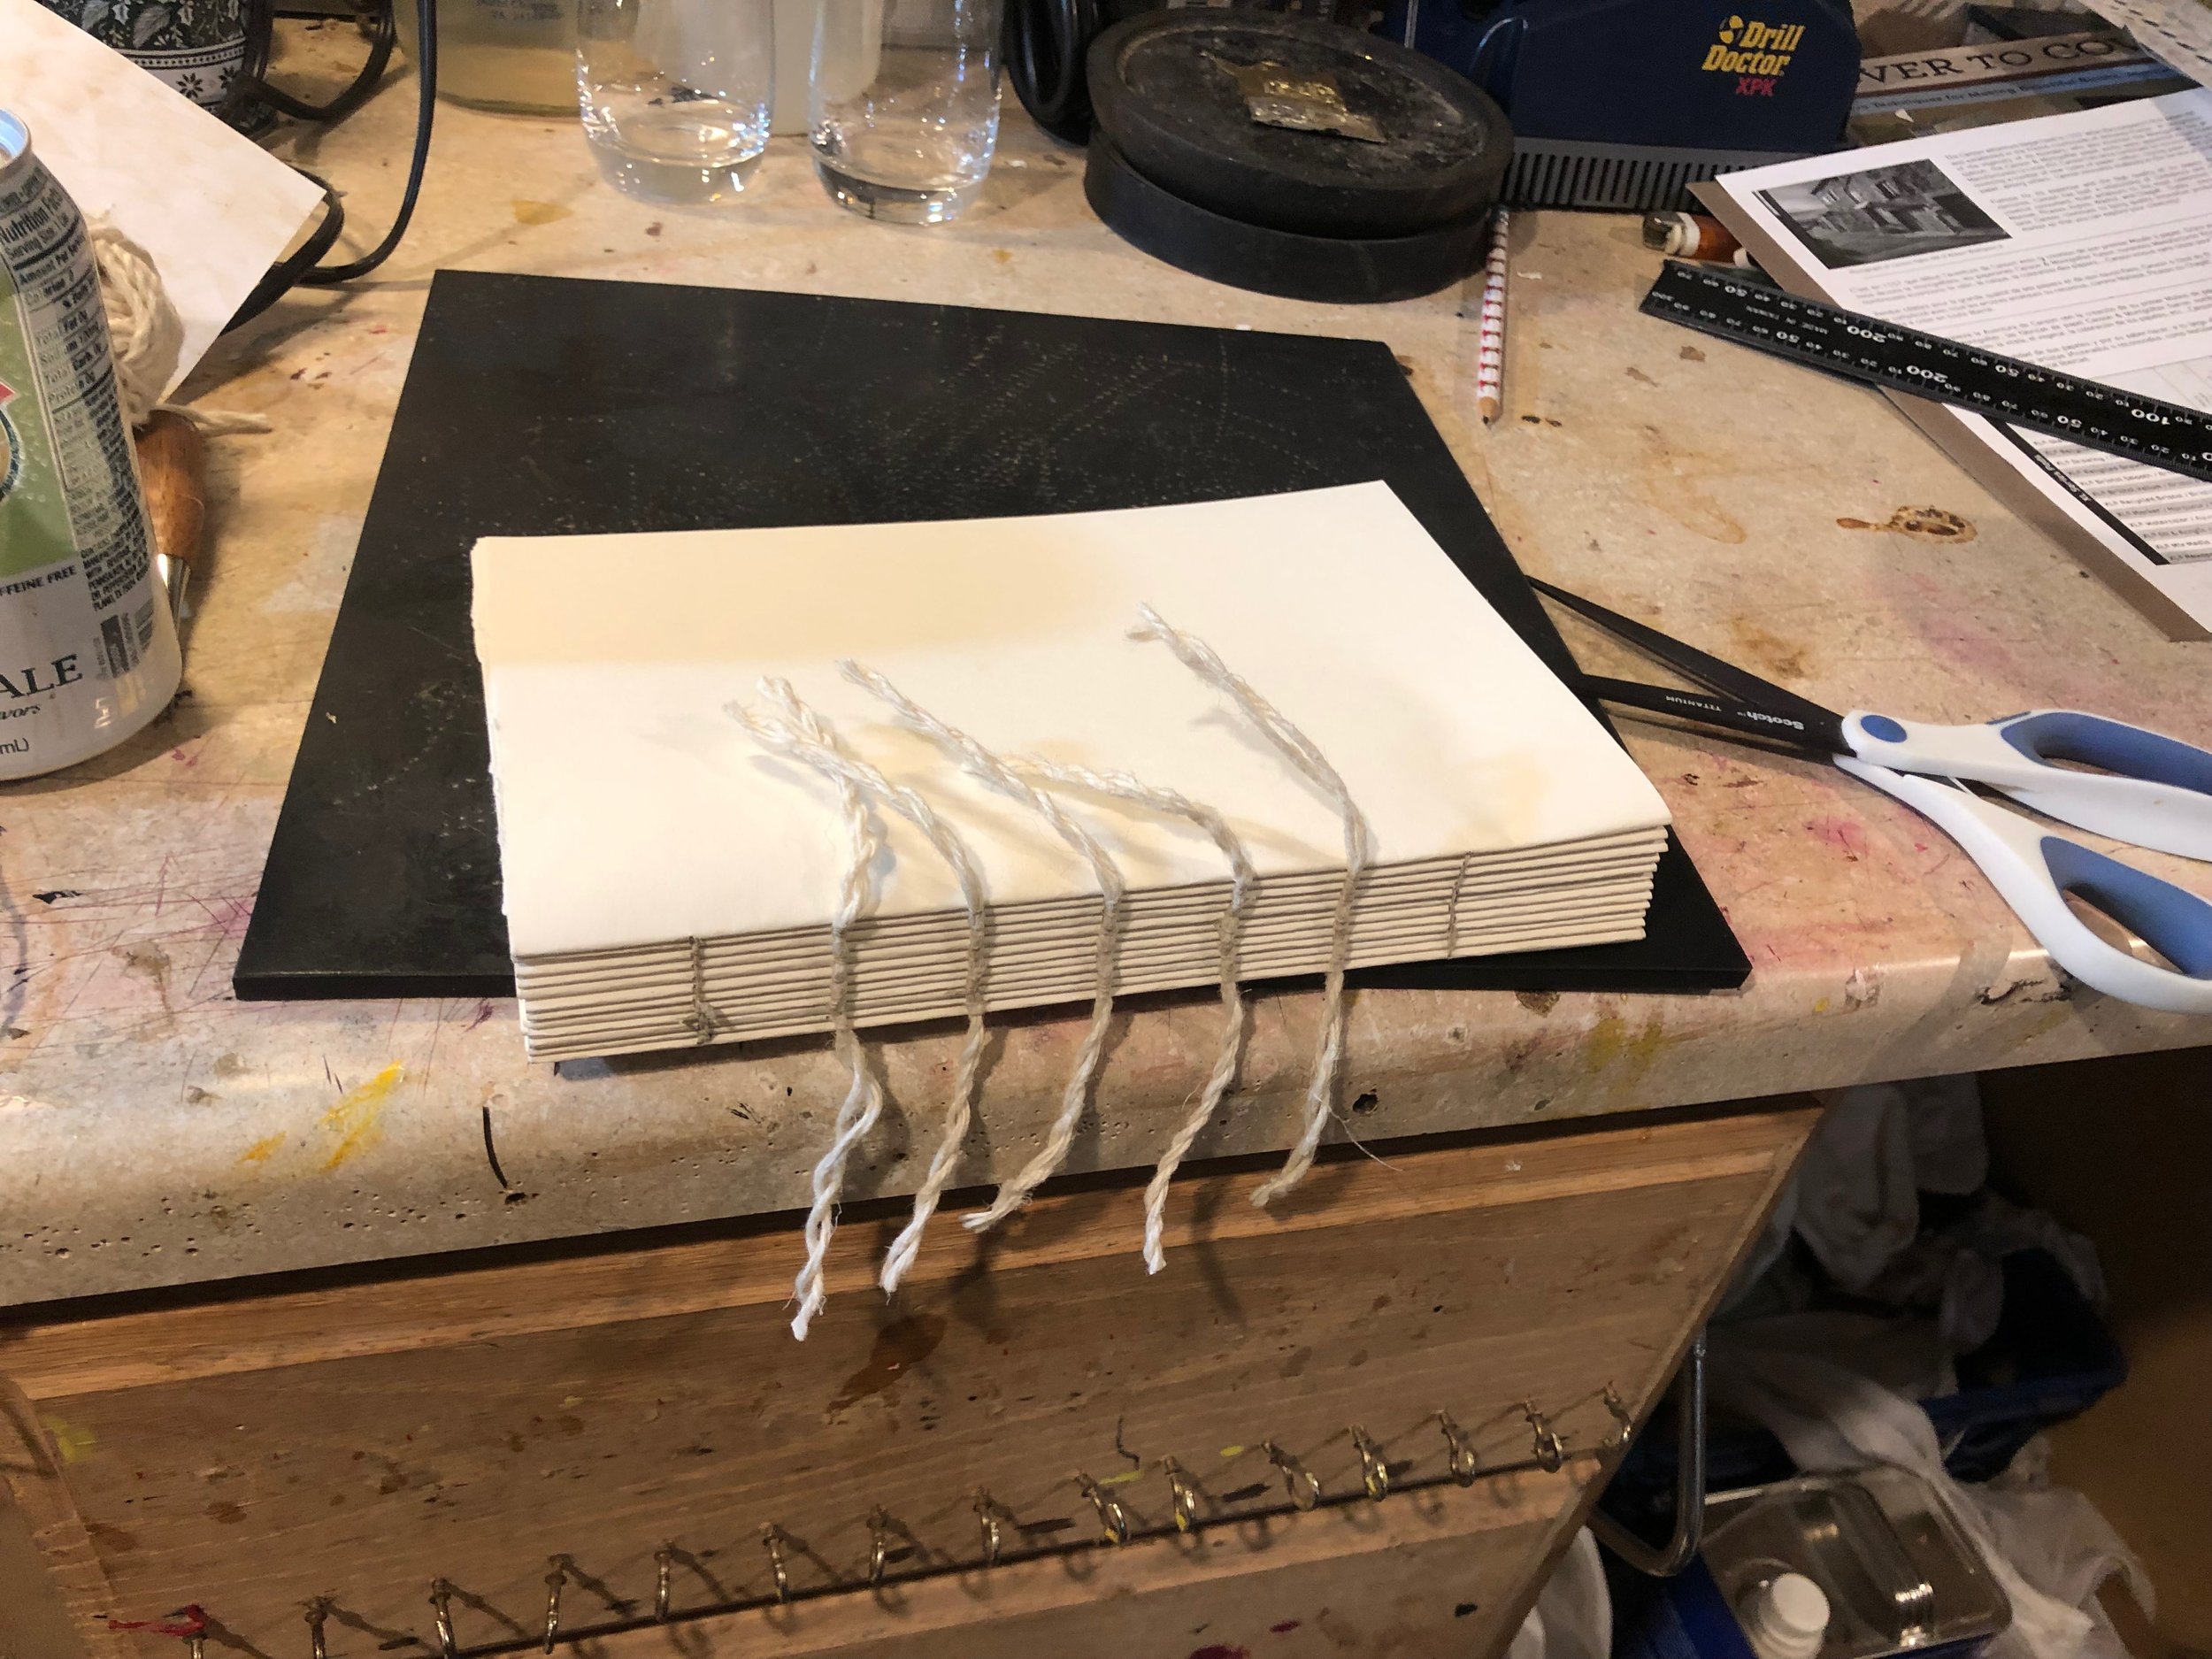
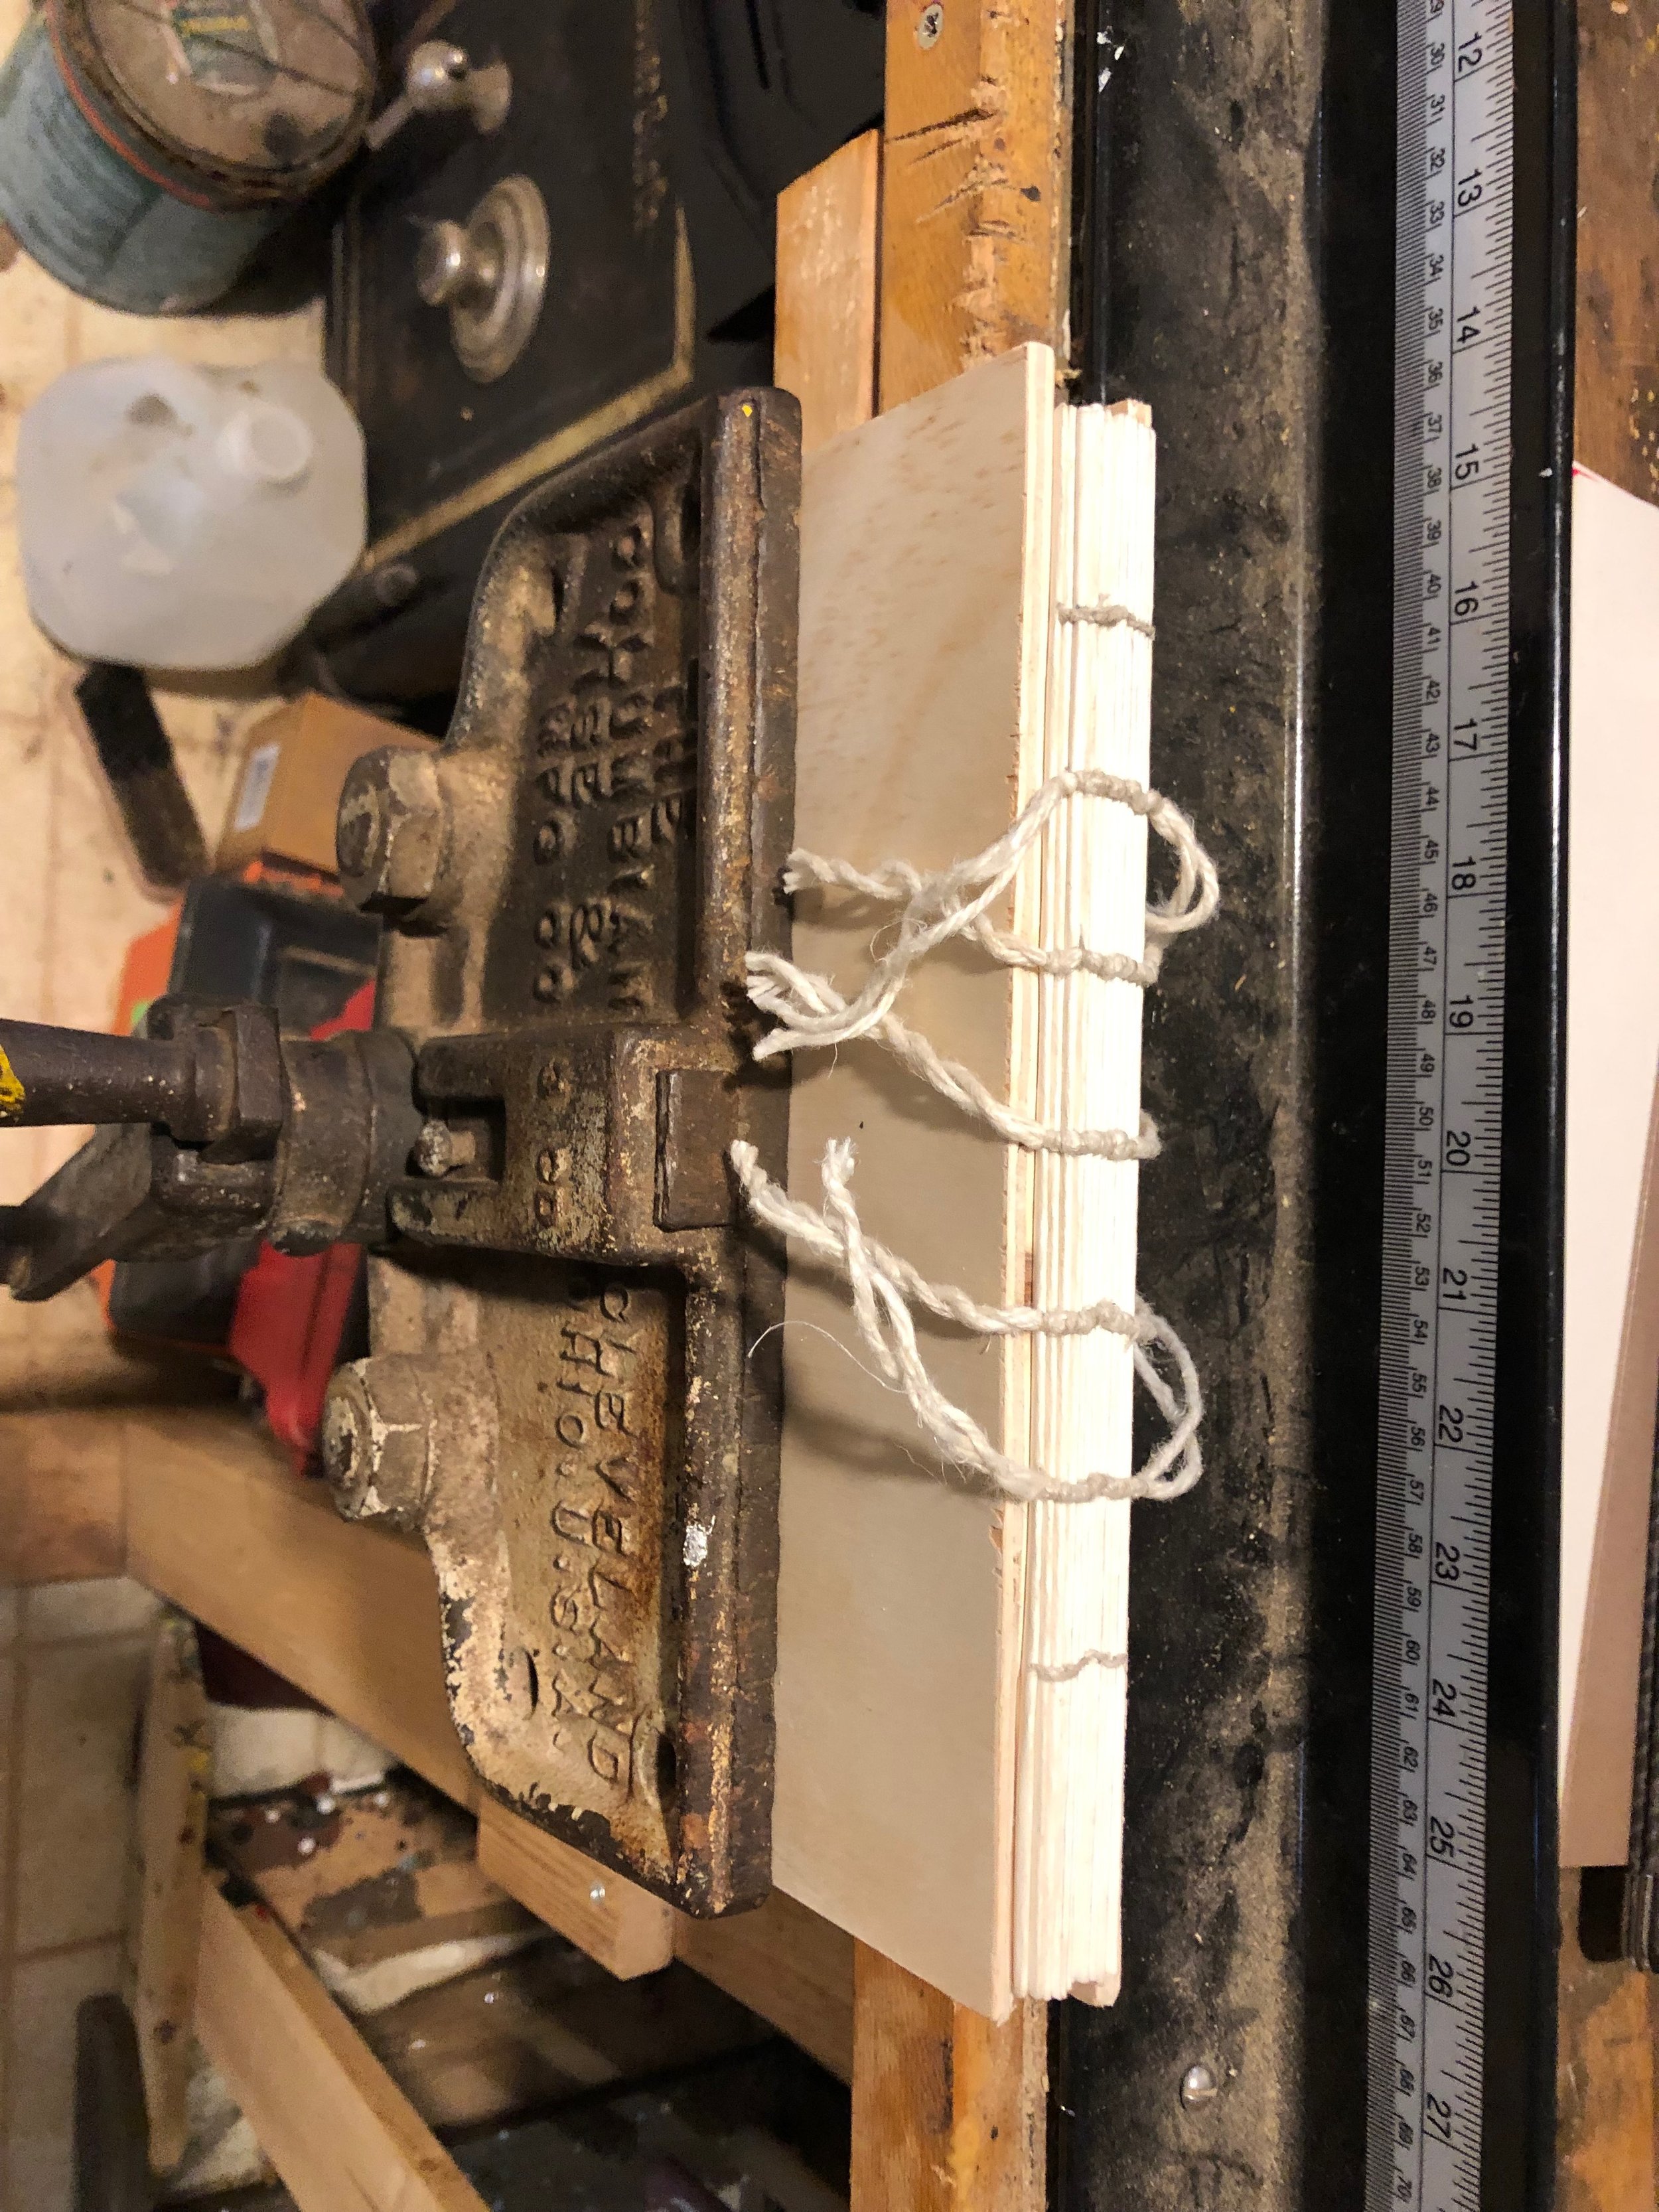
    As if I did not have enough going on, I have been asked to make a vigil book . The original request was for a book cover, but in my typical fashion, I feel the need to actually make the book. Below are some pictures of the binding practice I dd the other night to make a practice book. Once I have the technique down again ( I have not made a book in 30 years), I will start on the vigil book.

Some images of what has been going on:

Cooking table notes

Below are the notes I made for the completion of the cooking table. As an update, the “A” frame boards have been drilled for the top bar and the support poles. The support poles have been knotted and varnished. the next step will be to assemble the pieces to determine the correct angles for the bottom supports. The top pole will need to be drilled to hold the frames in place. None of this will be going on till the weather snaps. It is just to cold to work in the Garage. Time to turn to indoor crafts.

Prep for side supports:

Shave support poles

1. This has been changed to wrap and varnish cord stops.

2. Cut poles to length

Drill support poles for shims

These should be done as slots with a metal shim used for locking

Cut 1x6 with locking ends

Need to determine length.

Drill locking ends for shims.

These should be done as slots with a metal shim used for locking

Forge 8 locking shims

Forge nails for holding 2nd layer of inside supports

Cut and work top bar.

1. Cut to length

2. Drill 4 holes for stops

3. Round ends

Side supports setup:

Drill top hole for iron pole

1. 1 inch for iron bar

2. Down 1 foot from top for decoration

Determine height of table and drill holes for poles.

Cut and nail 2nd layer on inside supports

Cut holes for bottom supports

Cut slots for side bars

Assemble, mark and cut bottoms

Finishing parts:

Forge 4 cross bars for stability and hooks for hanging

Drill crossbars for hooks and bolts

Rivet hooks on crossbars

Cut planks for storage table

Glue and nail cross bars/locking bars

Hanging grate:

Cut angle iron to grill size

Forge corners/hanging bar

Accessories:

  1. Lid lifter

  2. Coal Shovel

  3. Broom

  4. Wisk broom

  5. Ladle

  6. Coal Tongs

  7. Coal Rake

  8. Trivits

  9. Hanging Spit

  10. “S” hooks

One additional note from this week, I finished the bottle I was making for Mors:

Research

Today’s adventure will be in research and possibly some jewelry making.

The research I am doing ties into my cooking table (https://www.grimmsfield.org/cooking-table) and requires some backstory. Last year at Pennsic, My wife and I tried to cook several pieces of meat over the fire on a spit. The main problem we found was keeping the meat (or Fowl) from turning. The spit we used was round and the heaviest part of the meat was always facing down. In trying to combat this I came across the picture to the right. This was a genius idea and looks like it would be fun to forge.The ability to pin the meat to the spit bu means of a skewer would solve our problems quite nicely. I also came across another image using the same idea seen below that image.

I was also able to find several examples of cooking skewers being kept by the cooking fire and used on a regular basis. These were quite common in colonial households. Most of these were from auction sites with little or no history given.

The question now became, was this style of spit used in period? Finding examples of meat or fowls cooked on spits in period was easy. I plan on devoting more time to the research presented by these images. However, today my main quest is to find a period pierced spit. Even though I was planning on making my spit with this feature for the Grimmsfield cooks to use, I would much prefer to have it be documentable.


The first image I was able to find of a spit with holes for skewers was The kitchen maid by Joachim Wtewael . This image shows very clearly the slots in the spit, but unfortunately was painted between 1620 and 1625. So close but no cigar. The quest must continue.

The second image I was able to find was even better. Not only did it show a spit with the skewer slots, but the meat being held on with the skewers. Kitchen Scene is a perfect example of the spit and its use! Helpful in every way but one. It was painted by Peter Wtewael (Dutch, Utrecht 1596–1660 Utrecht) in 1620. Again to late to be used for documentation.

As I was begining to give up hope and decide to just make the spit anyway, i stumbled onto the works of Joachim Beuckelaer (1533–1574) pintor flamenco. What Awesome work he did and with details that any blacksmith would love. Not only did he paint a kitchen scene with a slotted spit, he painted three! The first one Christ in the House of Martha and Mary.1565, shows a spit with a clear slot below the roast. It also gives a tantalizing glimpse of the stand attached to it.

The second work by Joachim Beuckelaer (1533–1574) entitled The Well-Stocked Kitchen.1566. again shows a long spit with a slot for a skewer near the other end of the spit.

The final image, Allegory of the carelessness (undated) shows yet another kitchen scene with a spit with the slot worked into it.

Although the painting by Peter Wtewael is the best from a working standpoint, all of Joachim Beuckelaer works fall safely within period. This has allowed me to look at the spit as both a working tool and as an A&S project in its own right. Some of the other kitchen scenes that I am saving for future reference are:

Joachim Beuckelaer: Cook (in the background Christ with Maria and Martha)

1600 vincenzo campi, la cuisine, détail droit

Joachim Beuckelaer--The Four Elements.- Fire. A Kitchen Scene with Christ in the House of Martha and Mary in the Background

Kitchen Scene with the Parable of the Rich Man and Poor Lazarus, Pieter Cornelisz. van Rijck (attributed to), 1610 - 1620

Well, not as much jewelry making as I hoped. Plenty of research done though, plus my scattered images bundled into one place. I hope to get working on the spit soon. For those of you following the fire table, I think that blog is going to be phased out in favor of all ramblings by Grimm being posted here.

New News

I feel the title of this blog should be “And Now For Something Completely Different”. This last week I was continuing to work on several projects at once. To give updates and news on all of them is as follows:

  1. Finished an Arm-guard.

    The Arm-guard was a secret gift for Grimmsfield 12th night. It was a arm-guard for Ernestine Nwani. This is a picture of the finished artwork before the buttons and cords were added. Final pictures to come.

2. Finished the top of a pouch.

Finished the cutting and dying of the top of Ernie’s pouch. I ran out of time before the party to finish the soft bottom. That will be done in the near future.

3. Finished Decorating My Arm-Guard

Finished the cutting and dying of a new arm-guard for myself. Still need to add the buttons and the Cord.

4. Cut, Dyed, & Began Sewing a Leather Bottle

Began sewing a leather wrap for a square bottle. I still need to shape the top of the leather to fit on the neck of the bottle and finish sewing.

5. Worked on 3 different Jewelry Pieces.

Did more work on three pieces of jewelry I am working on. Still just working on the cutting at this point.

6. Spun a skein of yarn.

Sunday and Monday ended up to cold to work at the forge, so I decided to get the spinning wheel out. A while ago I purchased a bag of Teeswater top roving from The Woolery. This was sold to me as a heritage breed wool. I have always been interested in the different type of sheep in existence and the wool they produce.

7. Kimchi Update.

First batch came out with the proper texture and taste, but way to hot. Attempted a 2nd batch with everything doubled except the red pepper. The halving of the red pepper did nothing to the heat of the finished product. I had my neighbor, Mr. Oh, who is from Korea, he imminently told me the problem was that I was using inferior pepper flakes. He said they tasted like they were from China and not Korea. I told him they were purchased in a Korean market and were made for Kimchi. He was emphatic that they were not Korean Red pepper. All heat no flavor! When I returned home, I looked carefully at the package and sure enough, the “Korean” Kimchi red pepper flakes were made in China. The next day I asked him where he got his red pepper from and was informed that his family sent it to him from Korea. His wife took pity on me and gave me what she said was much better pepper flakes. So Kimchi take 3 is in the future.

Misc A&S

Very busy at A&S this weekend. Finishing and starting projects. An outline of work first, then details below.

Saturday:

  1. Finished one set of Puttees hooks to give to their Highnesses for largess.

  2. Started forging period nails.

  3. Forged a bad hoof pick

  4. Forged another skewer

More on these below.

Sunday:

  1. Started a leather bottle project for a friend.

  2. Started an armguard for myself.

  3. Started an armguard for a friend.

  4. Started a pouch for a friend

  5. Forged a very period ( ;-) ) paper towel holder.

Details of Saturday’s projects:

  1. Puttees hooks. These are from the casting I did last week. The wax that I cast these from is beginning to show signs of age. Not sure how many more sets I will get out of them. The polishing went smoothly and I was able to work some detail in where the cast did not come out well.

  2. Forging nails. I have begun a 1000 nail challenge. I am doing this for a few reasons. To start, I wanted some nails for finishing some medieval woodworking projects. Secondly, in forging 1000 nails I hope to improve my hammer and heat management skills, and third, I will always have something to work on in the forge( see notes below). I will be working on them in batches of at least 12 at a time. Of my first dozen, I think I have 7 working nails. Of these I am not sure I will even want to use 1/2 of them on a project I care about. As this was my first attempt, I feel like I at least have a grasp of the process. The next forging will show me how much of it stuck.

  3. Bad hoof pick. Poorly done and will be thrown away. This is what happens when I want to do something , but I do not have a plan in place. When I came home Saturday night, I just wanted to forge, not make anything specific, just wanted time at the forge. Without a focus and a plan of action, I fumbled around trying to decide what to do and ended up half assing this piece. I need to go into the forge with a plan of action and not just wing it. I might hang this piece on the wall of my forge to remind me of this. It is bad work in so many ways.

  4. Skewer: After botching the hoof pick I decided to get my sh*t together and work smart. This skewer is made from 1/4 in round stock and came out pretty well. I still need to do more research on skewers and their use in the medieval kitchen.

5. Paper towel holder. When my wife and I first moved into Grimmsfield, the lack of a paper towel rack in the kitchen. I quickly bought an inexpensive plastic holder and jammed it on the wall for the time being. That was years ago and I have hated that paper towel rack ever sense. I finally decided to do something about it. My wife and I looked through the Internet at how others had solved the paper towel rack conundrum. After deciding on a style, I set to work. It was not to be a copy of a piece, but an amalgamation of several we had found. This presented several more problems then I anticipated and the final results were less the satisfactory to me, My wife likes it and therefore it was installed. But I hope to redo this with a better design in mind. I am not happy with the proportions and flow of lines and the general look of the piece. I feel better pre-planning could have improved the looks greatly.

Kimchi adventures

And now for something completely different…….

My first attempt at making kimchi. My eldest daughter loves kimchi, but most commercial stuff contains sugar and my daughter must keep away. So, time to learn to make kimchi.

Step 1: Gather the ingredients.

1 Napa cabbage

1 bunch spring onions

1 daikon radish

1 2 in. Piece ginger

1 clove garlic

sea salt

korean red pepper

salt shrimp

fish sauce


The process:

Step 1:

s425178637313967570_p14_i1_w355.jpeg

Add 1 cup sea salt to 1/2 gallon warm water and stir to dissolve.

Shred and core the Napa cabbage.

Place the cabbage in the water and weight it down to keep it submerged.

Allow to sit for 2 to 3 hours.


Step 2:

Combine 1/4 cup salt shrimp, 1 head of garlic, 1 two in. Piece of ginger, 1 tablespoon fish sauce in a blender or food processor and create a paste.

garlic.jpg
Ginger-800x416.jpg

Step 3:

Cut the diakon into 1 inch straws and place them in a mixing bowl. Add to this the spring onions after they have been cut into 1 inch pieces. To this add 1 cup of Korean pepper flake, 1 tablespoon of sea salt, and the paste made in step 2.

IMG_0795.JPG
IMG_0794.JPG


Step 4:

Once the cabbage has finished soaking, pour out the brine and rinse the cabbage thoroughly. Then combine with the onion/garlic/ pepper mix. Once all of the cabbage has been coated with the mixture, pack it as tightly into a container as possible.


Step 5 and beyond:

Once the jar has been packed it is set in a cool dry location to ferment for 3 days, then placed in the refrigerator for another 2 days. From there the only step left is to consume it! More on these steps as they become available.

Blacksmithing & Blacksmith Goop

Worked in the forge for most of the day. Details can be found on my cooking table blog.


Blacksmiths Goop

Because of the poor results of using different finishes, I have decided to make my own finish. This will be my first attempt at this. I have been using Either Linseed oil or beeswax, both with limited success. The Recipe I am going to try is as follows:

12 oz. Beeswax (Thanks Lorelei)

1 cup Boiled Linseed oil

! cup Turpintine

1/4 Cup Japan Drier

The first step is to melt the beeswax in a double boiler. This is done over low heat and on an electric burner. The low heat keeps the wax from bubbling over and the electric burner is to keep the mix away from open flames.

The goop is being created in a tin pail so there will need to be no transferring. The pail will become the container for the stuff.

Once the wax was completely melted, the linseed oil was added. An interesting effect, while adding the oil, the was around the oil cooled in contact with the much cooler oil. this led to clouds in the mix. These quickly melted out at the temperature rose. The turpentine and the Japan Drier were added next with the same effect. Once everything was added, it remains on the heat long enough for everything to liquify and mix. This was then set outside to cool. We will see how it came out tomorrow.

For those wondering, this is Japan Drier. Until researching recipes for Blacksmith finishes, I had never heard of it,

IMG_0782.JPG