The Making of a Mastermyr Griddle
By Master Stephan Grimm
Introduction
I have been working on making objects found in the masternmyr chest. The Mastermyr chest was a archeological find made in the 1930s by a farmer plowing his fields. The land that is was found in was a shallow lake during the time the chest was in use. The reason the chest was in this location is unknow and why it was lost remains a mystery. The chest was full of woodworking, metalworking and other tools and objects. Many of the items appear to have been put into the chest already damaged and possibly could be for repair. This is my attempt to make another of the objects from the chest. This time, instead of one of the tools for metal or woodworking, I decided to make a kitchen tool found in the chest. There was a partial piece of a Scandinavian griddle found among the objects in the chest. This is my attempt to make a workable version of this tool.
Description
Within the chest, the griddle was found in partial condition. It is not known if this was a piece that was to be repurposed or possibly for repair. The griddle is missing the handle and shows 1 repair already. The repair was done by riveting a sheet to cover damage done at an earlier tine. The griddle measures roughly 8 inches across and has a hole in the center. The shape and sides have been deformed and it is not known if this was pre or post loss. The handle was not found in the chest.
Historical Use
Although they look much like modern long handled frying pan, Scientist believe these were actually used for the making of assorted breads and pancakes. The single rivet in the center of the pan allows the pan to be rotated to keep the baking even. Several of these griddles have been found throughout medieval Europe.
Construction
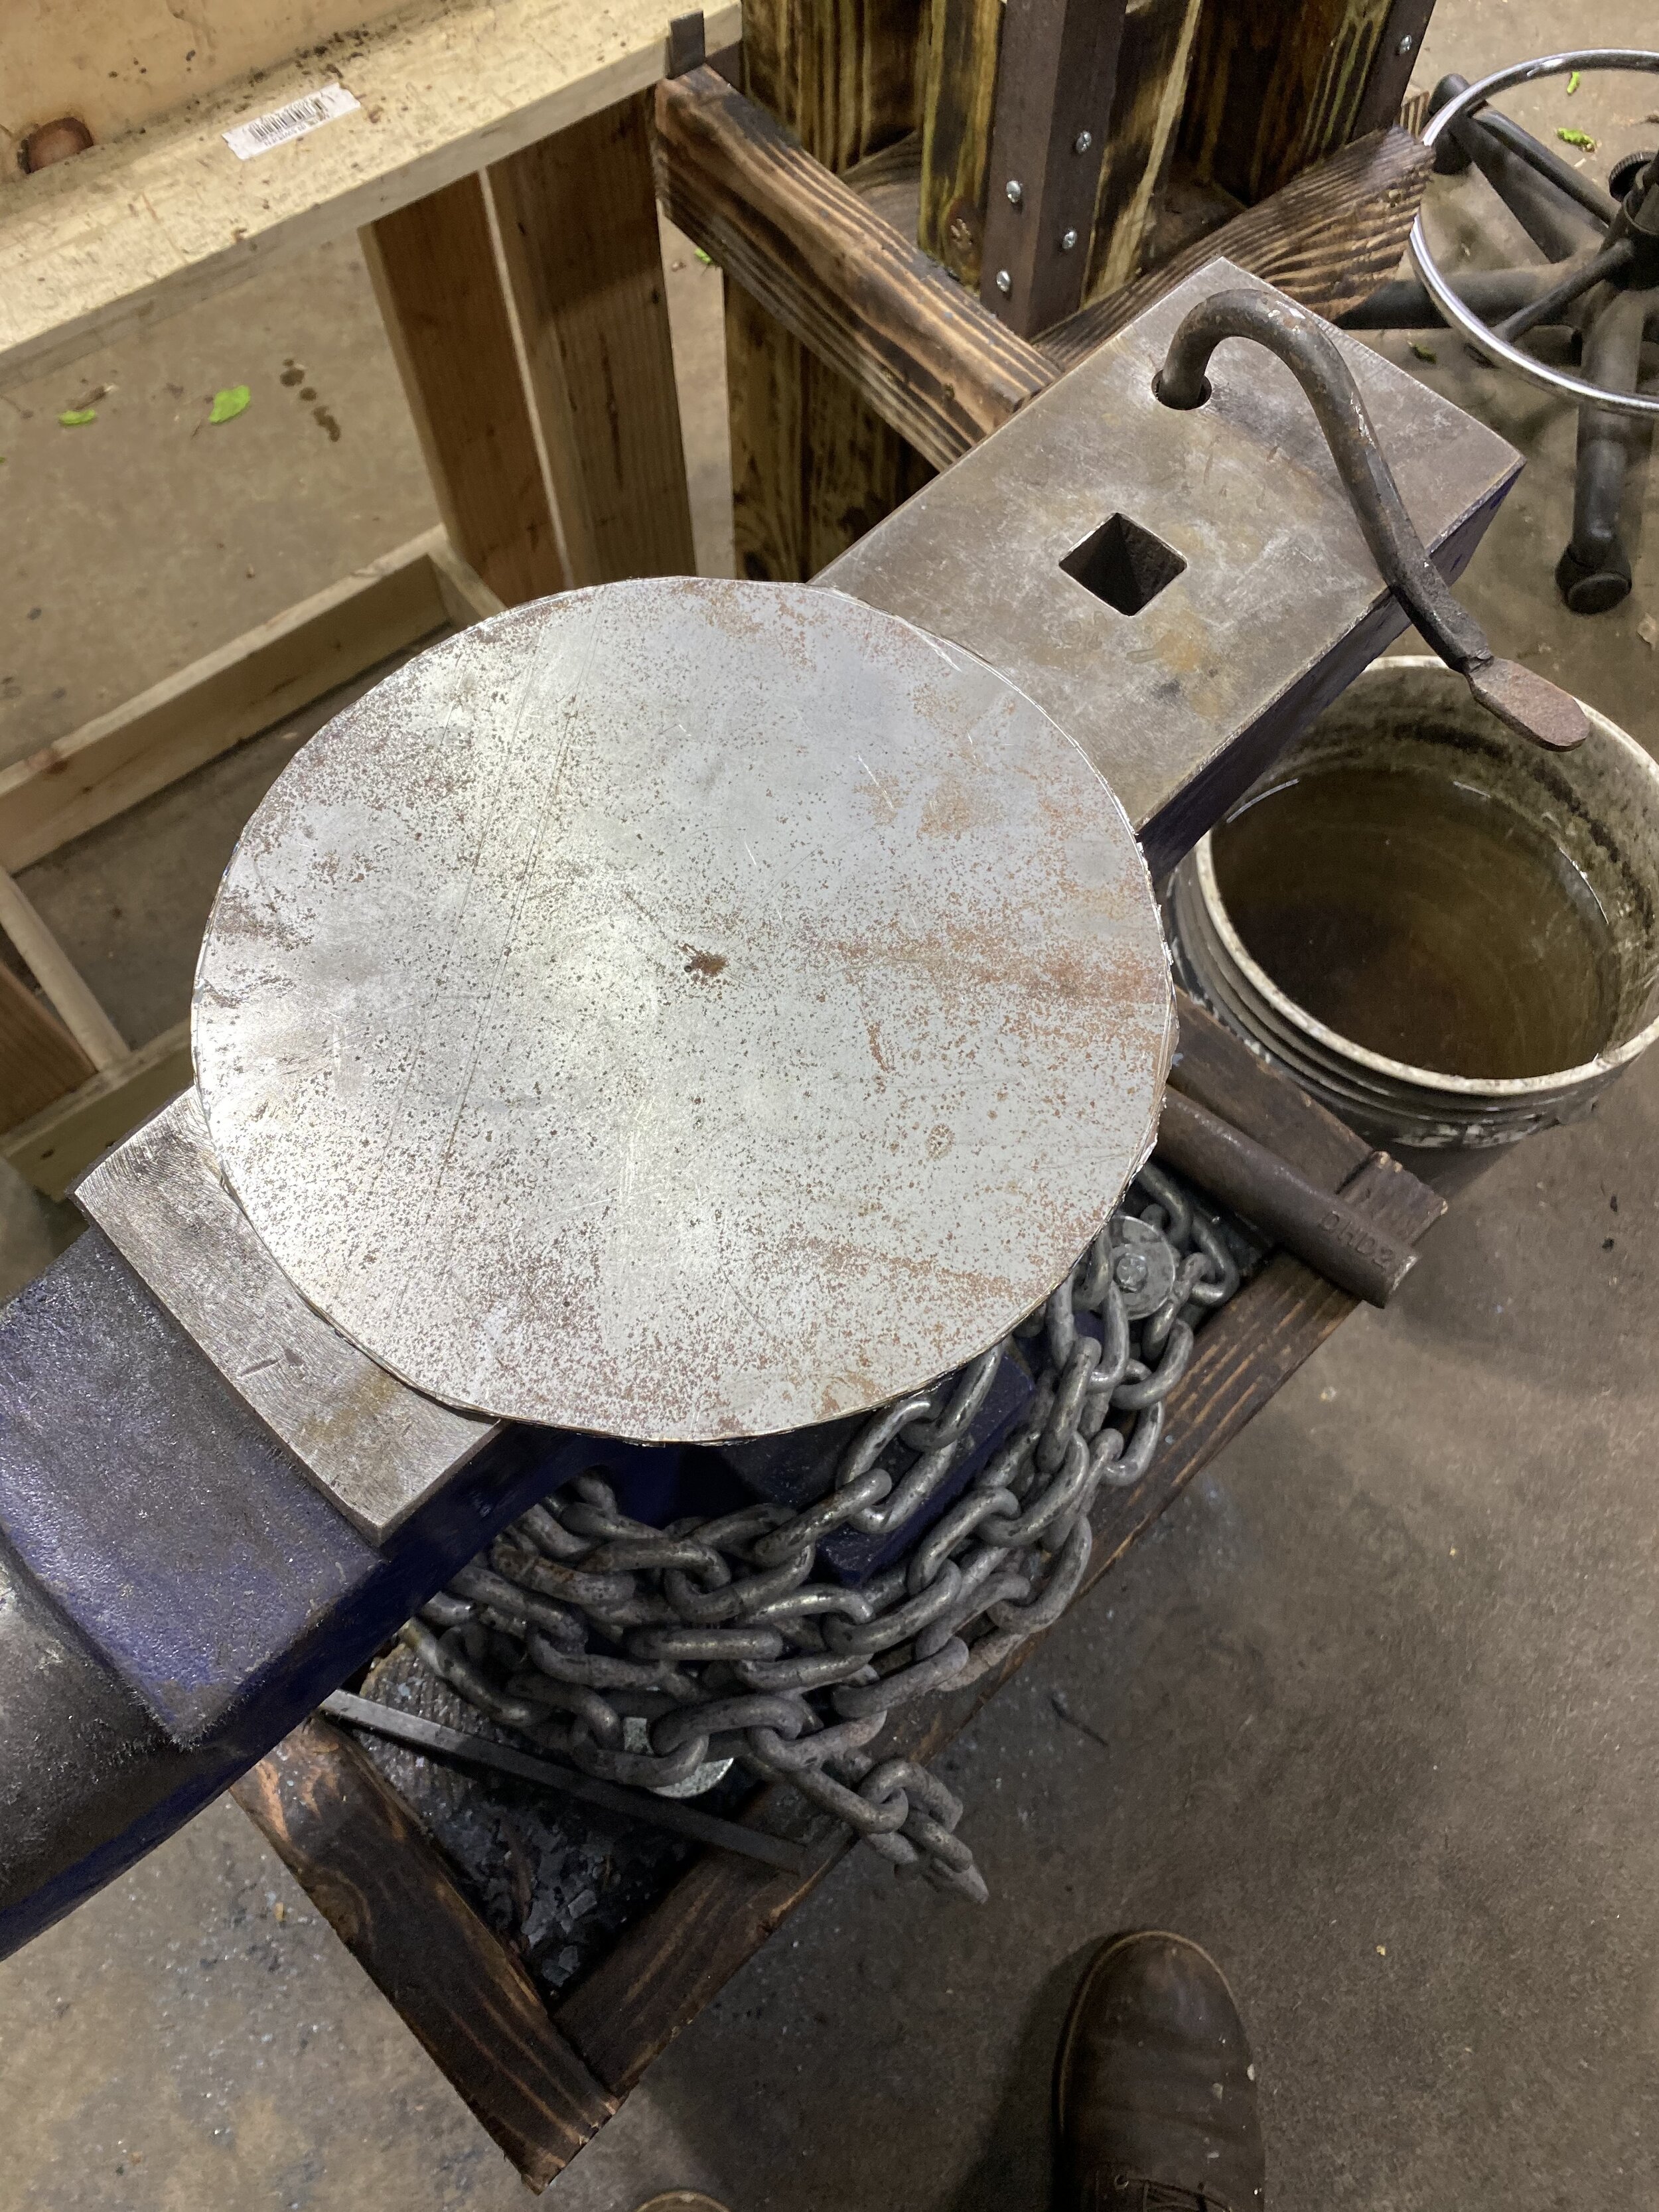
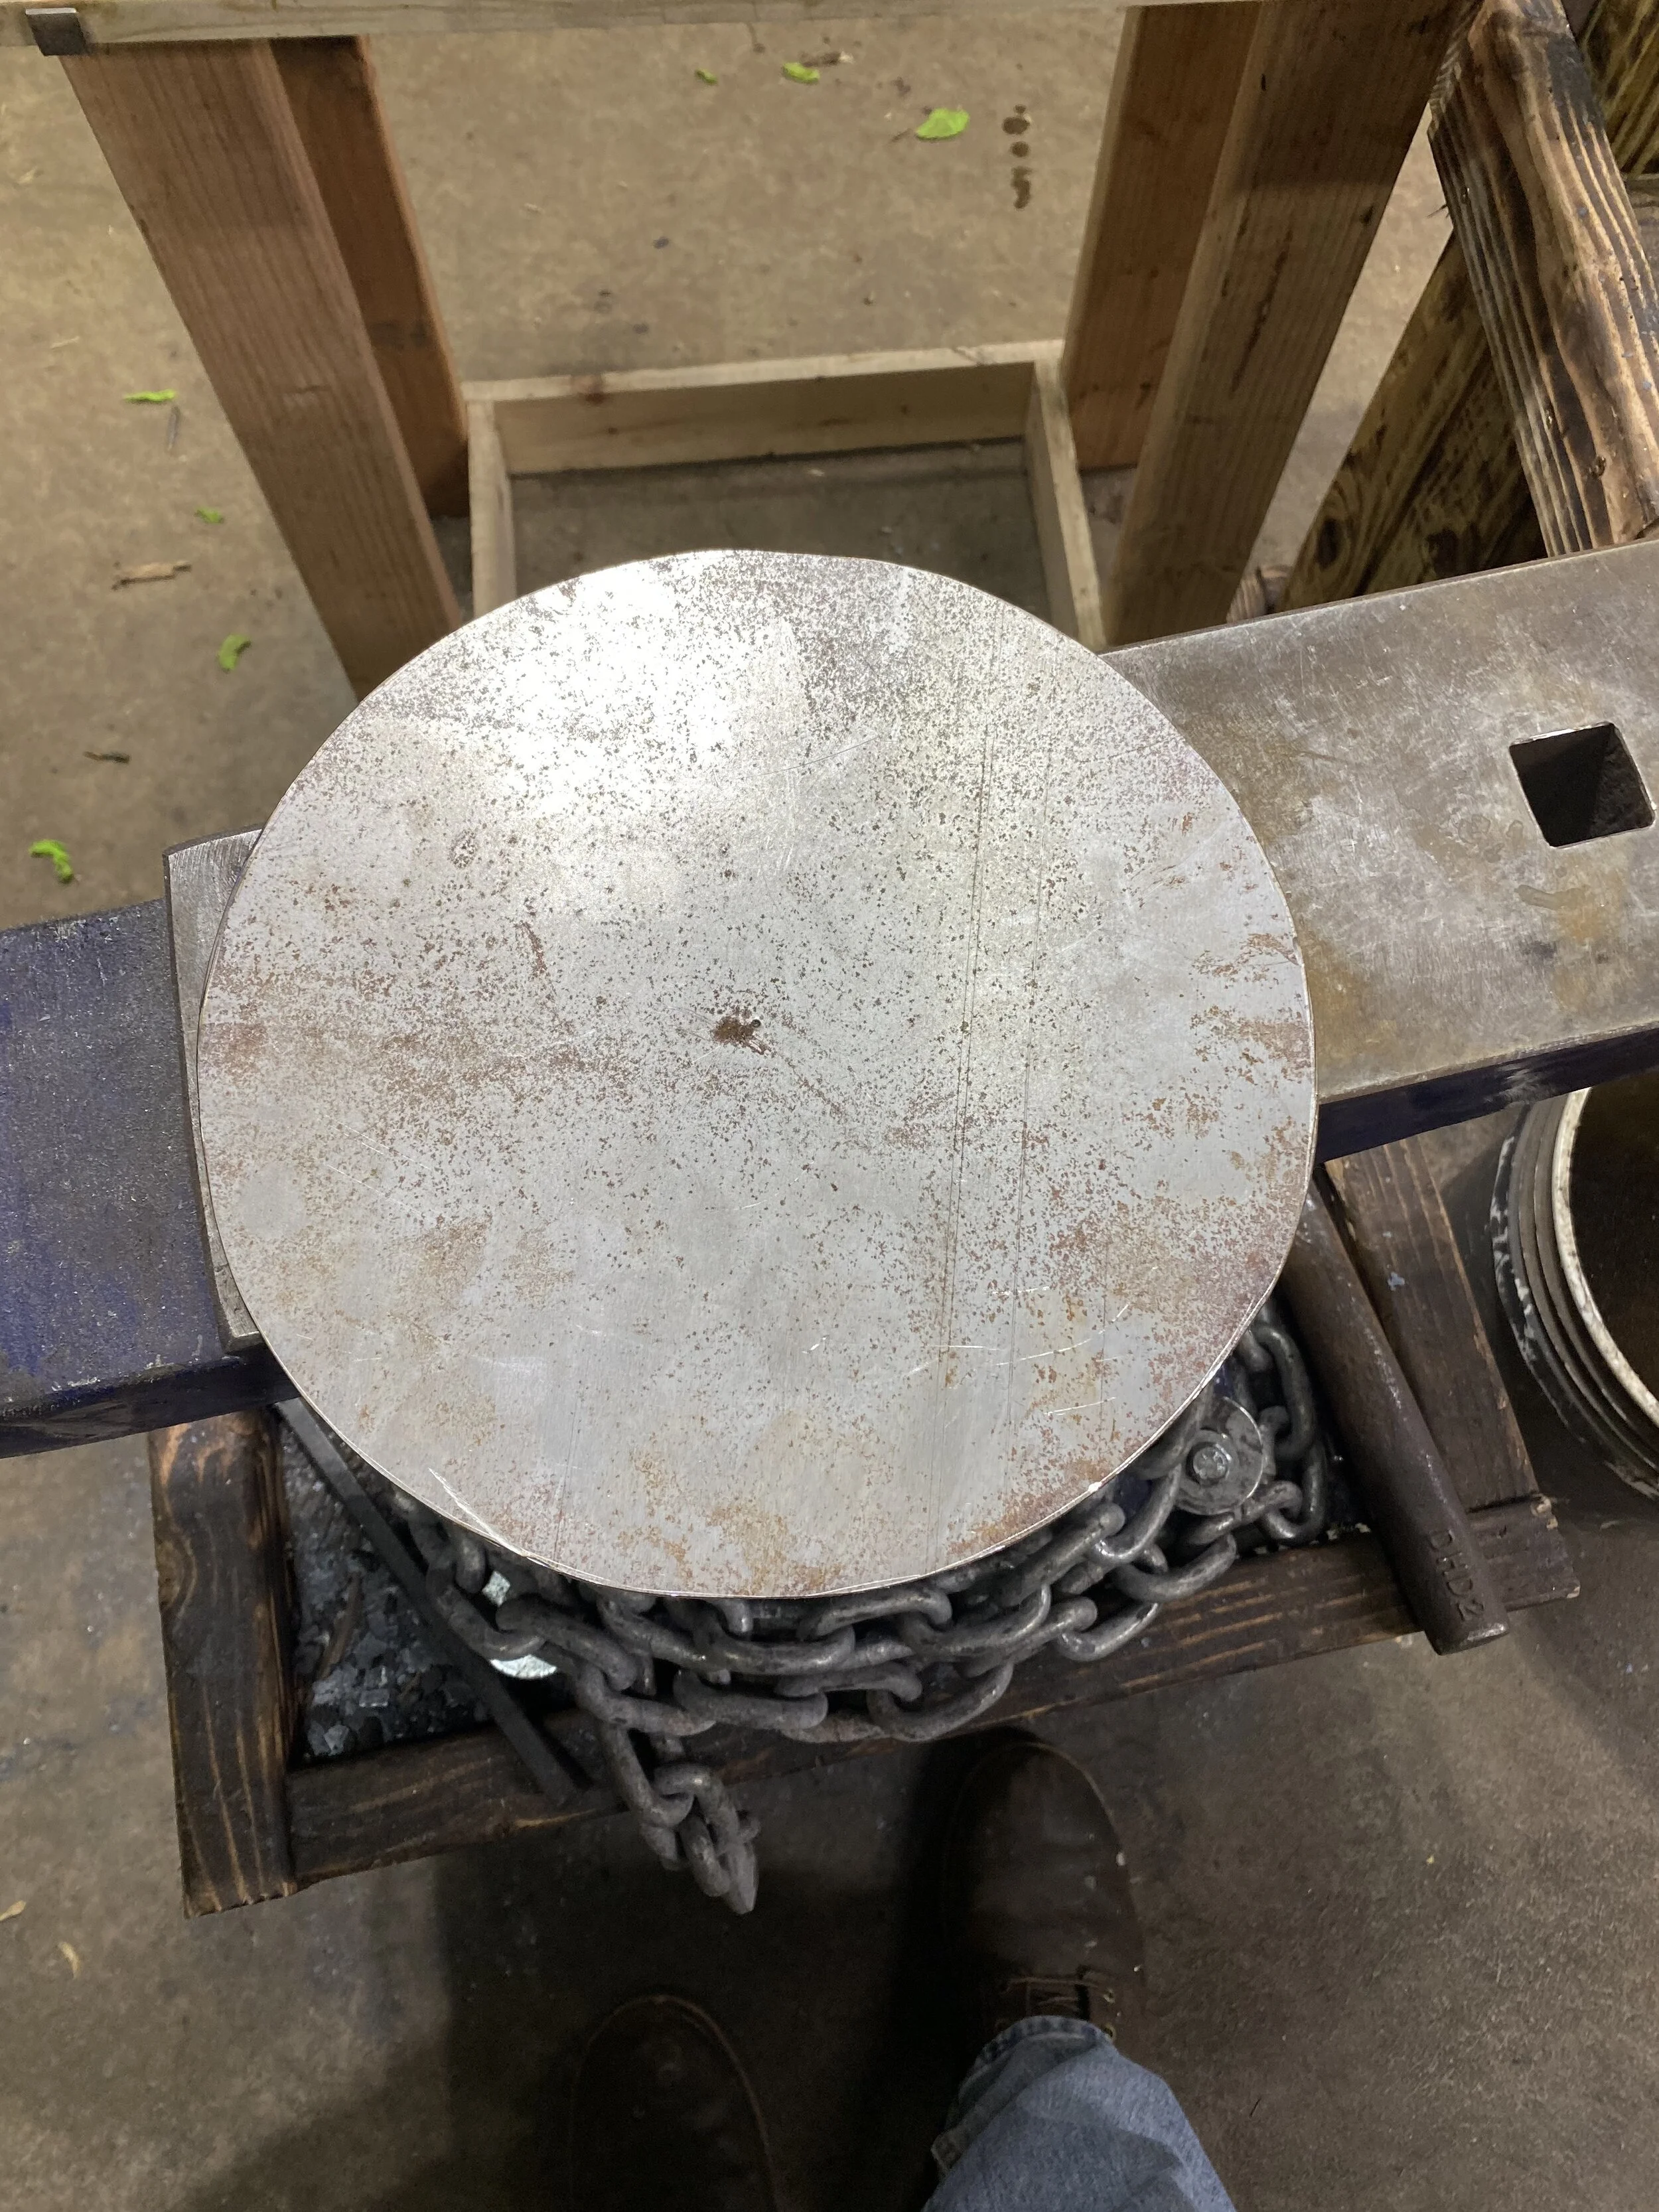
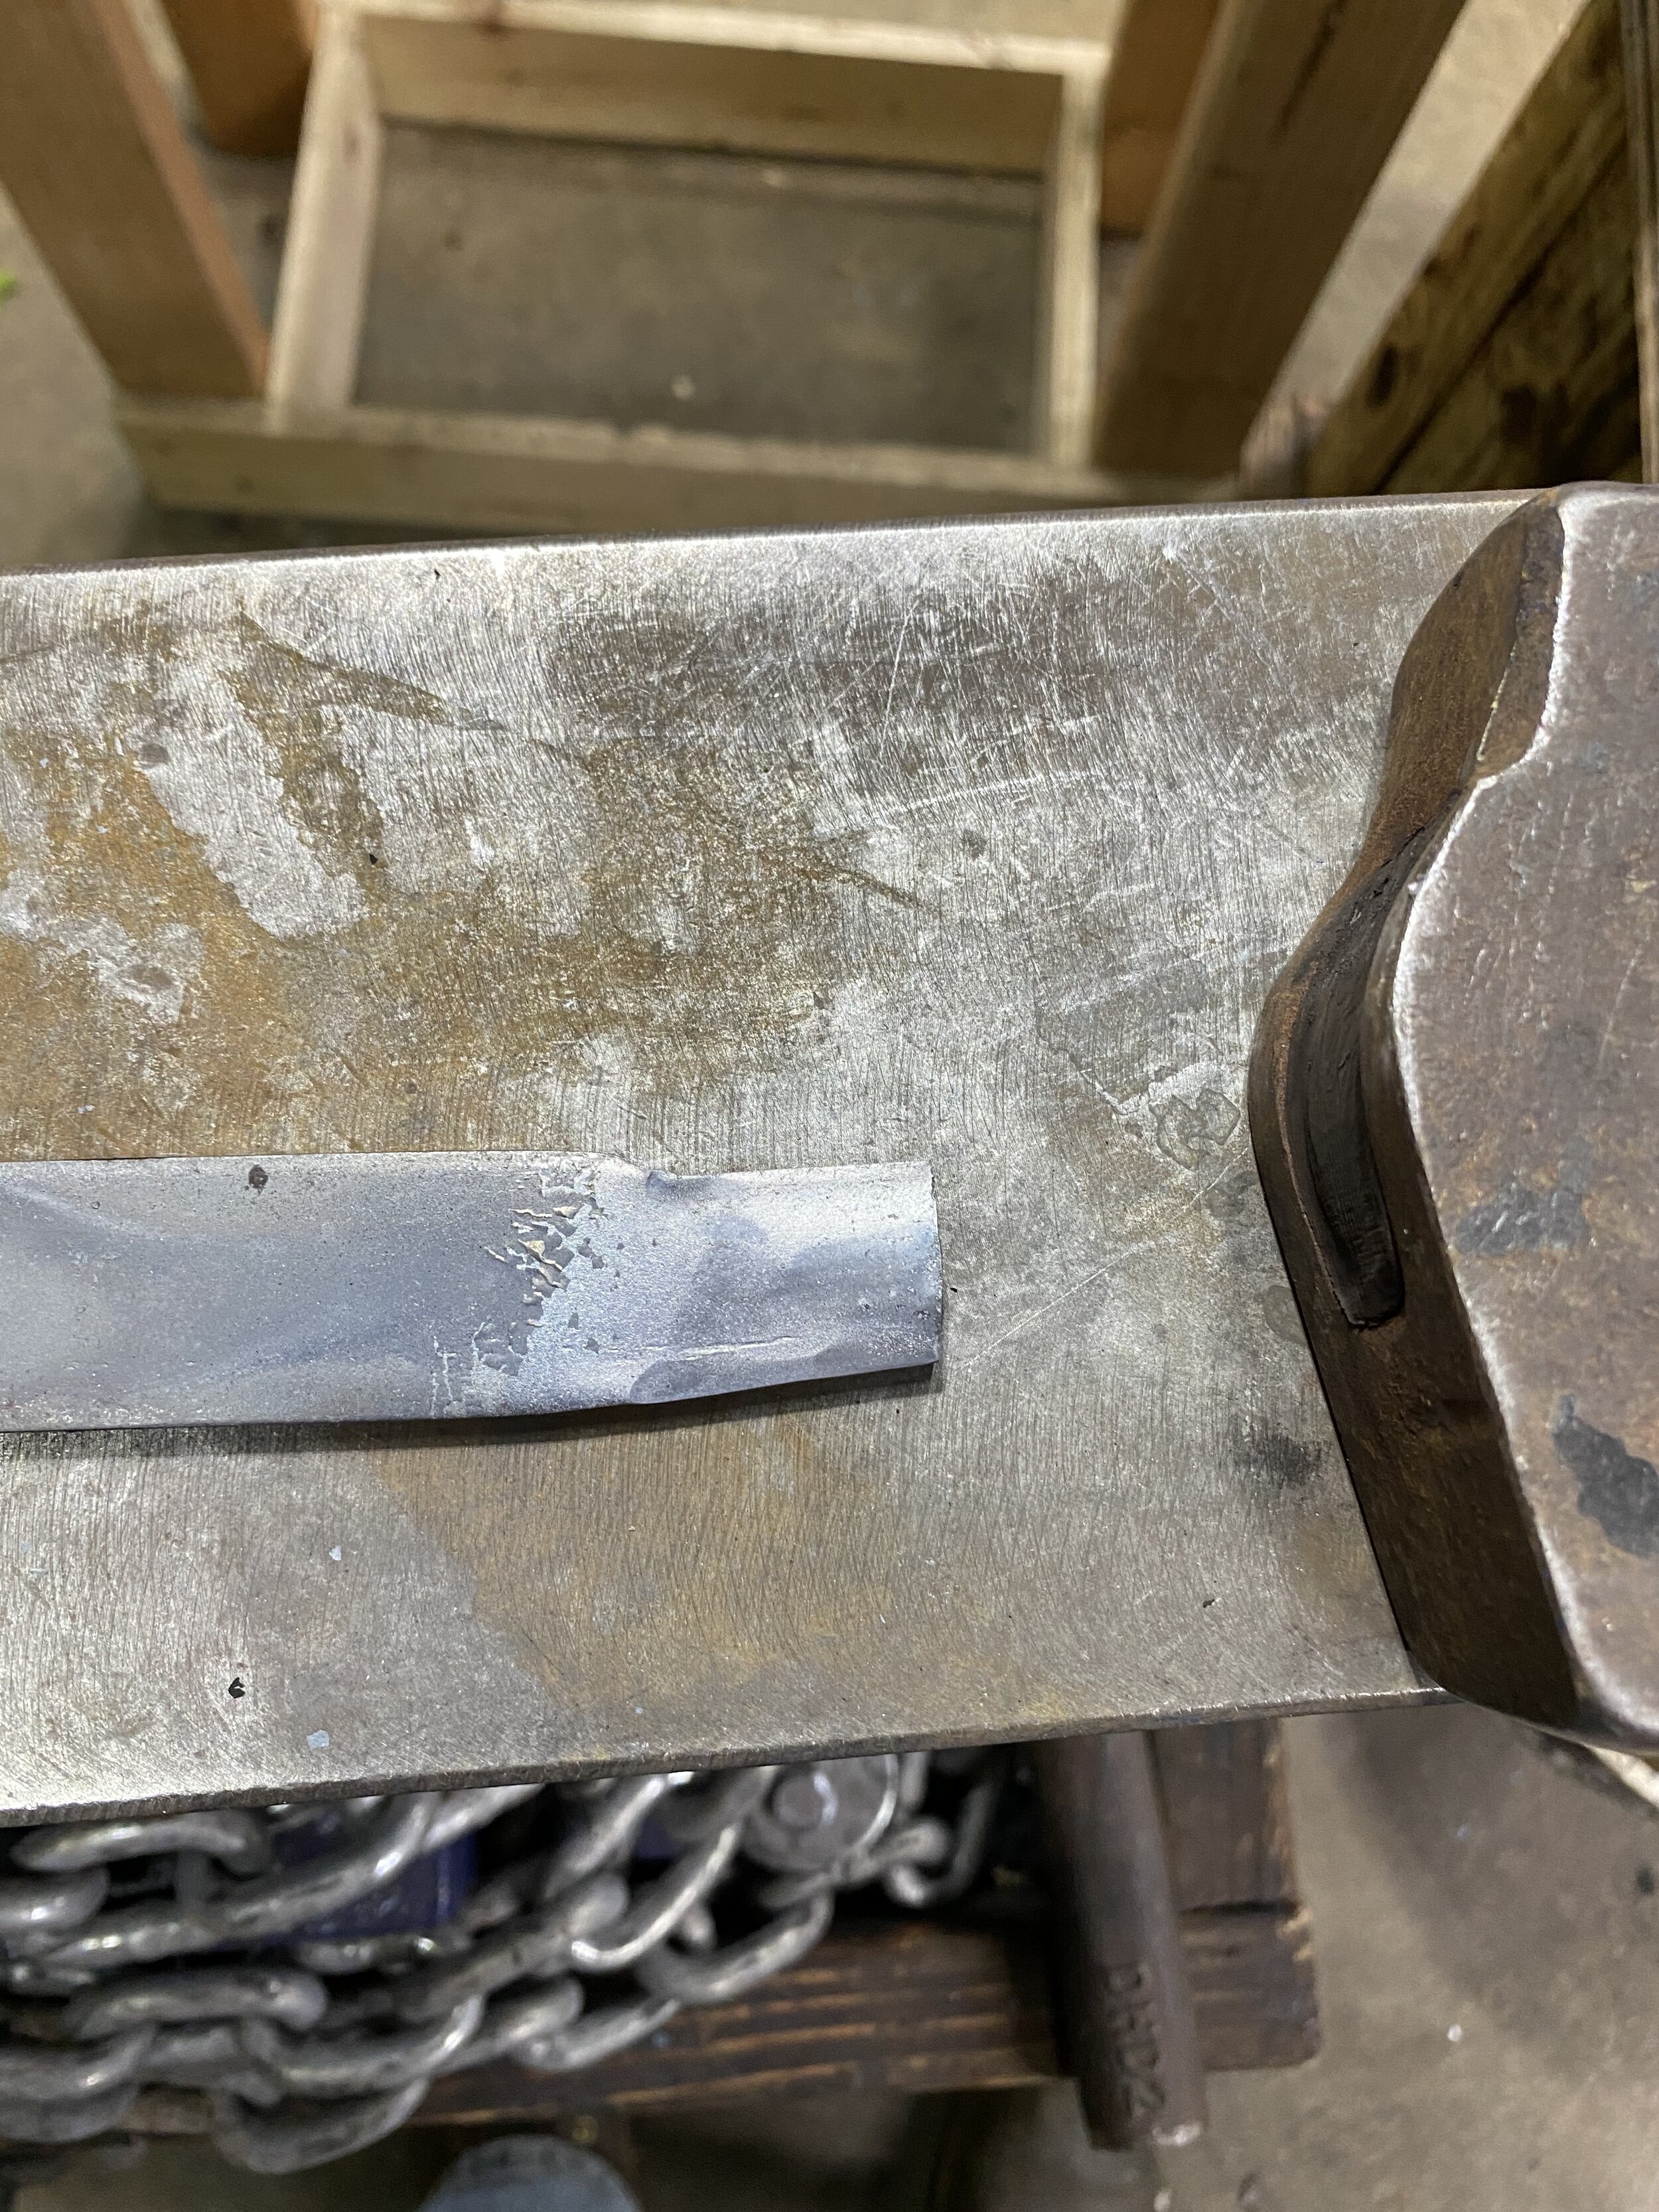
My first step of the construction of the griddle was to prepare the pan. In order to get an approximate 8 inch griddle, I decided to start with a 10 inch circle. This was drawn out on a sheet of mild steel.(picture 1 & 2) This was then cut out with a cold chisel into an approximate round shape (picture 3) then filed to a round shape (picture 4). This was then set aside to work in the handle.


The handle was made from a piece of 3/16th x 1 in mild steel bar 32 inches long. This was center punched at 6 inches for the hole for the rivet. A 5 inch line was also scribed down the center from one side to split for the wings. The anvil was then marked at 1 inch to set where the hook begins.


Now that all the prep work was completed, it was time to fire up the forge. The first stage of forging was to add the hook for hanging the tool. Because the handle was not recovered, I went with a generic loop shape to make it easier to hang. This was hammered into the non-marked end of the bar and worked down to proper size. The point was then rounded and bent to a circular shape for hanging. this was then cooled down to allow working on the opposite side.


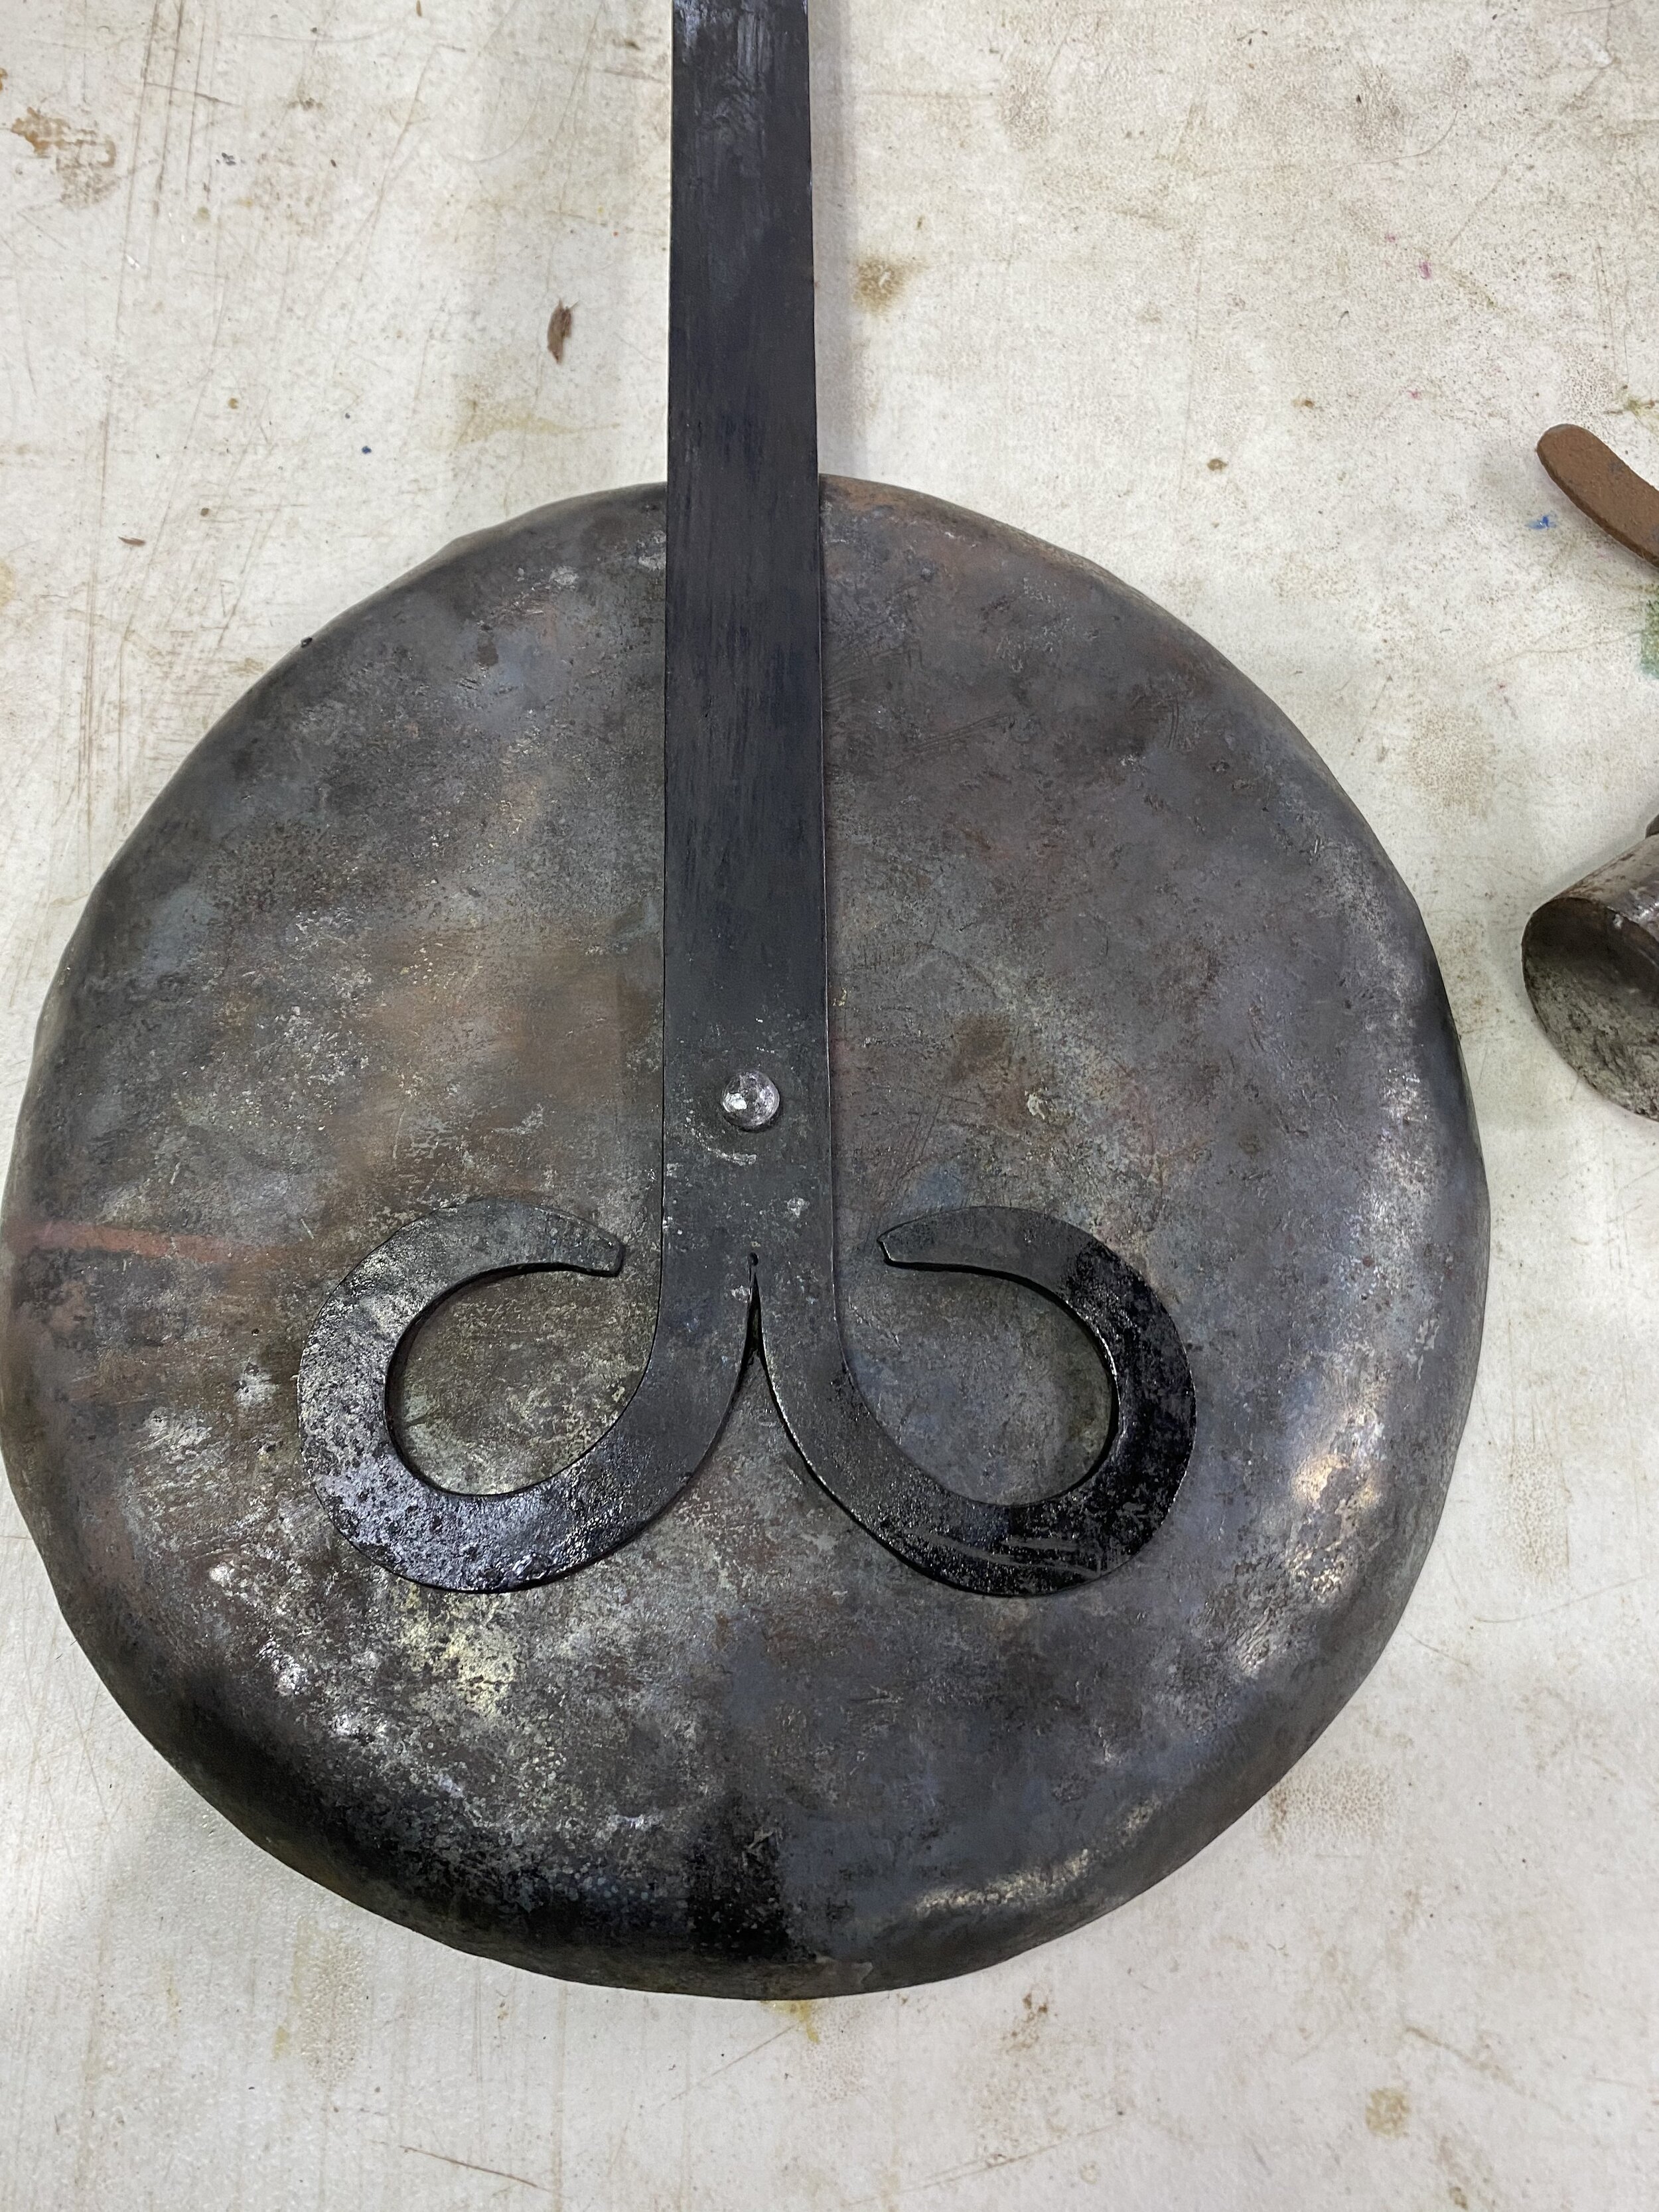
The first step in the other side of the handle was to cut the 5 inch slit that was marked out in the beginning. This was done by heating the end up and cutting the lane with a slitting chisel. Once the bar was cut all the way through, the two arms were bent outward to allow them to be worked on. The ends of each arm were then rounded and curved to shape. The hole was then punched for the rivet. The final step was to heat and round all the edges to make a good feeling tool.


Now that the handle was finished, it was time to work on the pan. To start, a line was scribed one inch from the edge to show where the flaring was going to be worked in. The sheet was then heated and the edge rolled against a curved surface in my swage block. This was repeated until the entire rim was rounded from the bottom. The center of the pan was then worked flat against the warping that working the edge introduced.


Once the pan was a flat as I could make it and the edges as even as possible, a hole was punched in the center. This then had a rivet inserted through it and the handle and worked down. At this point the blacksmithing was done on this project and there was nothing left but the finishing.
The final pieces.
The final step was to give the cooking surface a good cleaning to remove any residue from the forging process. After it was cleaned, the surface was coated with vegetable oil and this heated to create a non stick surface similar to a cast iron skillet.
Conclusion
This was a fun project to work on. I still need to improve my ability to keep a surface flat while working the edge. The griddle does not sit quite flat all the way around. I have seen other blacksmiths use a hollowed out space on a stump that is the correct size, and this is what I will try next if I make another one of these. I am not quite the cook I would like to be, but come this spring, I will try and create bread on this. Here is the final product: