Well, unlike my last 2 post, I hope this one is more of what I hope to have these posts be like. More of a logbook of activity then a formal write up or a catch up post of a thousand things. If you all would like to see anything different, please let me know. I am hoping that by keeping up on this a little more, I can add a bit more description and explanation. of the processes.
Either way, had a good A&S weekend last weekend. I worked on several projects and was able to finish a few as well. This weekend consisted of working on:
finishing the brazier
Making a bending fork
Making a spit for my andirons.
Curtain Pulls
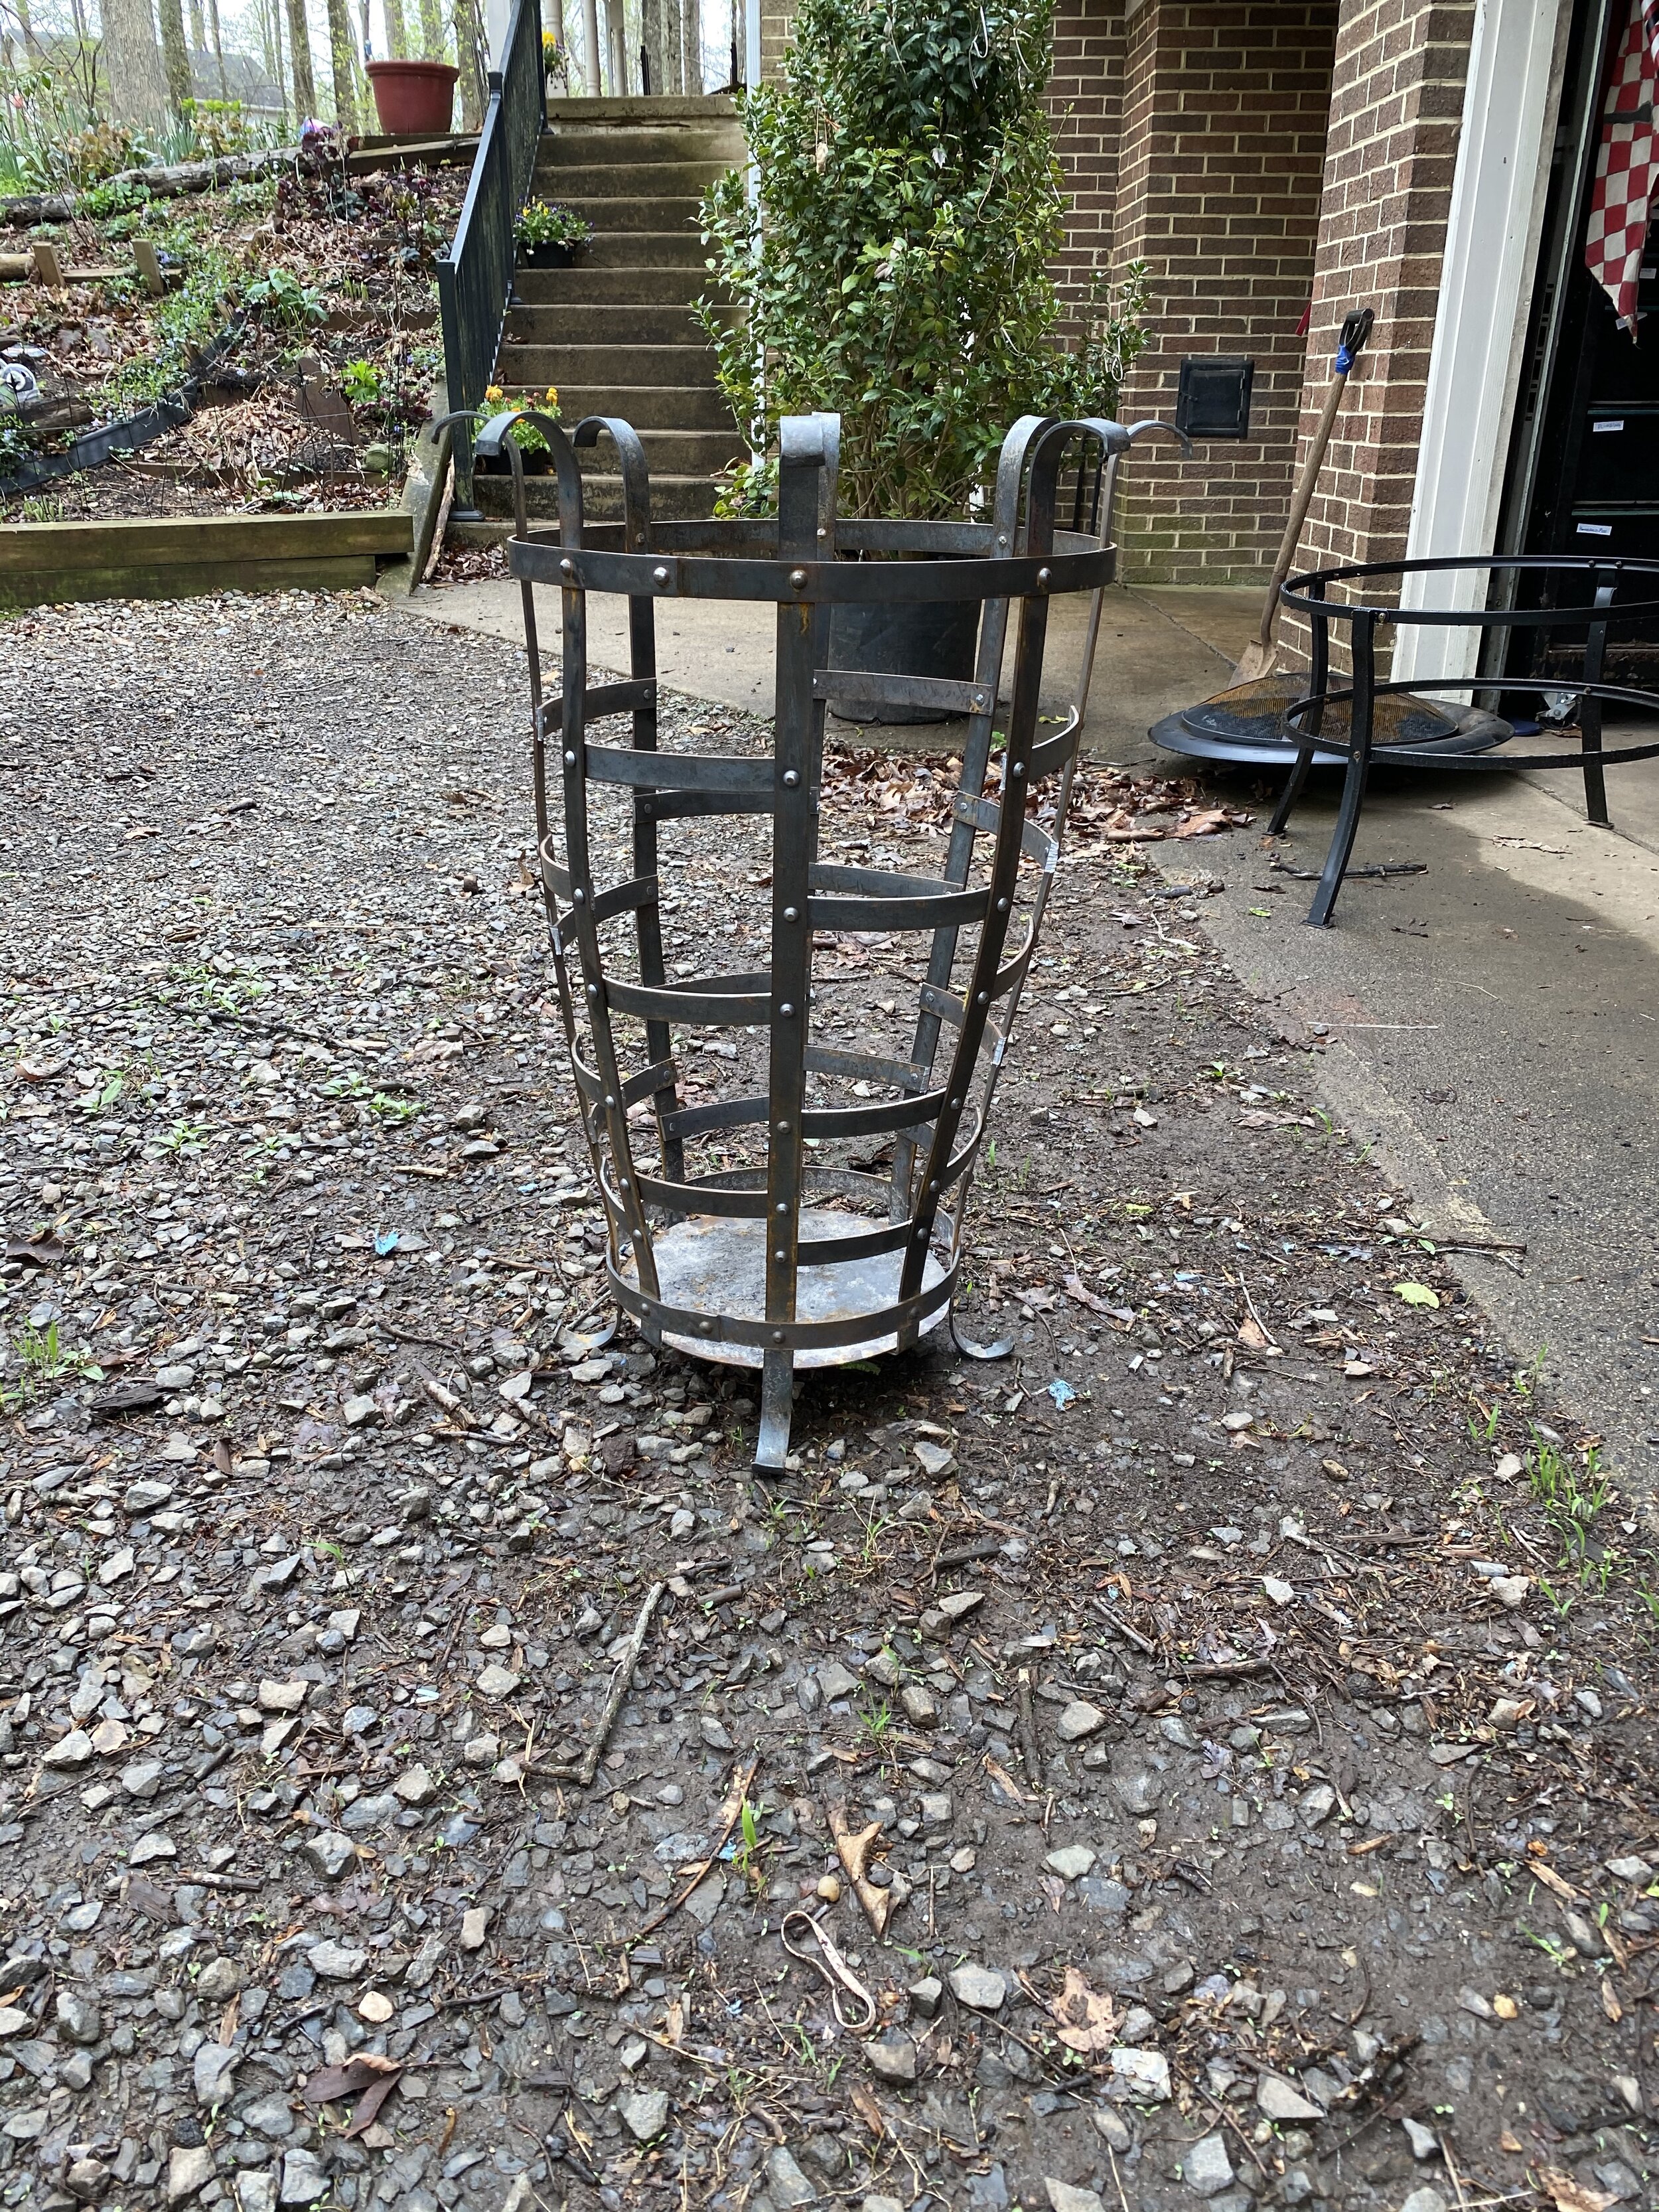
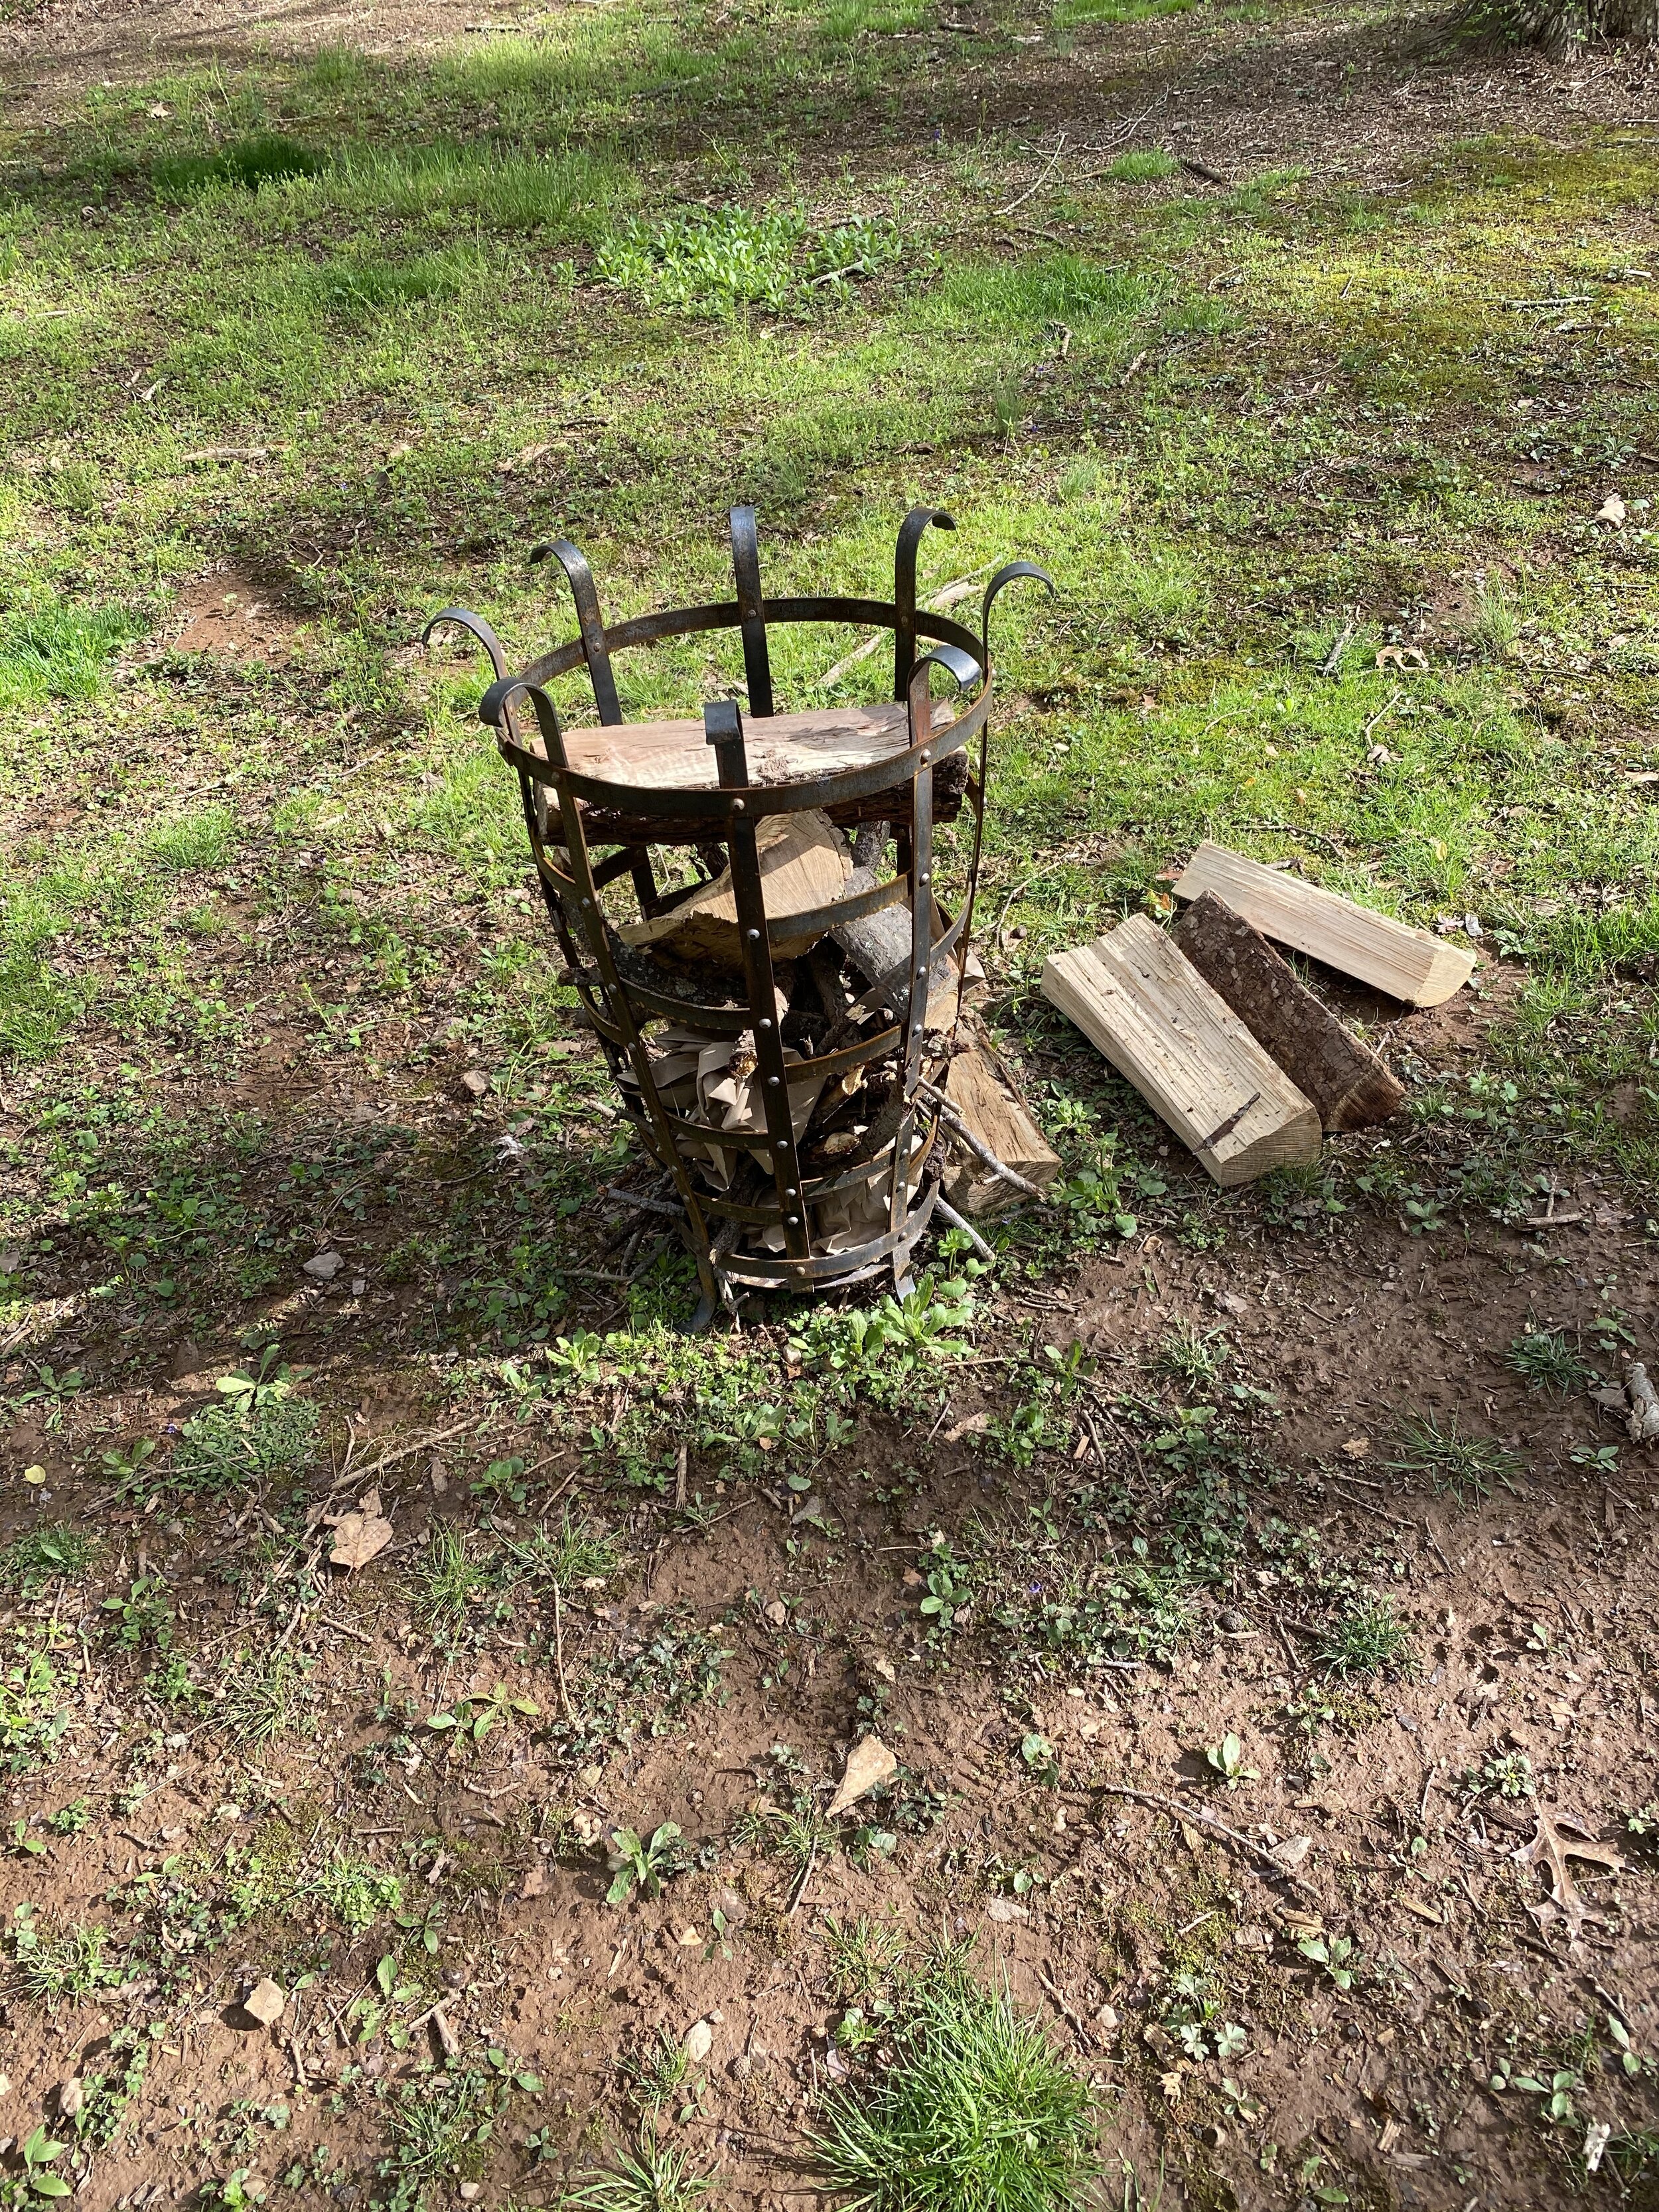
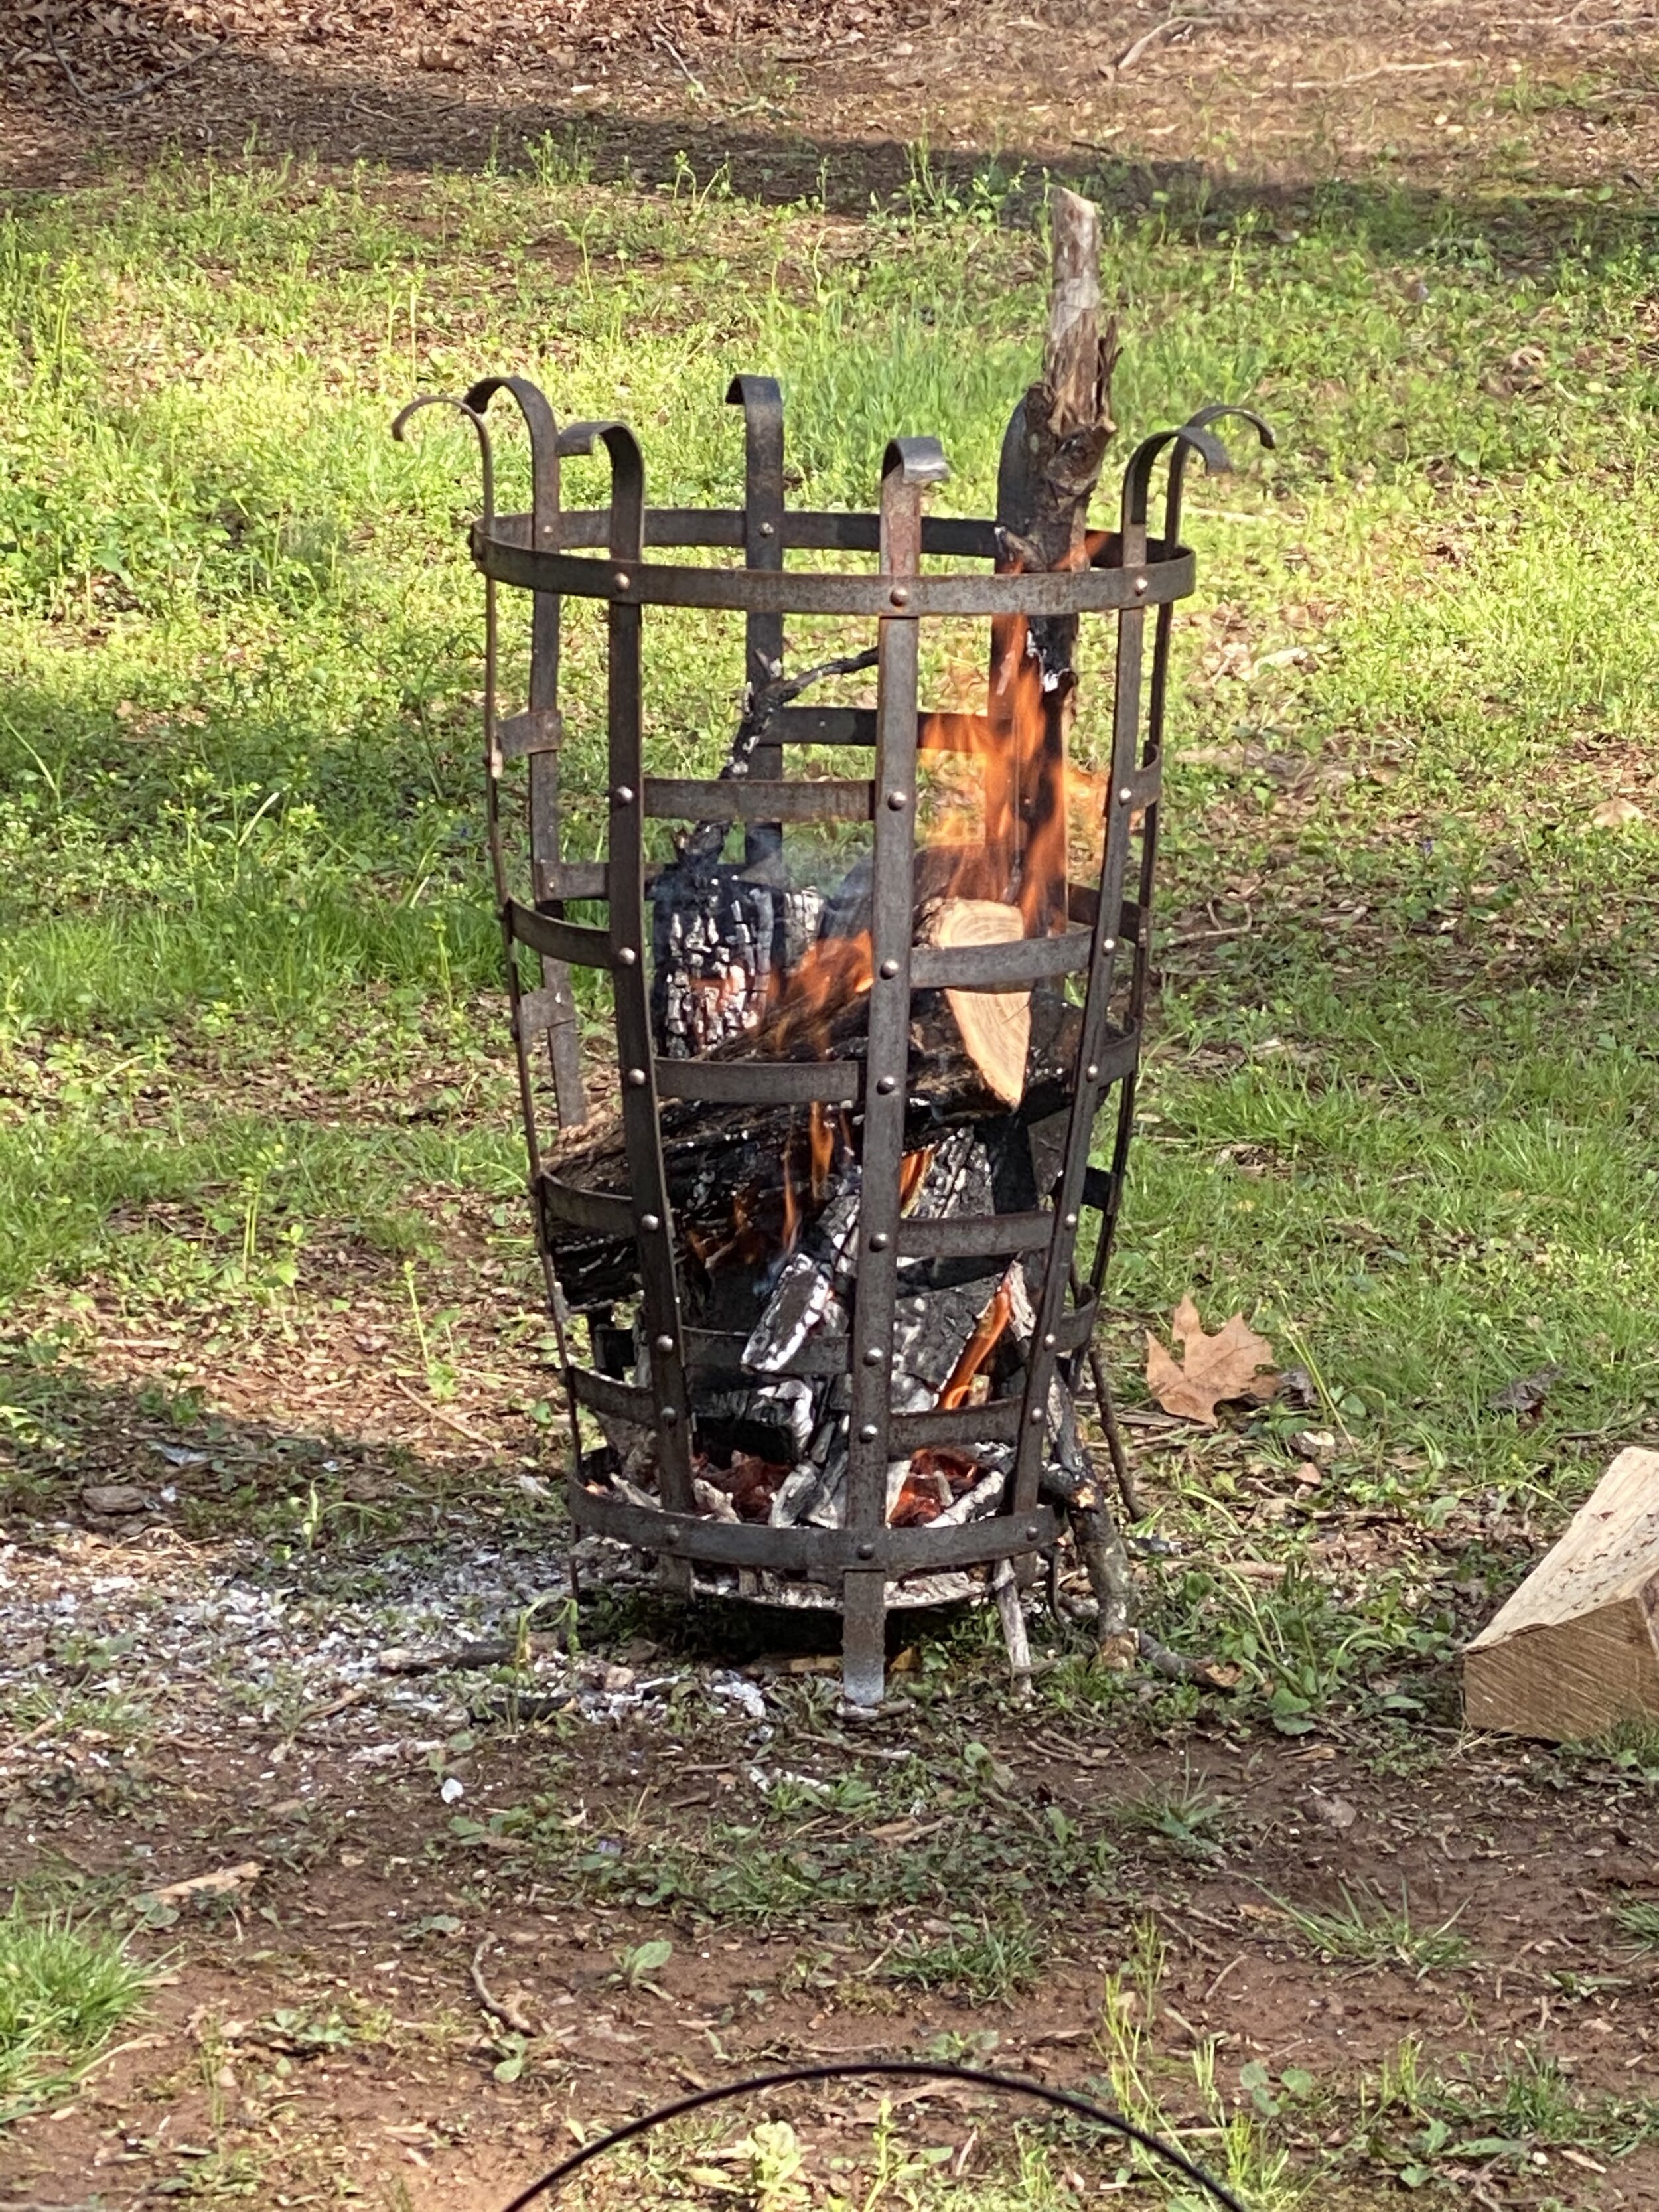
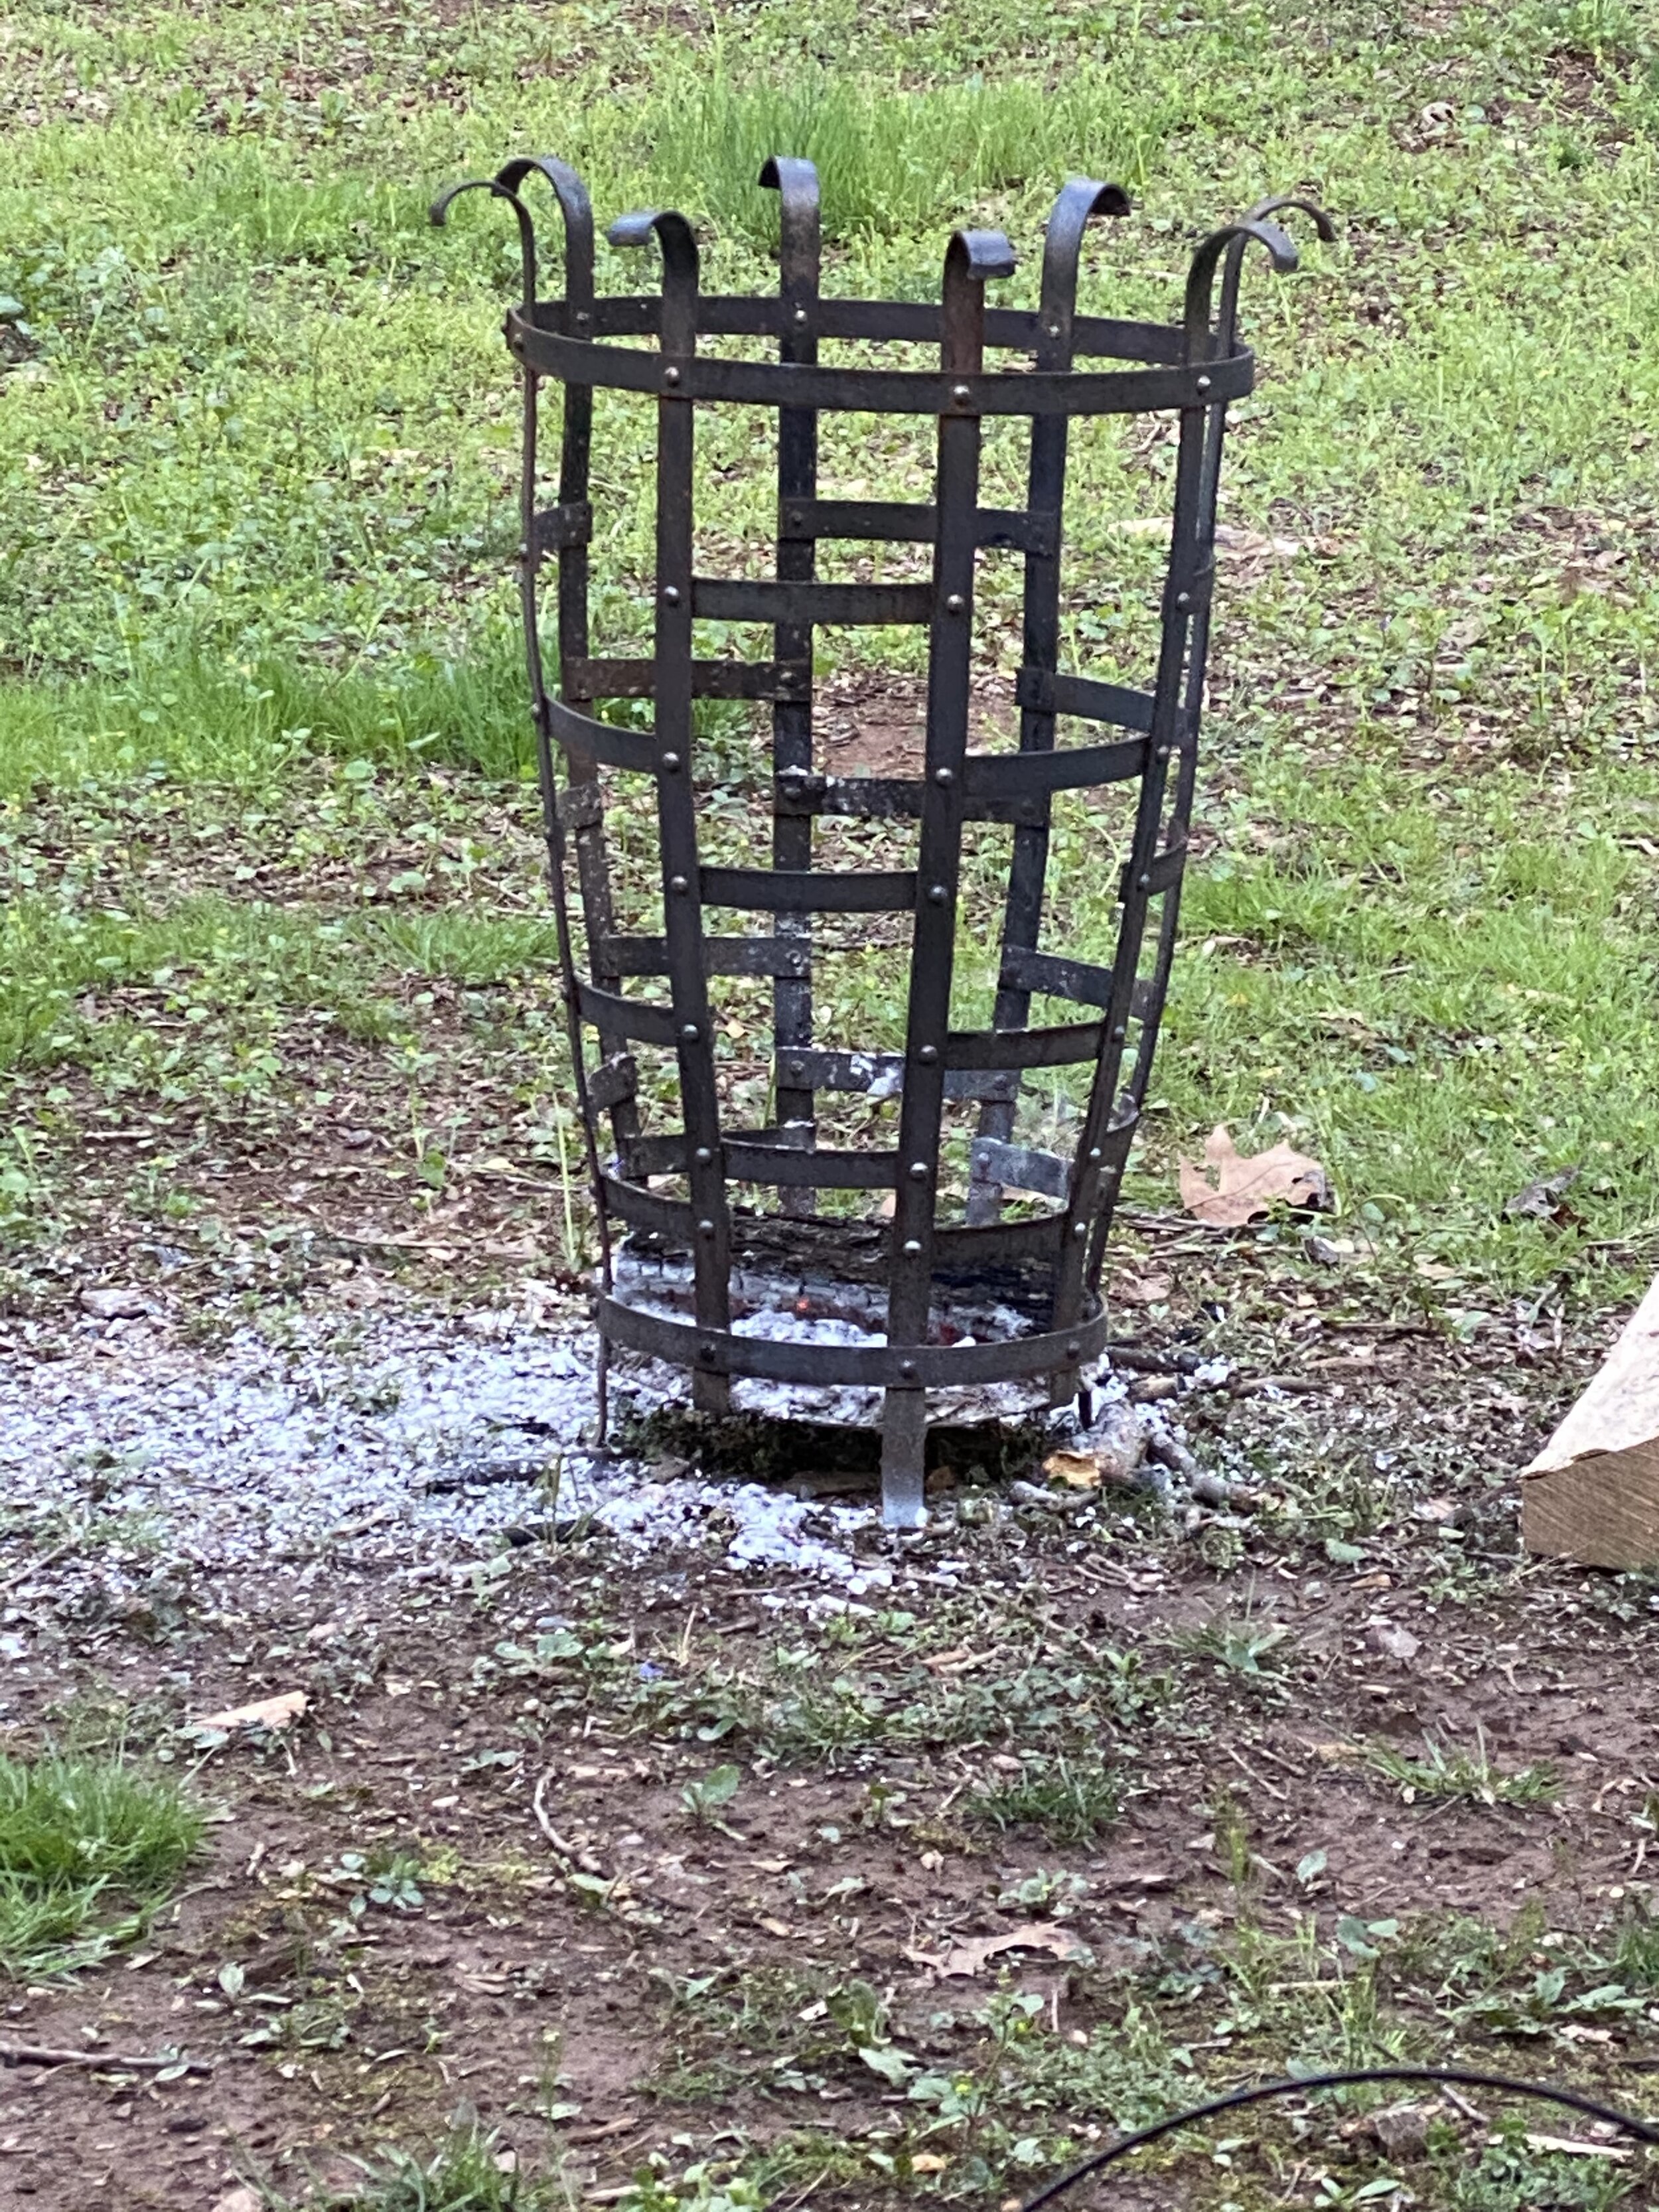
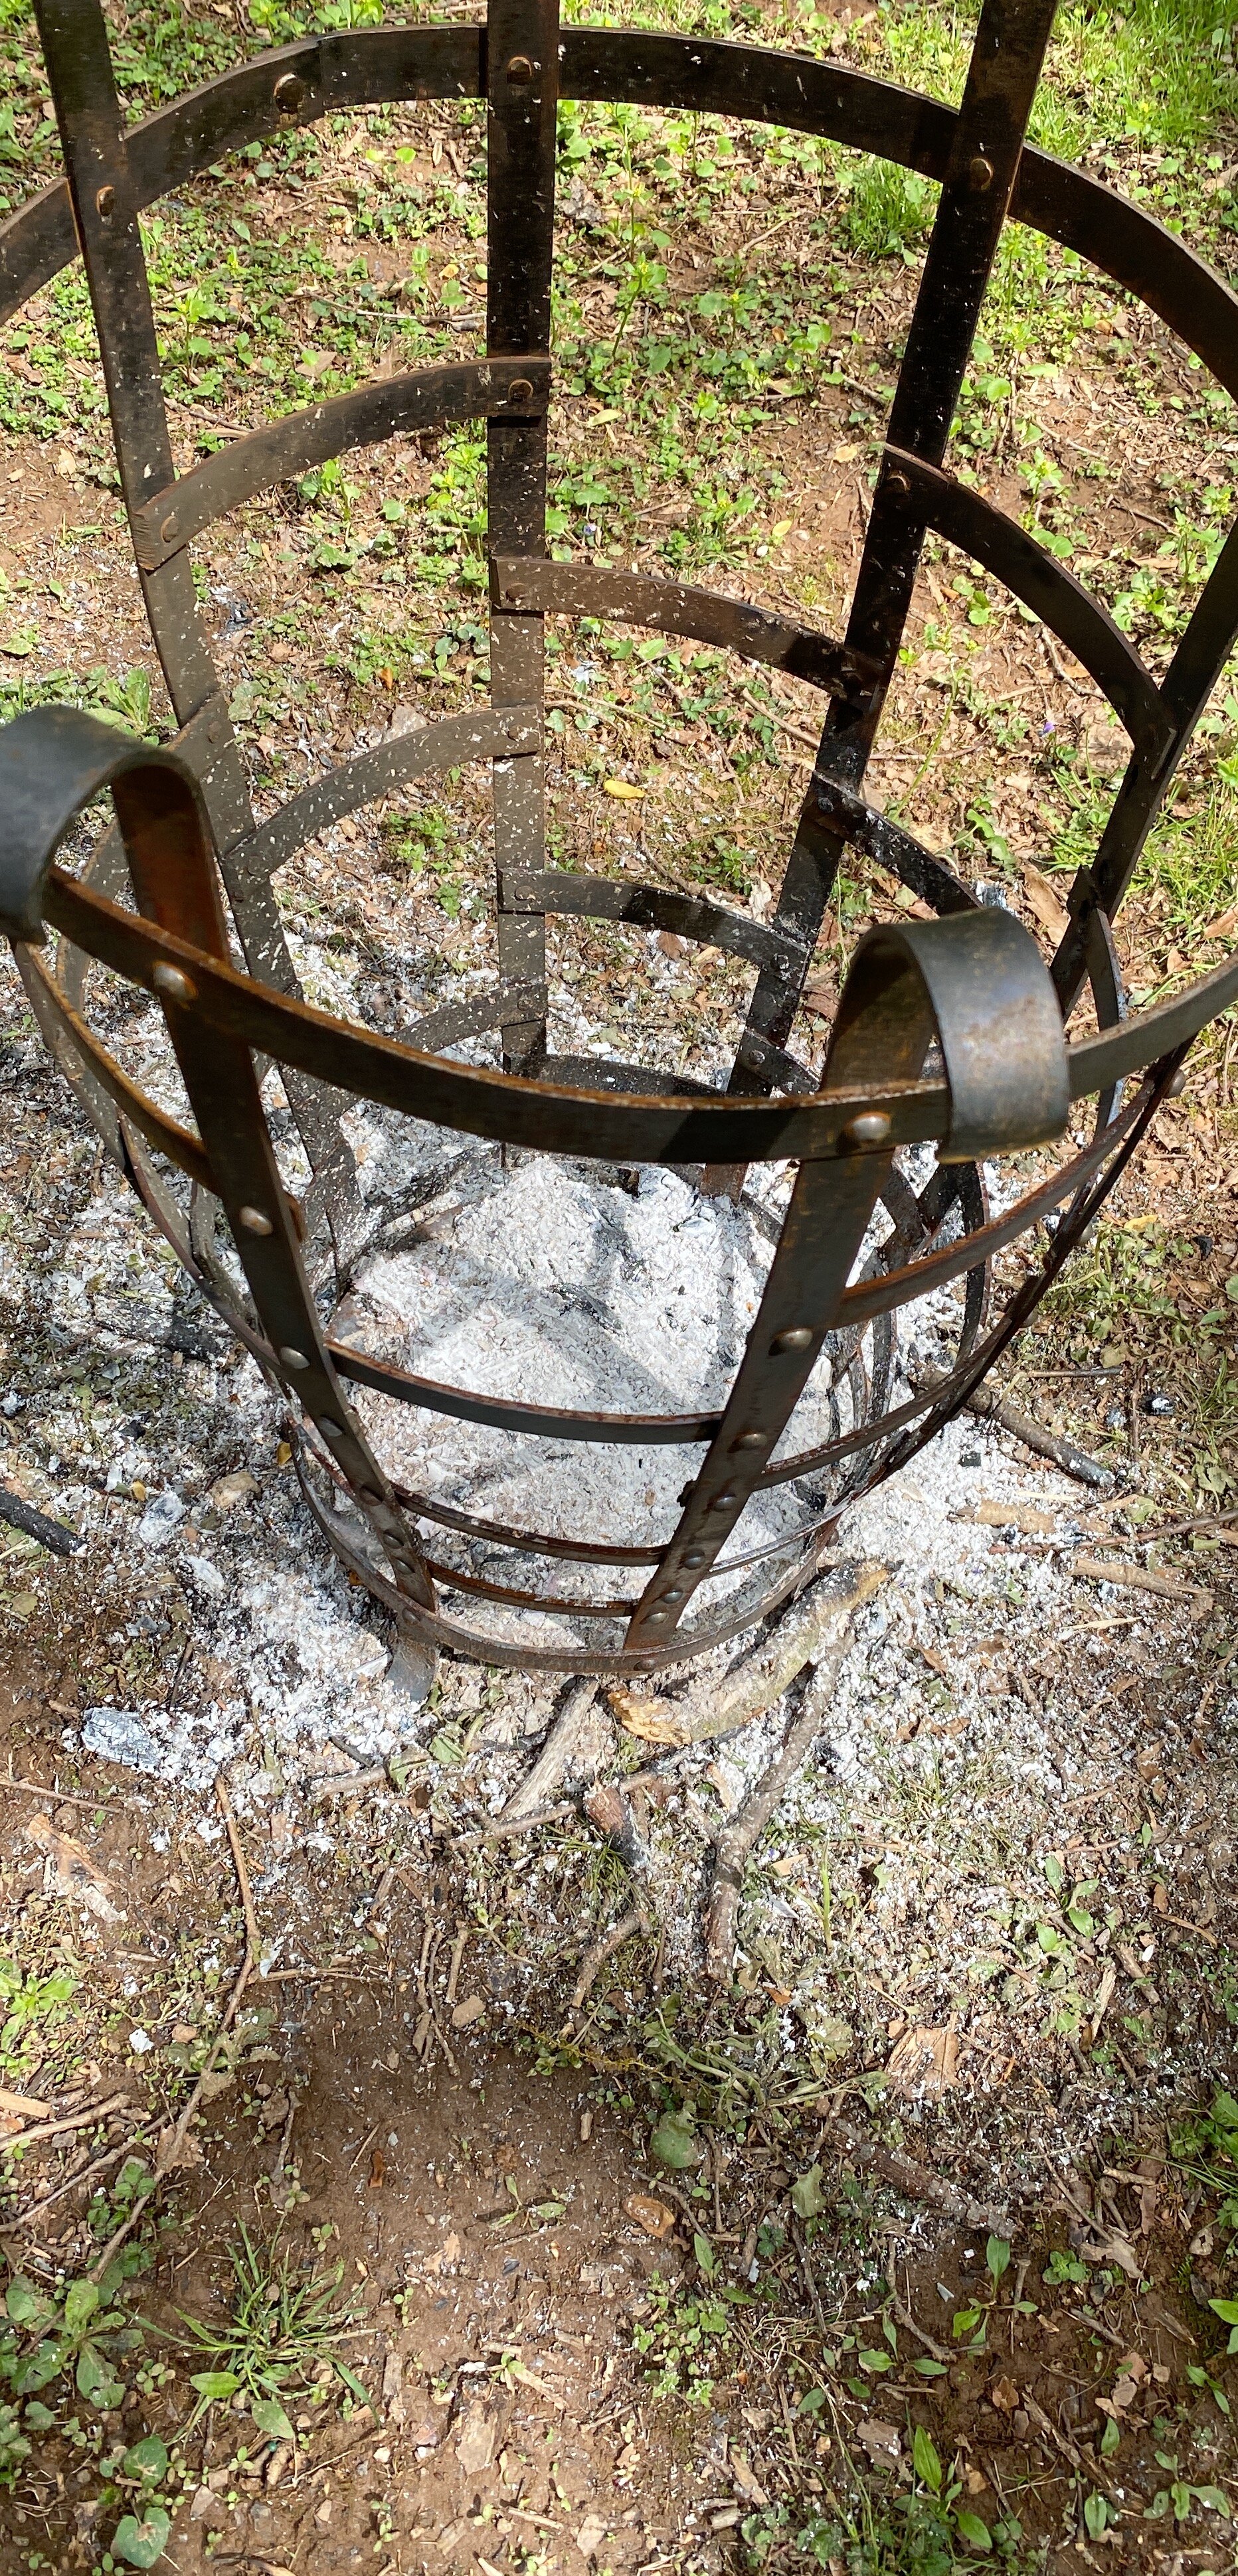
Finishing the Brazier.
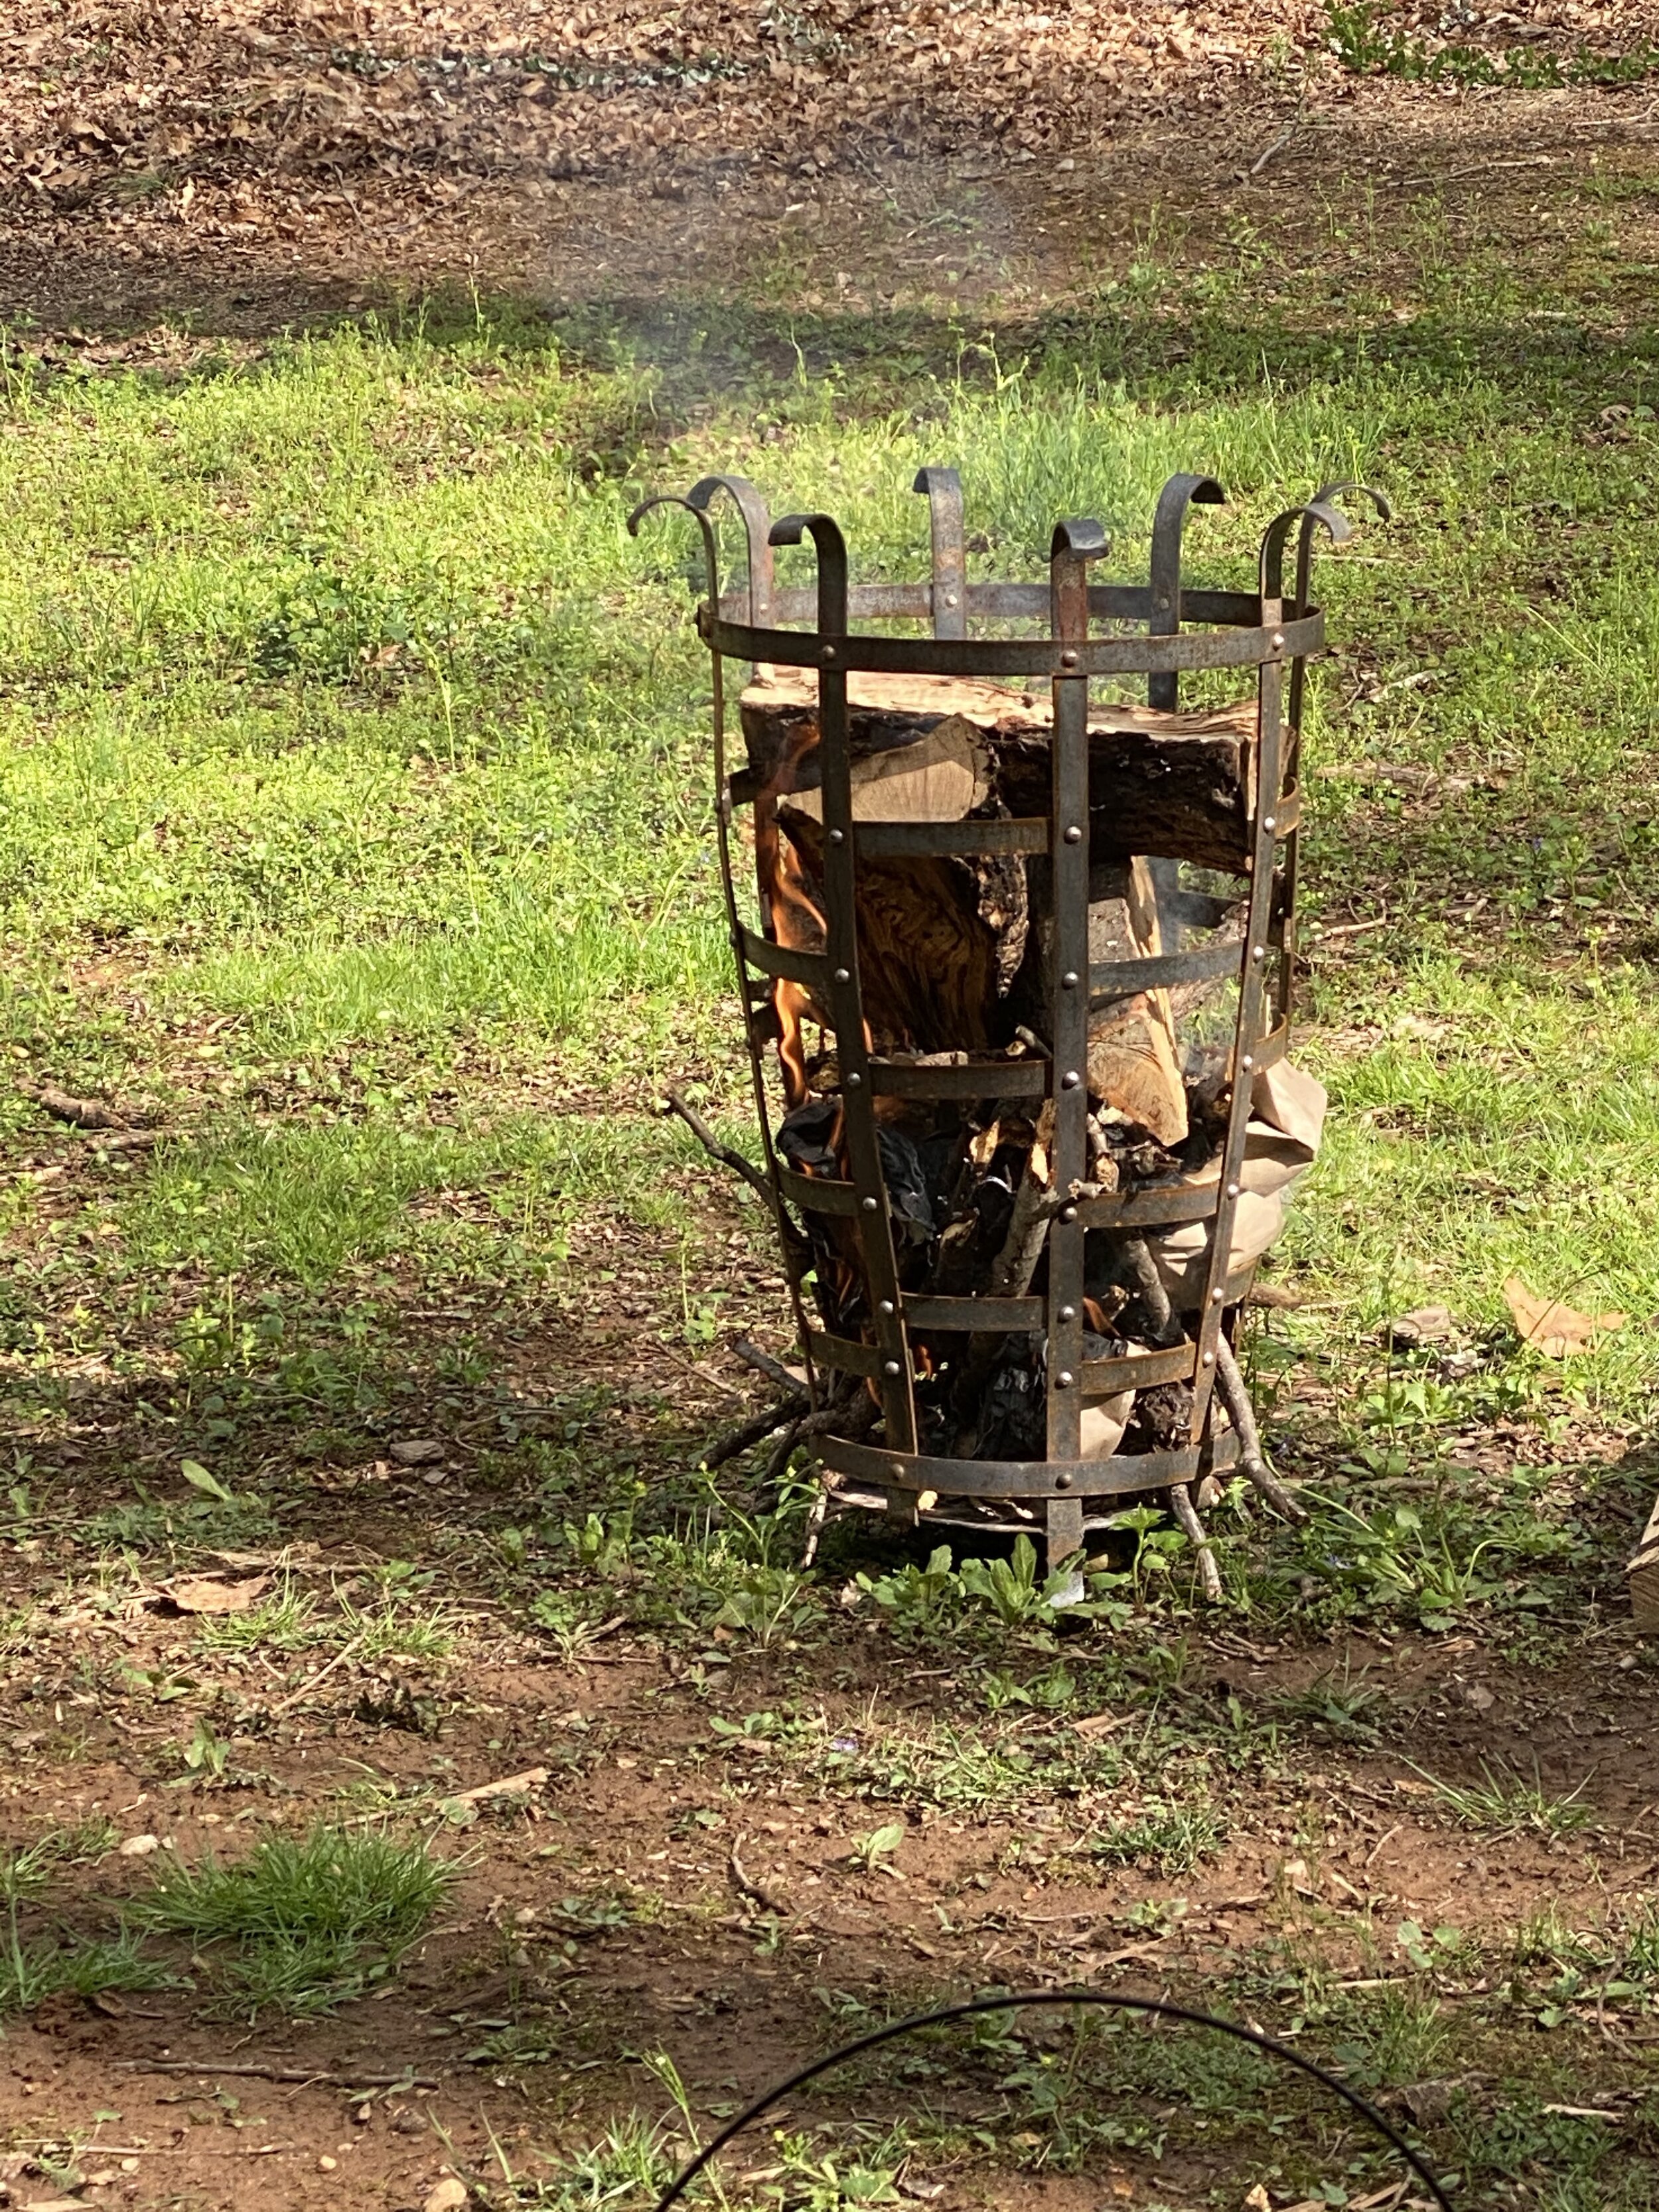
I threw a few pictures of the brazier I was making a few weeks ago. I was hoping to make something I could make campfires in at sites that do not allow firepits or ground burning. The romans made use of braziers similar to this and I was going for the spirit of the concept rather that making a pure period piece. the original plan was to have 2 hoops and 8 vertical bars. I hoped this would be enough to hold the wood in while it burned, but still be open enough for the warmth and light of the fire to be effective. I tried using it with some wood from the yard and realized that this design would not work at all. the gaps between the vertical bars was to great and the lack of horizonal support caused to much leakage.


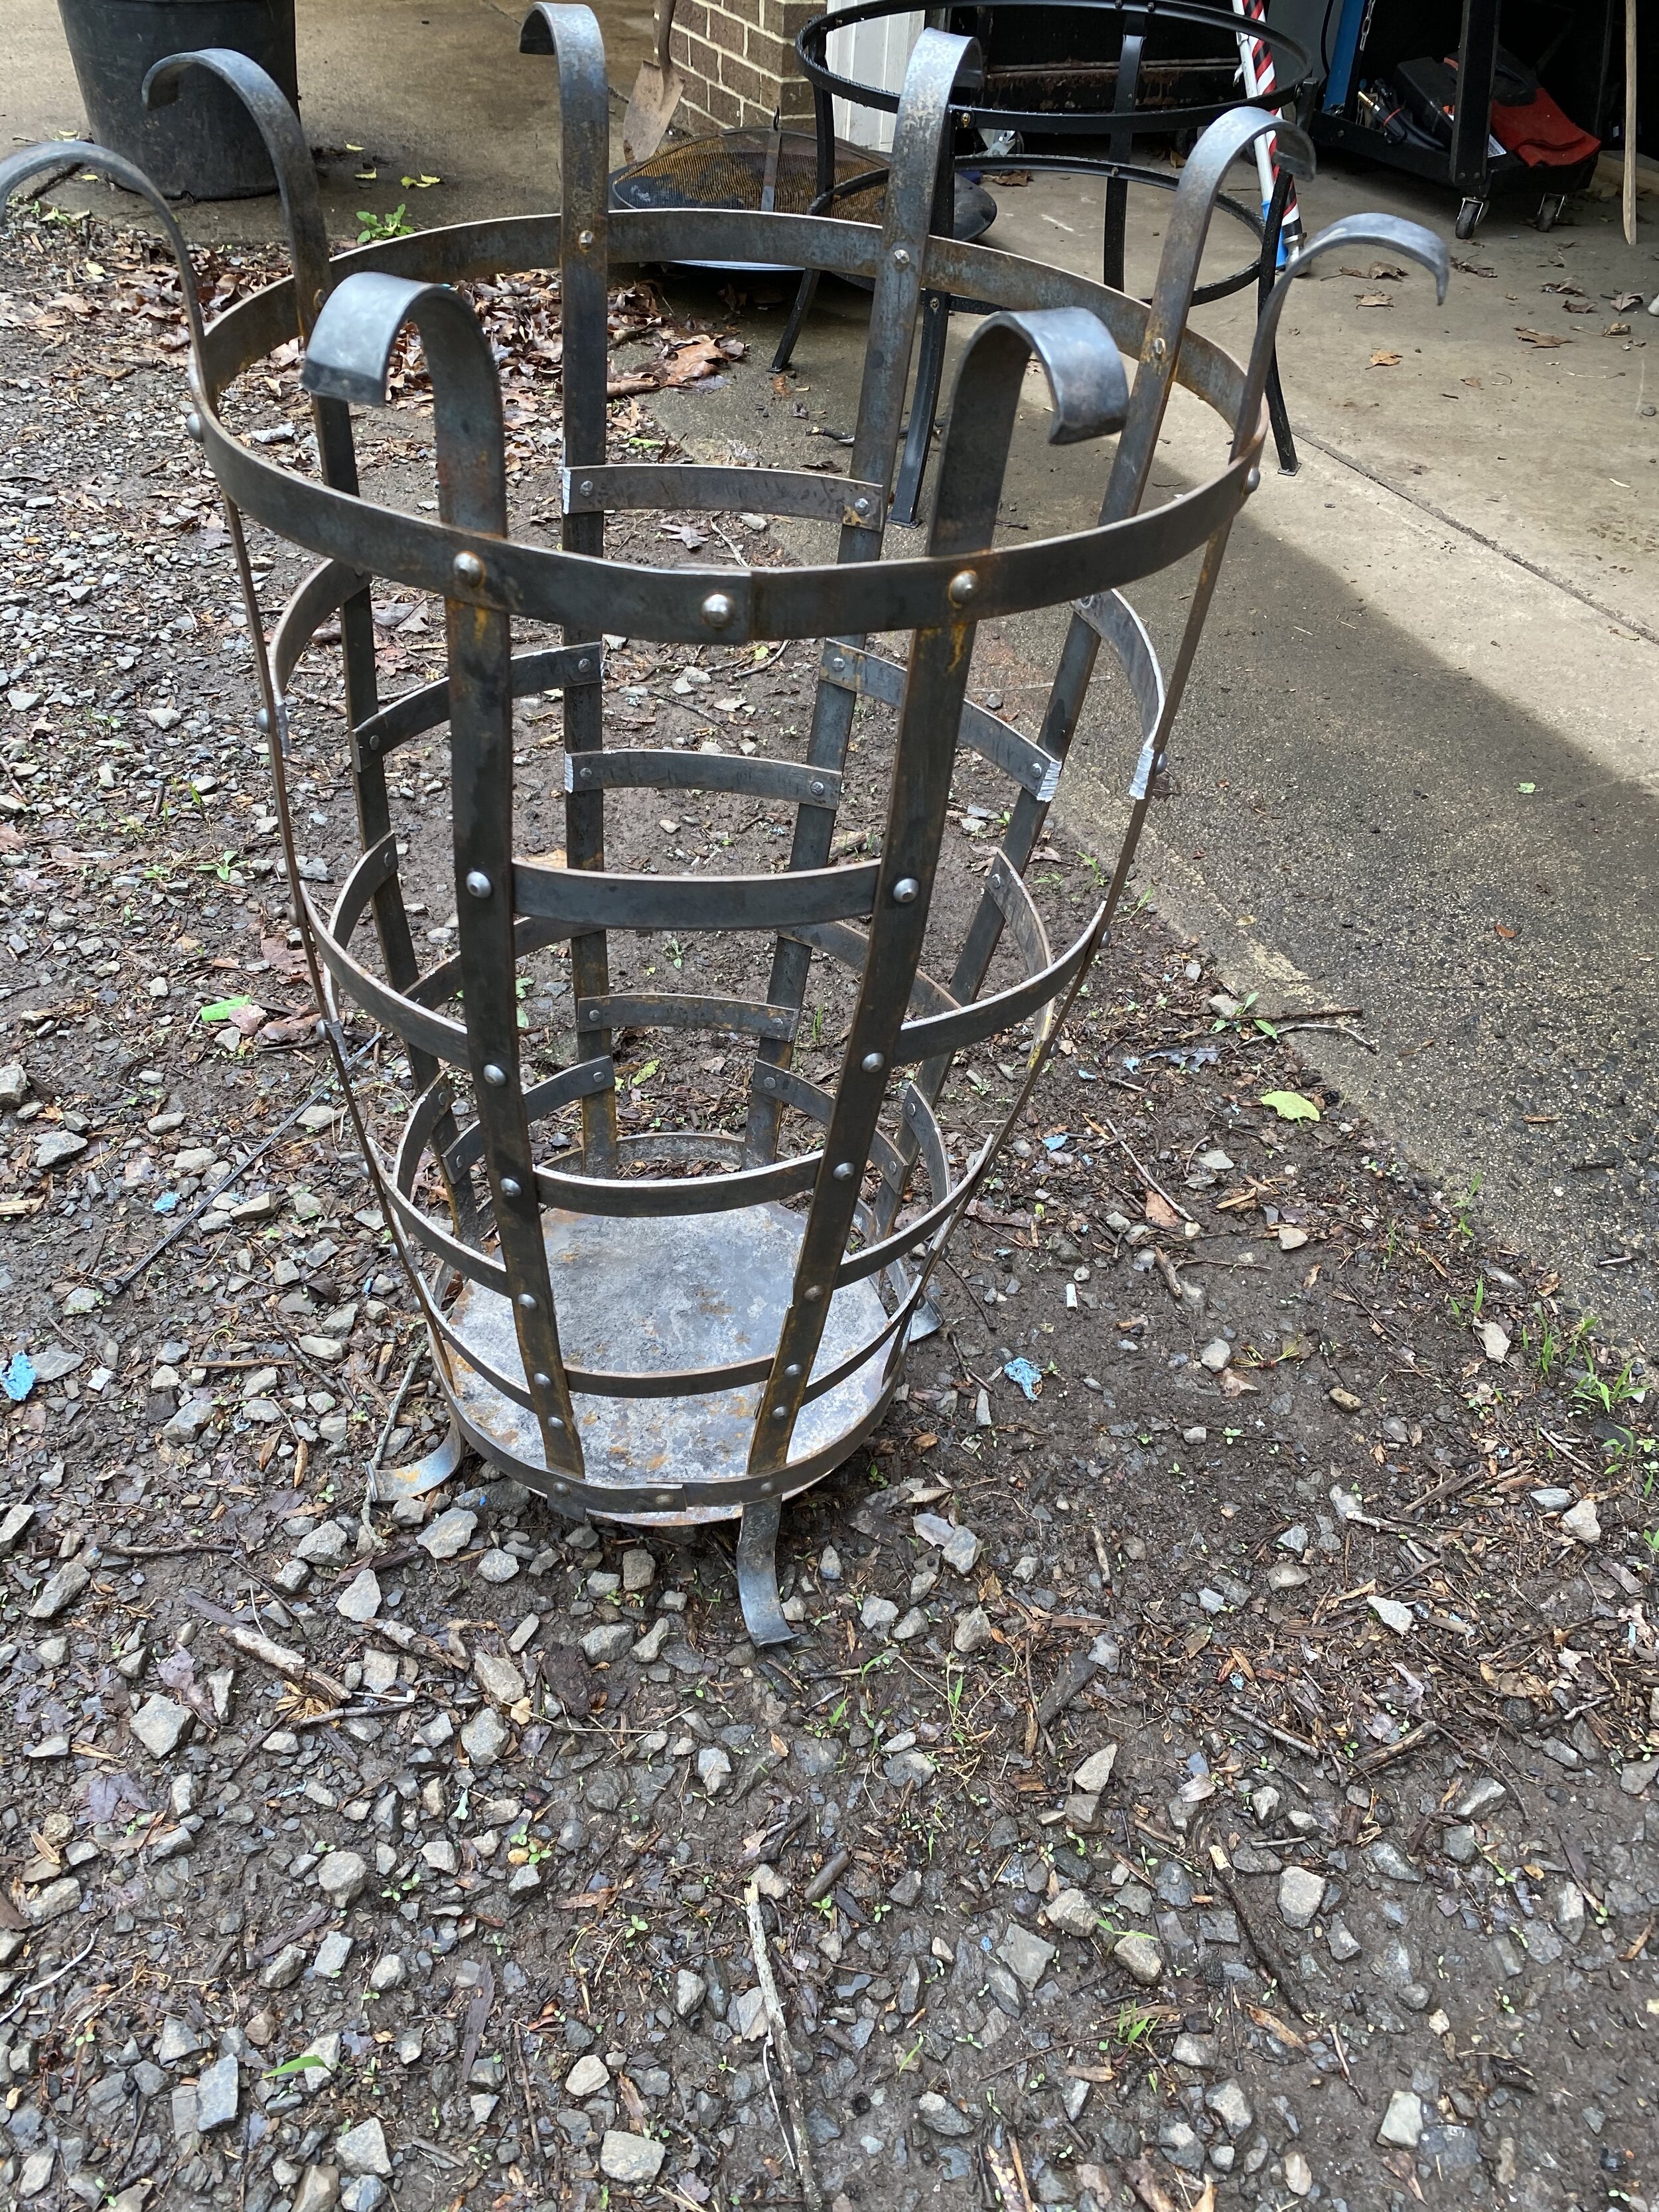
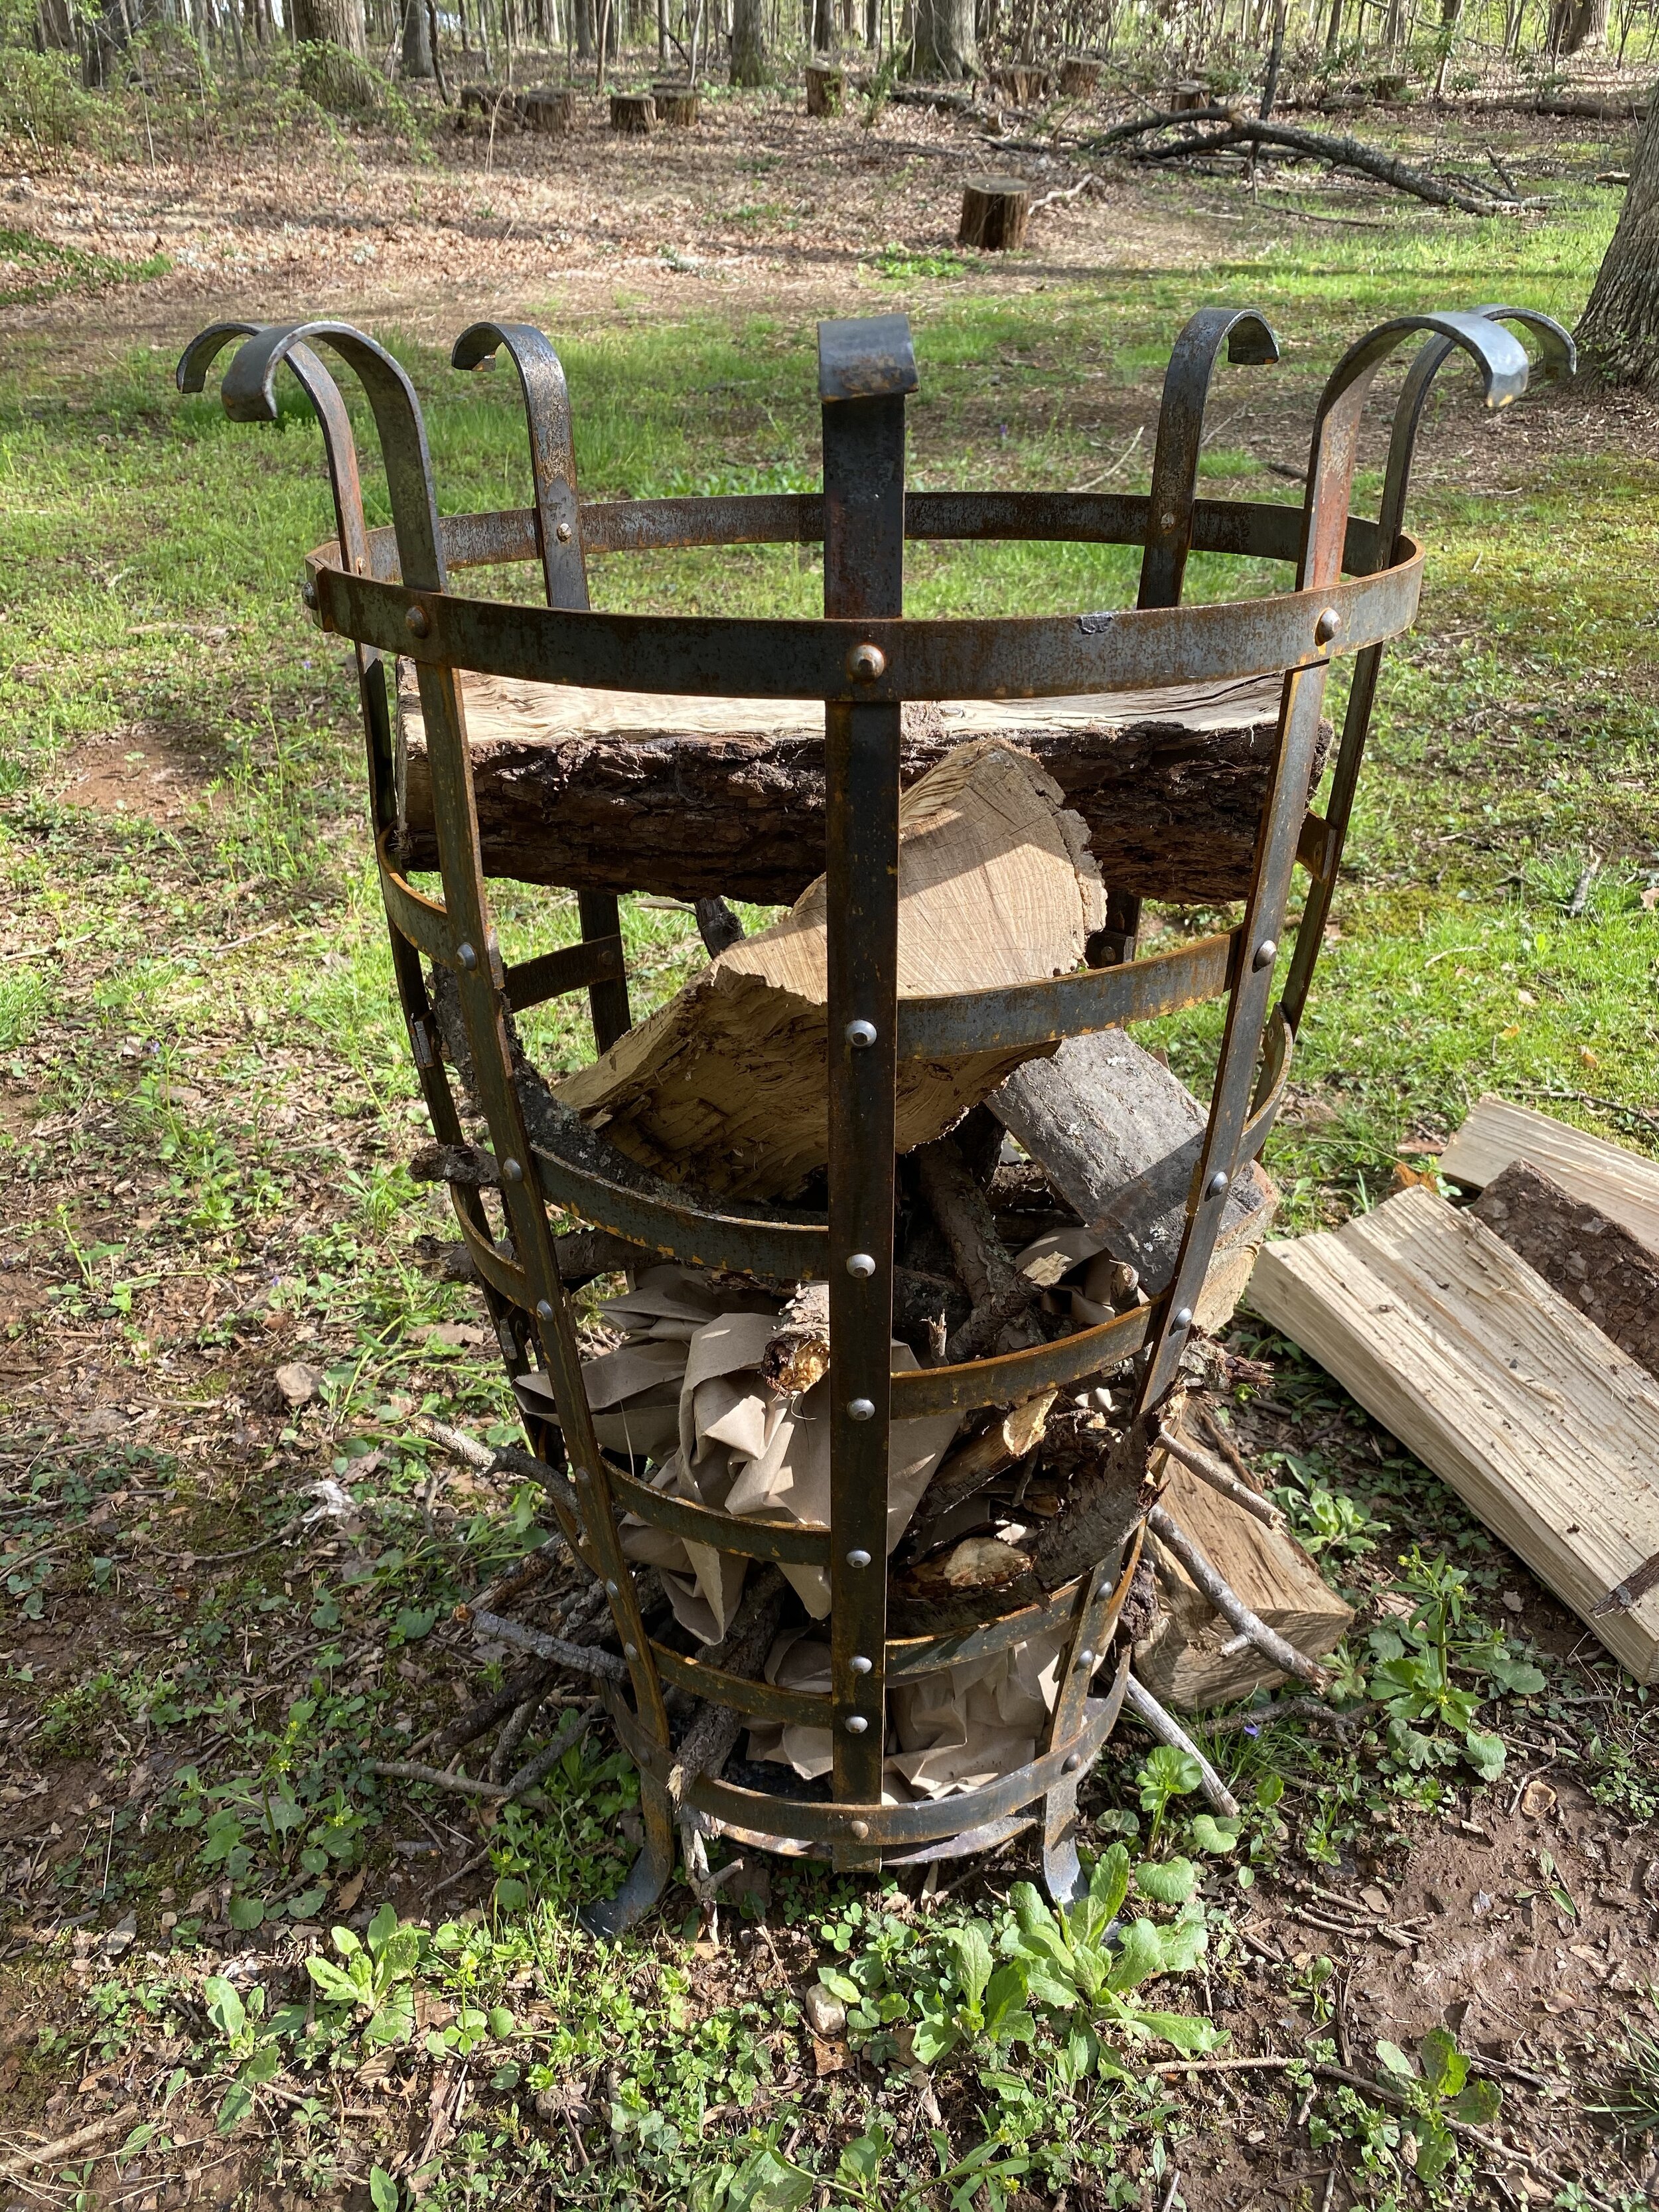
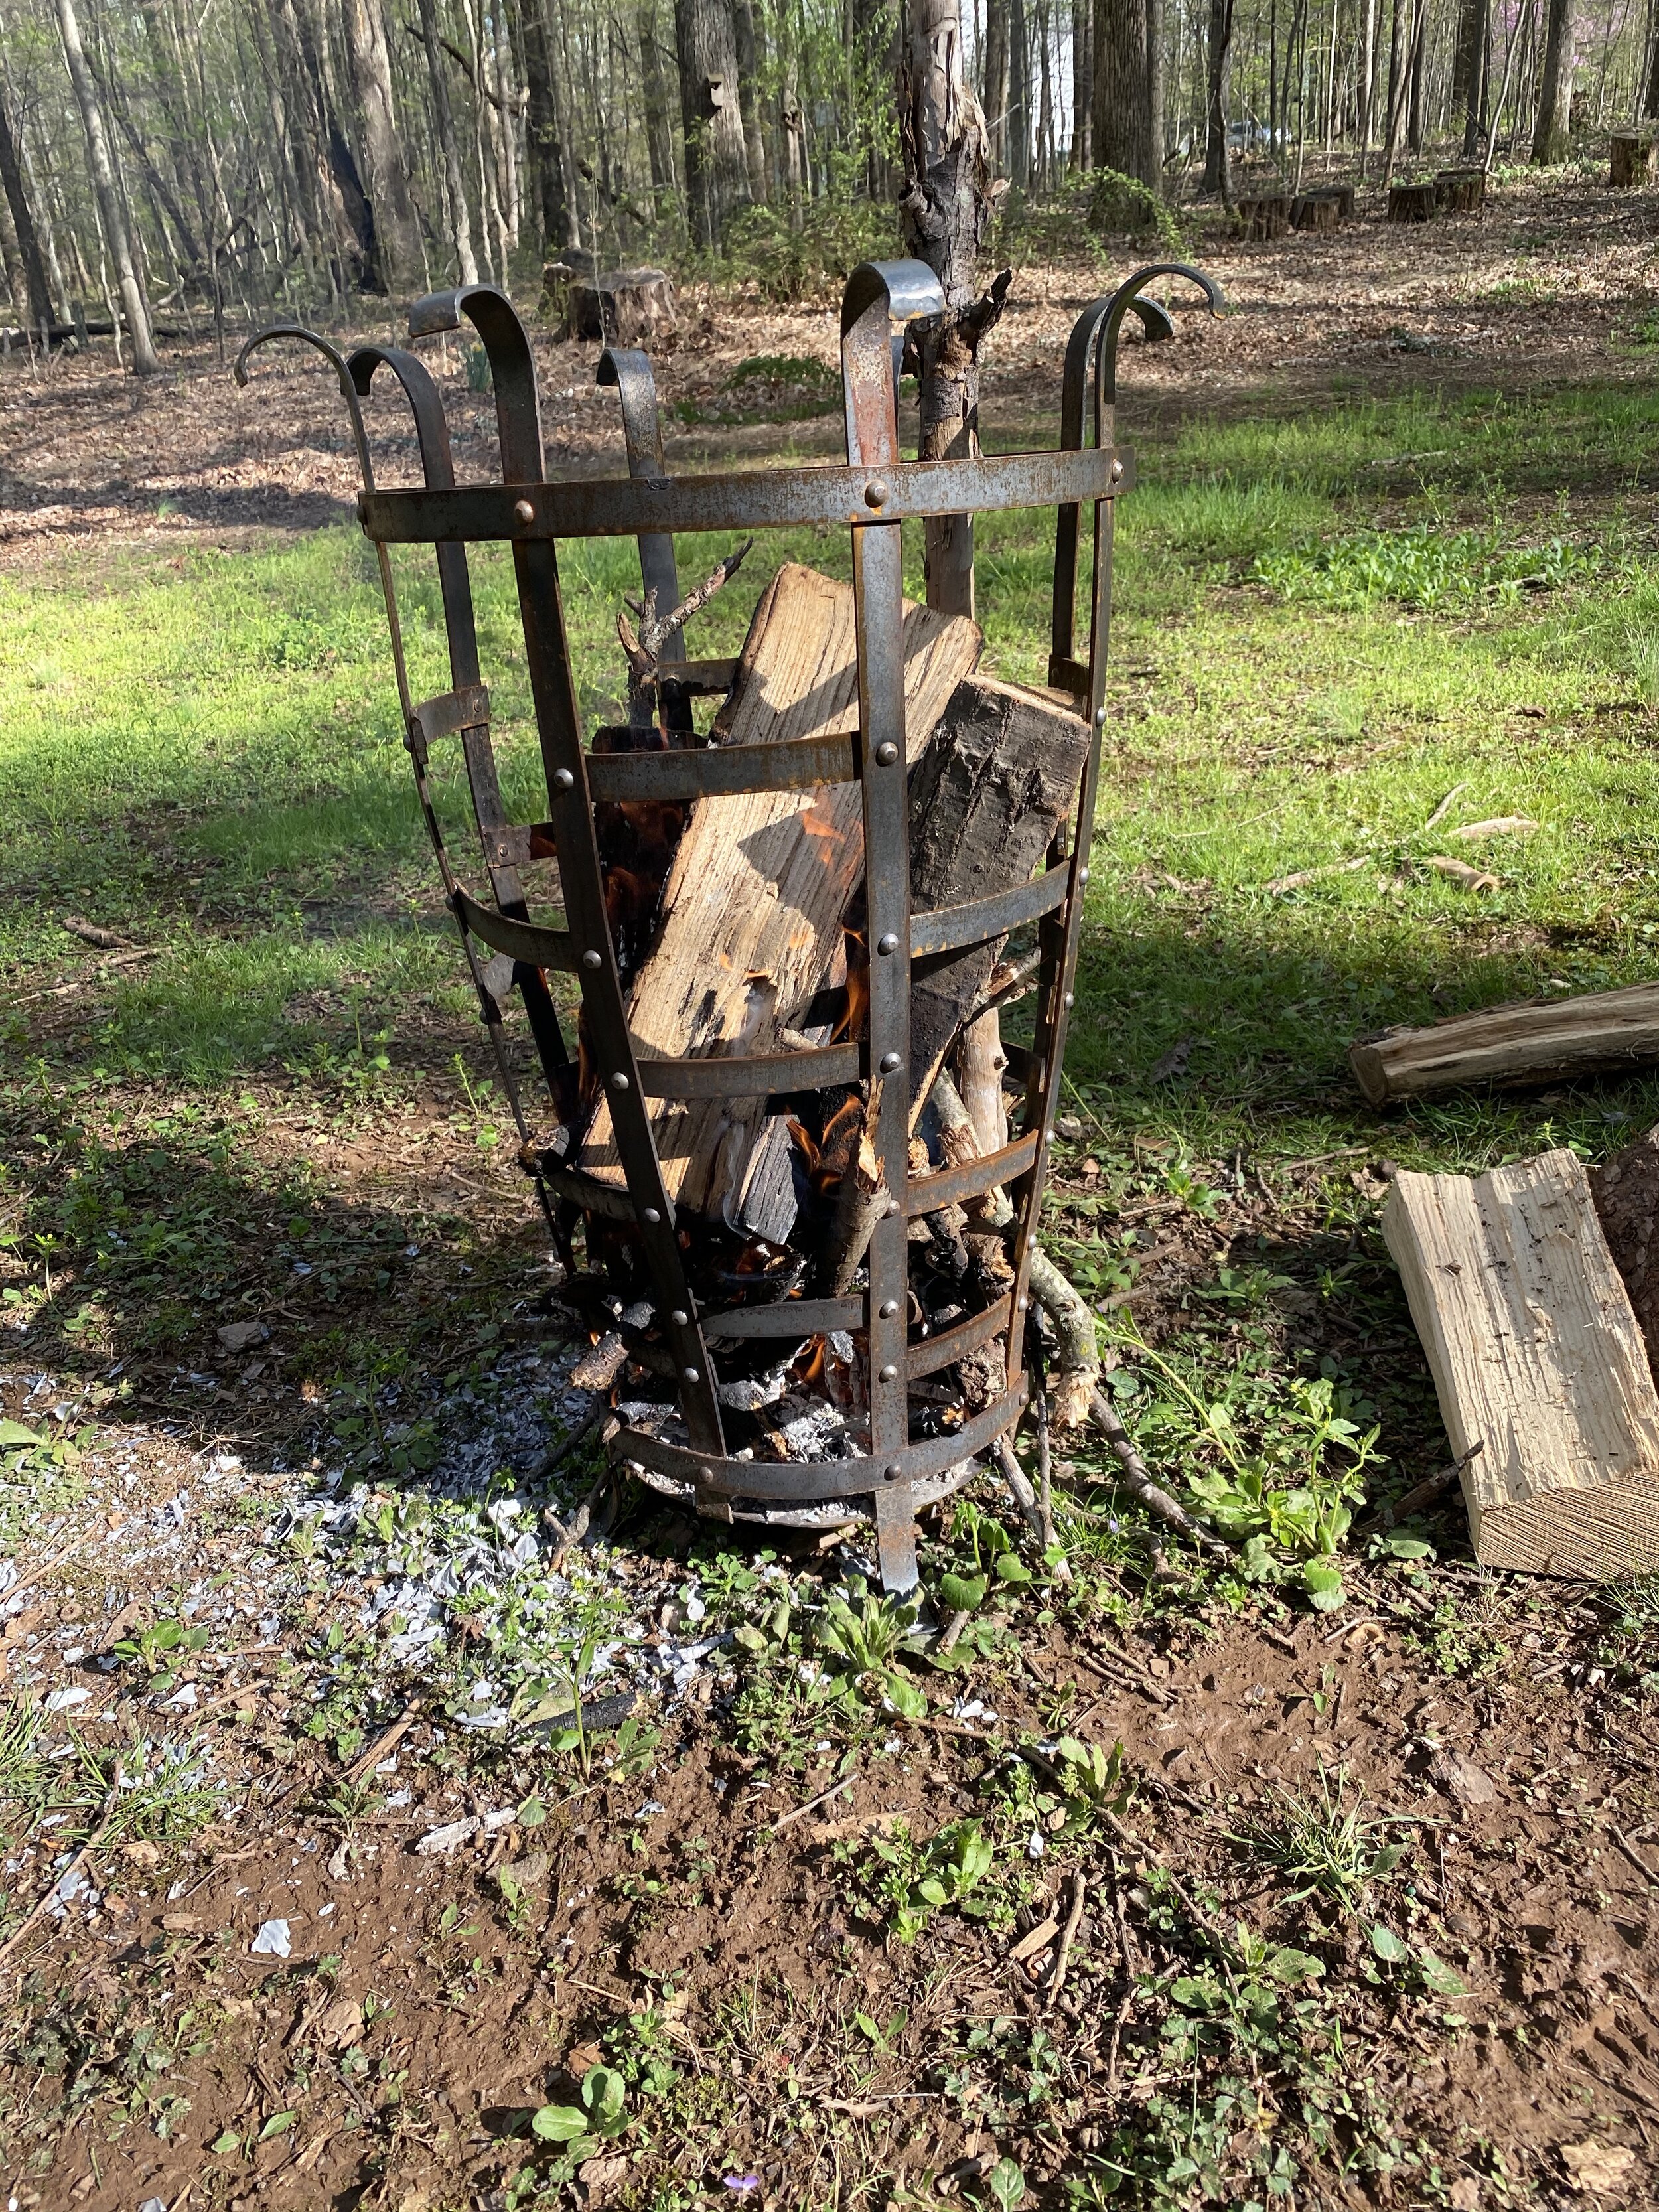
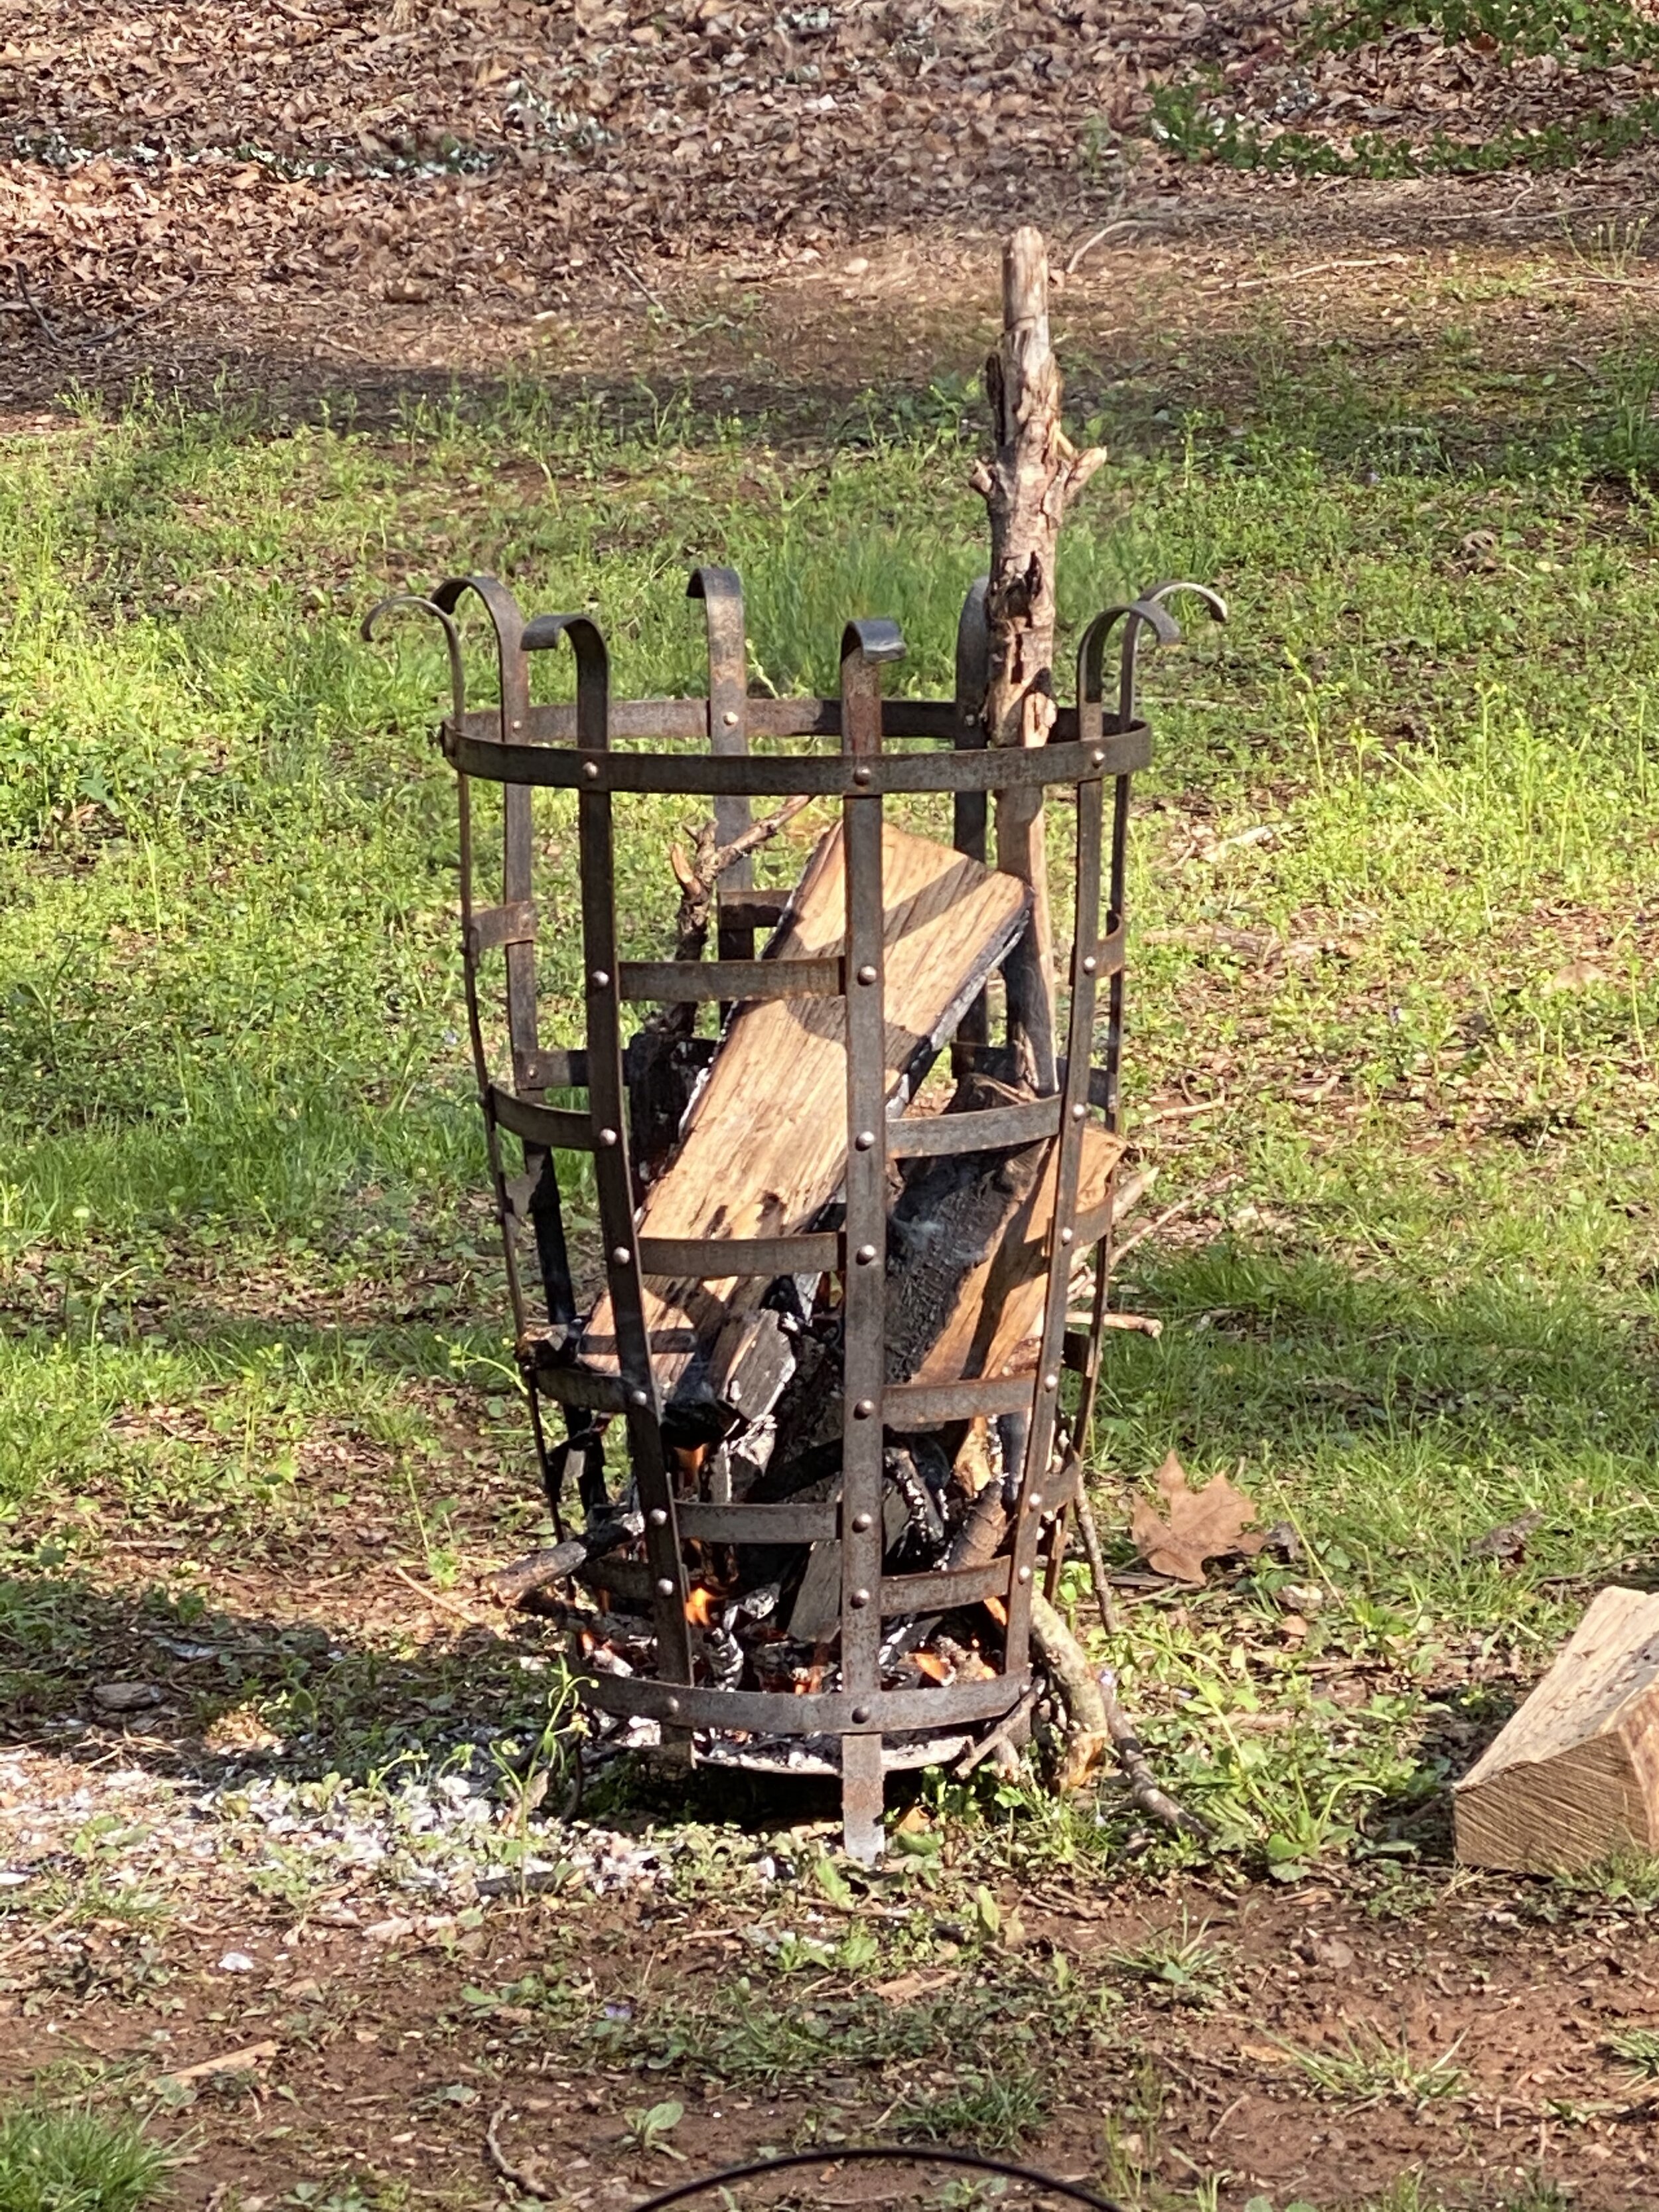
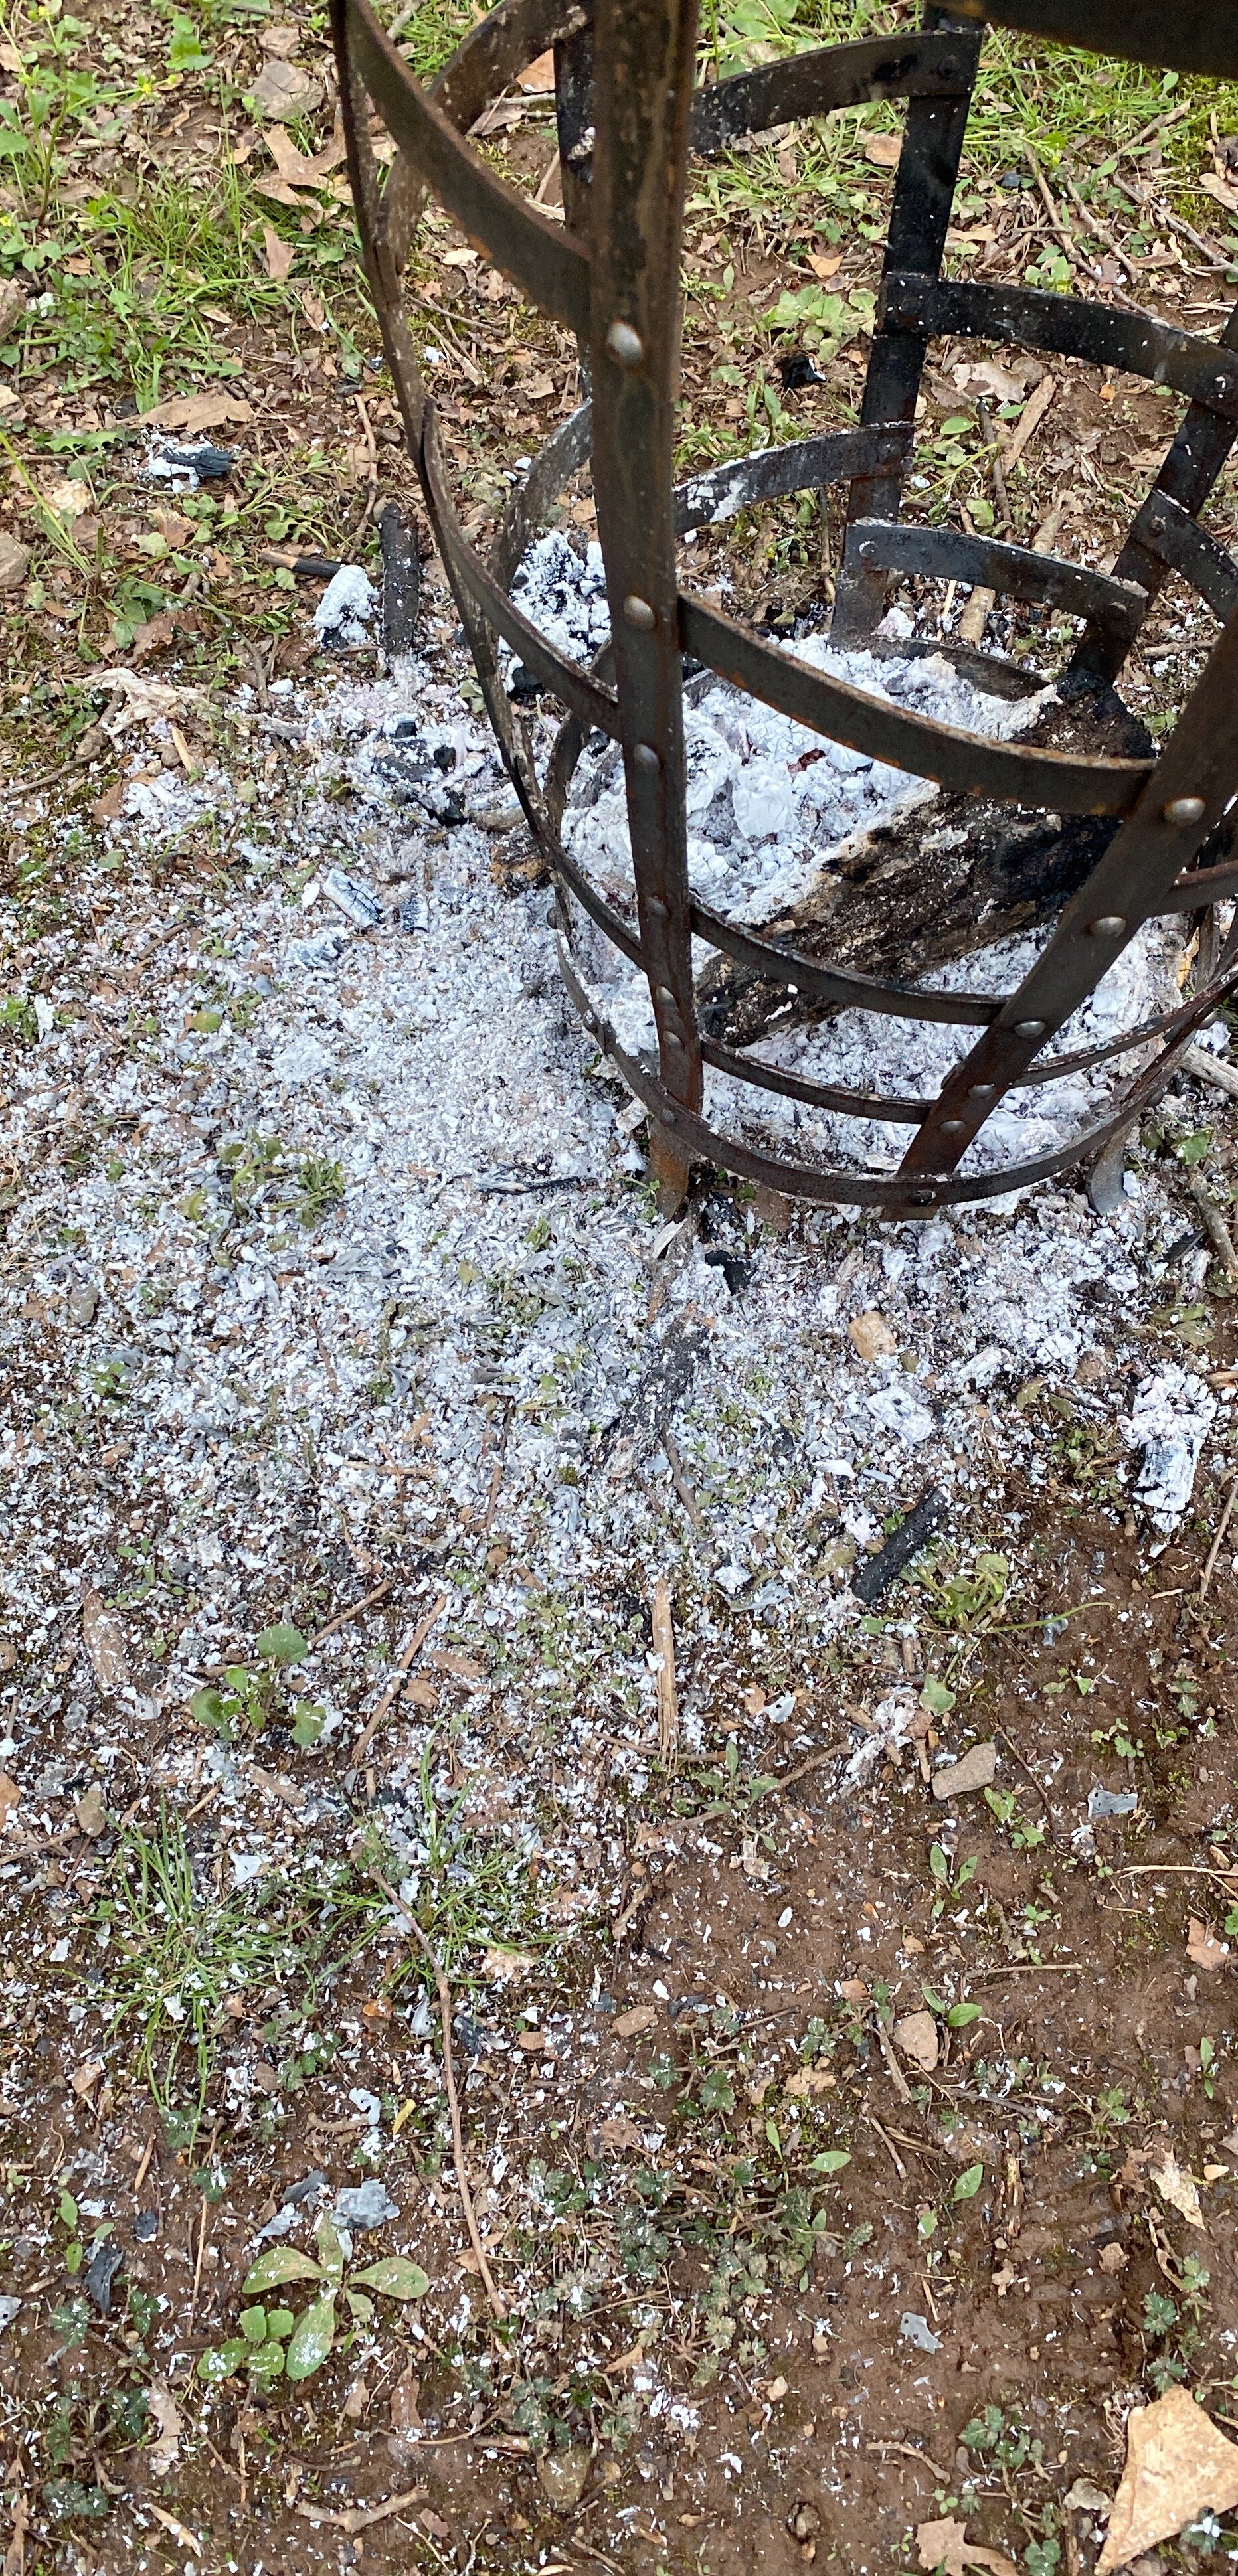
At this point I was torn between just scrapping the whole project and trying to figure out how to make this one work. Eventually, I decided to try and save this piece and add crossbars to the gaps. This kept the logs and branches from falling out and funneled the embers into the bottom of the brazier.
Once this was done, it was time to make another tool. Not for the Viking chest, not for A&S, but just because I needed one around the shop. Time to forge a bending fork, or bending wrench. This is a hand tool used for forming curves or scrolls in metal as you are working it. I had been planning on making one of these for a while, but never seemed to get around to it. This is one of most metal moving I have ever done in one project.


Without anything more pressing to work on, I decided to get back to the andirons I was working on a while ago and make a spit for them. I am hoping to spit roast a foul in my fireplace by the end of the year. The andirons were designed to take a spit and so it was time to make it.
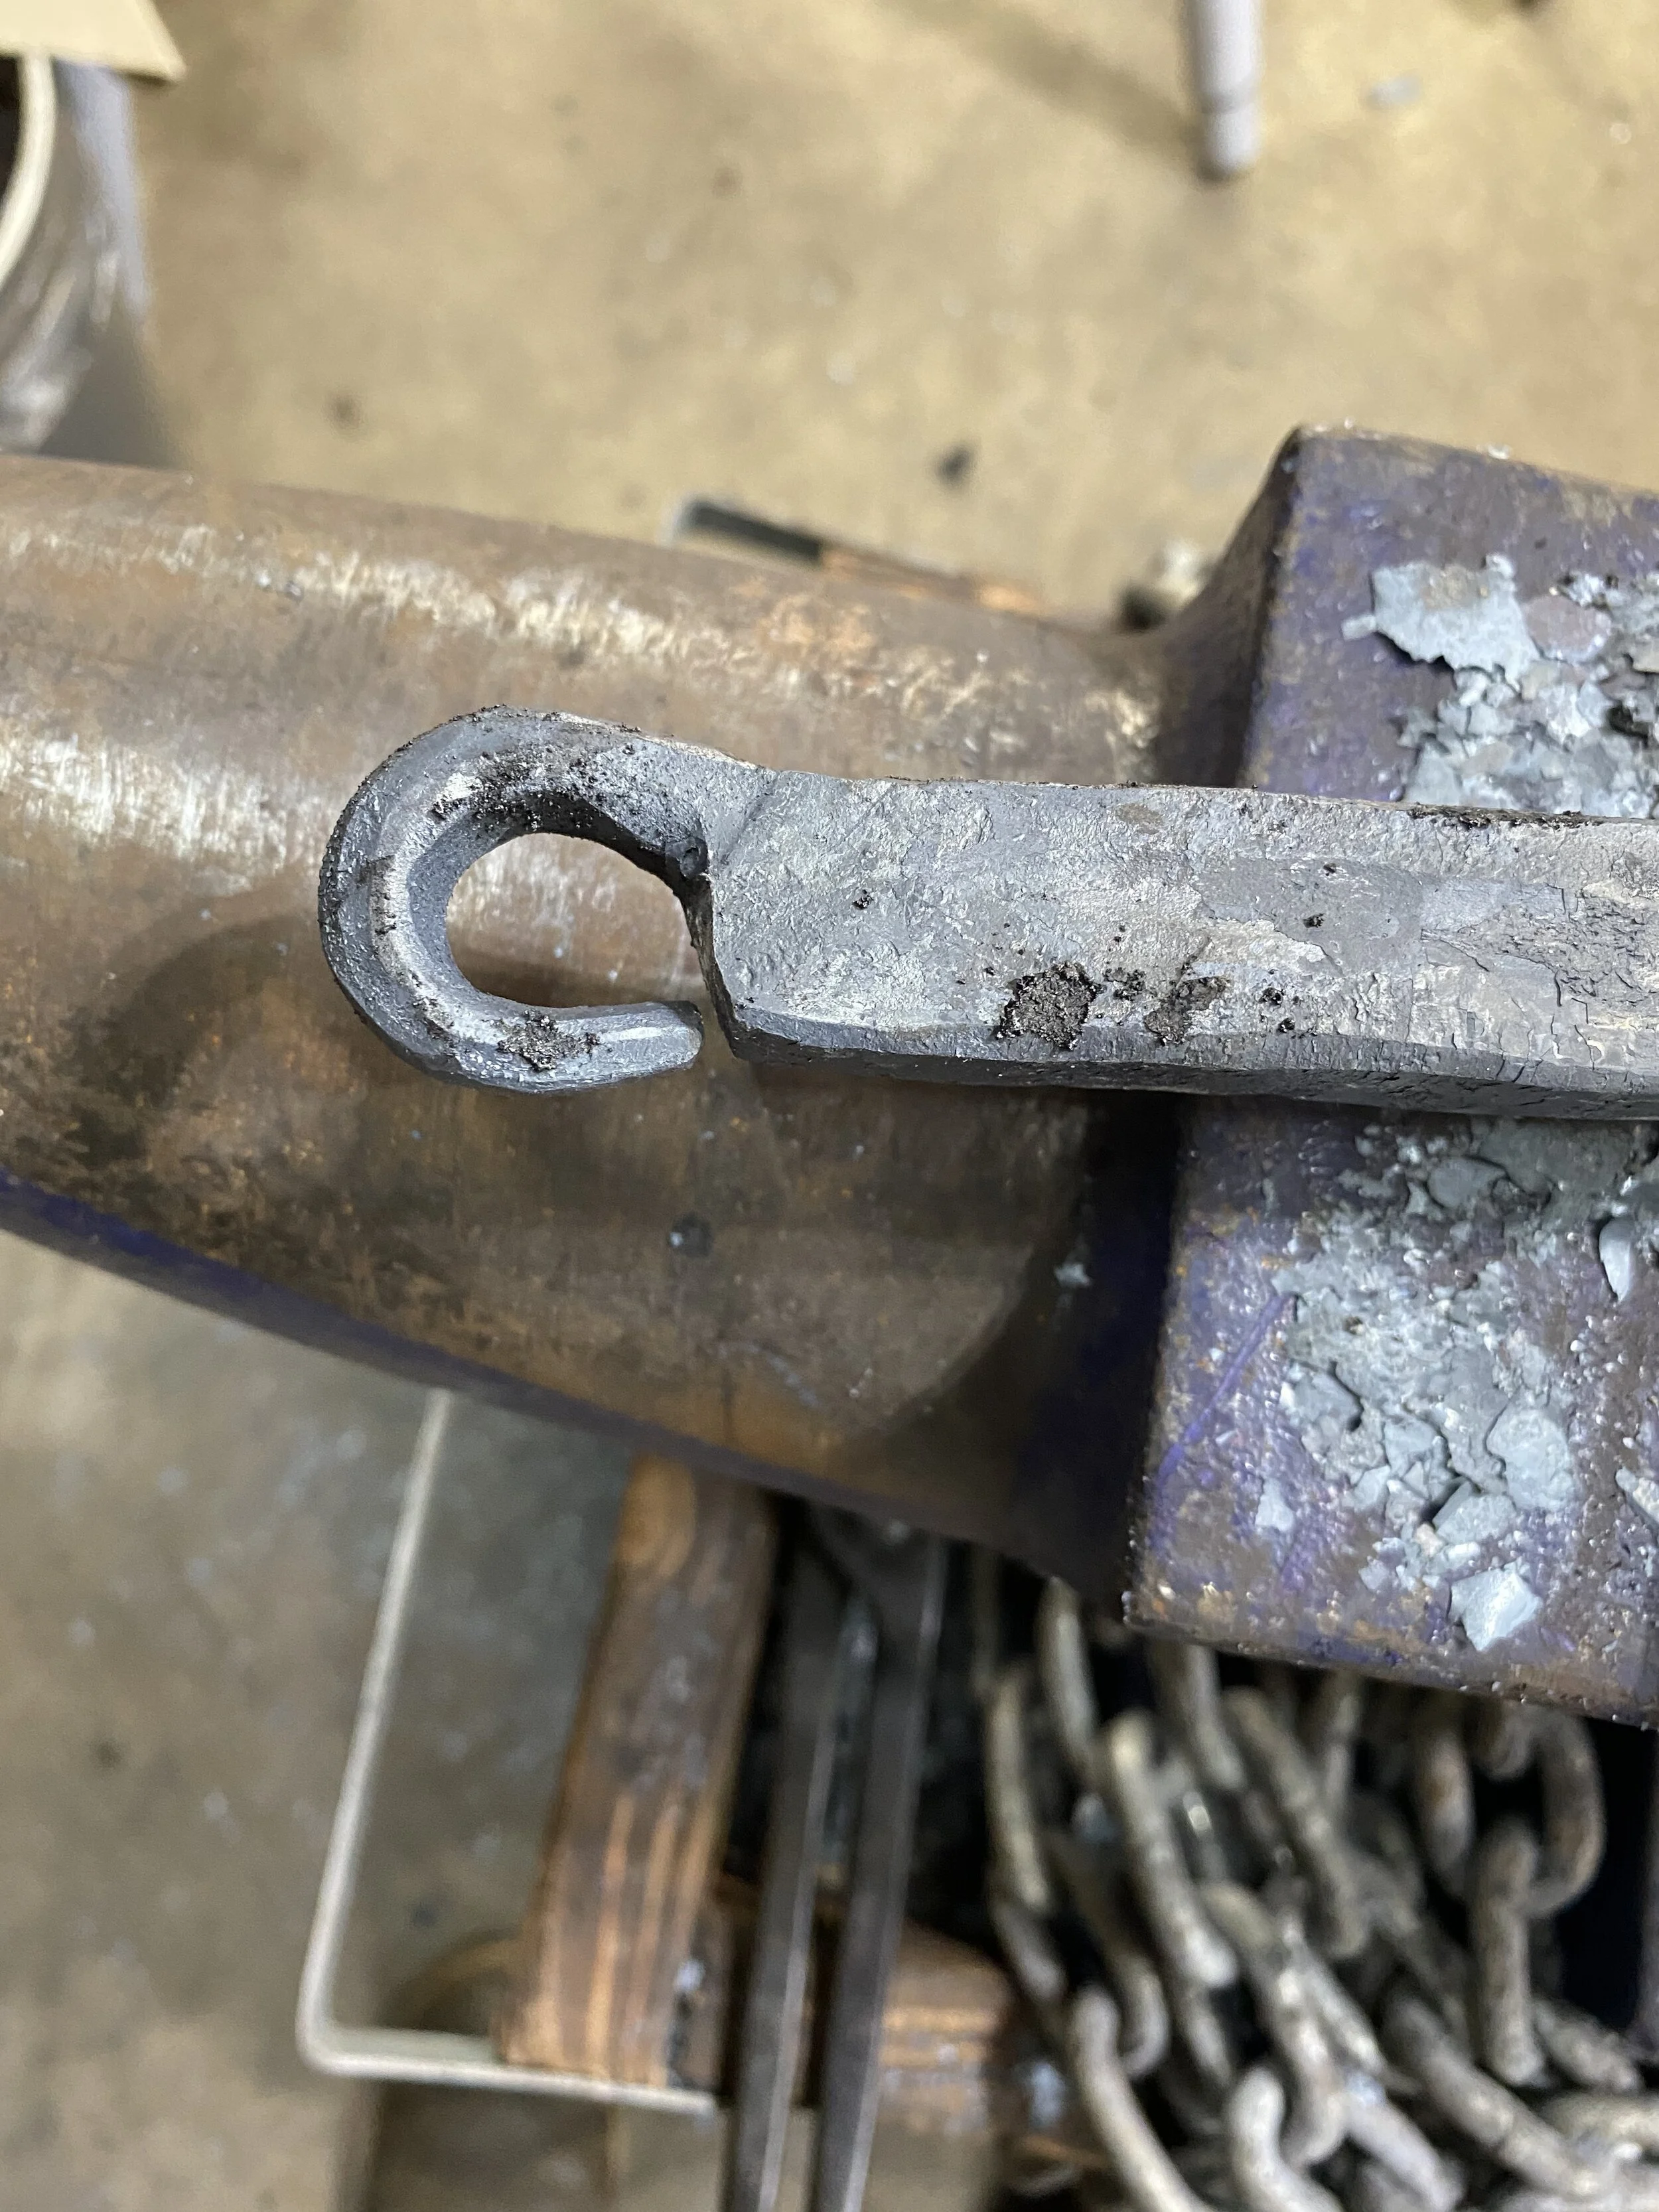
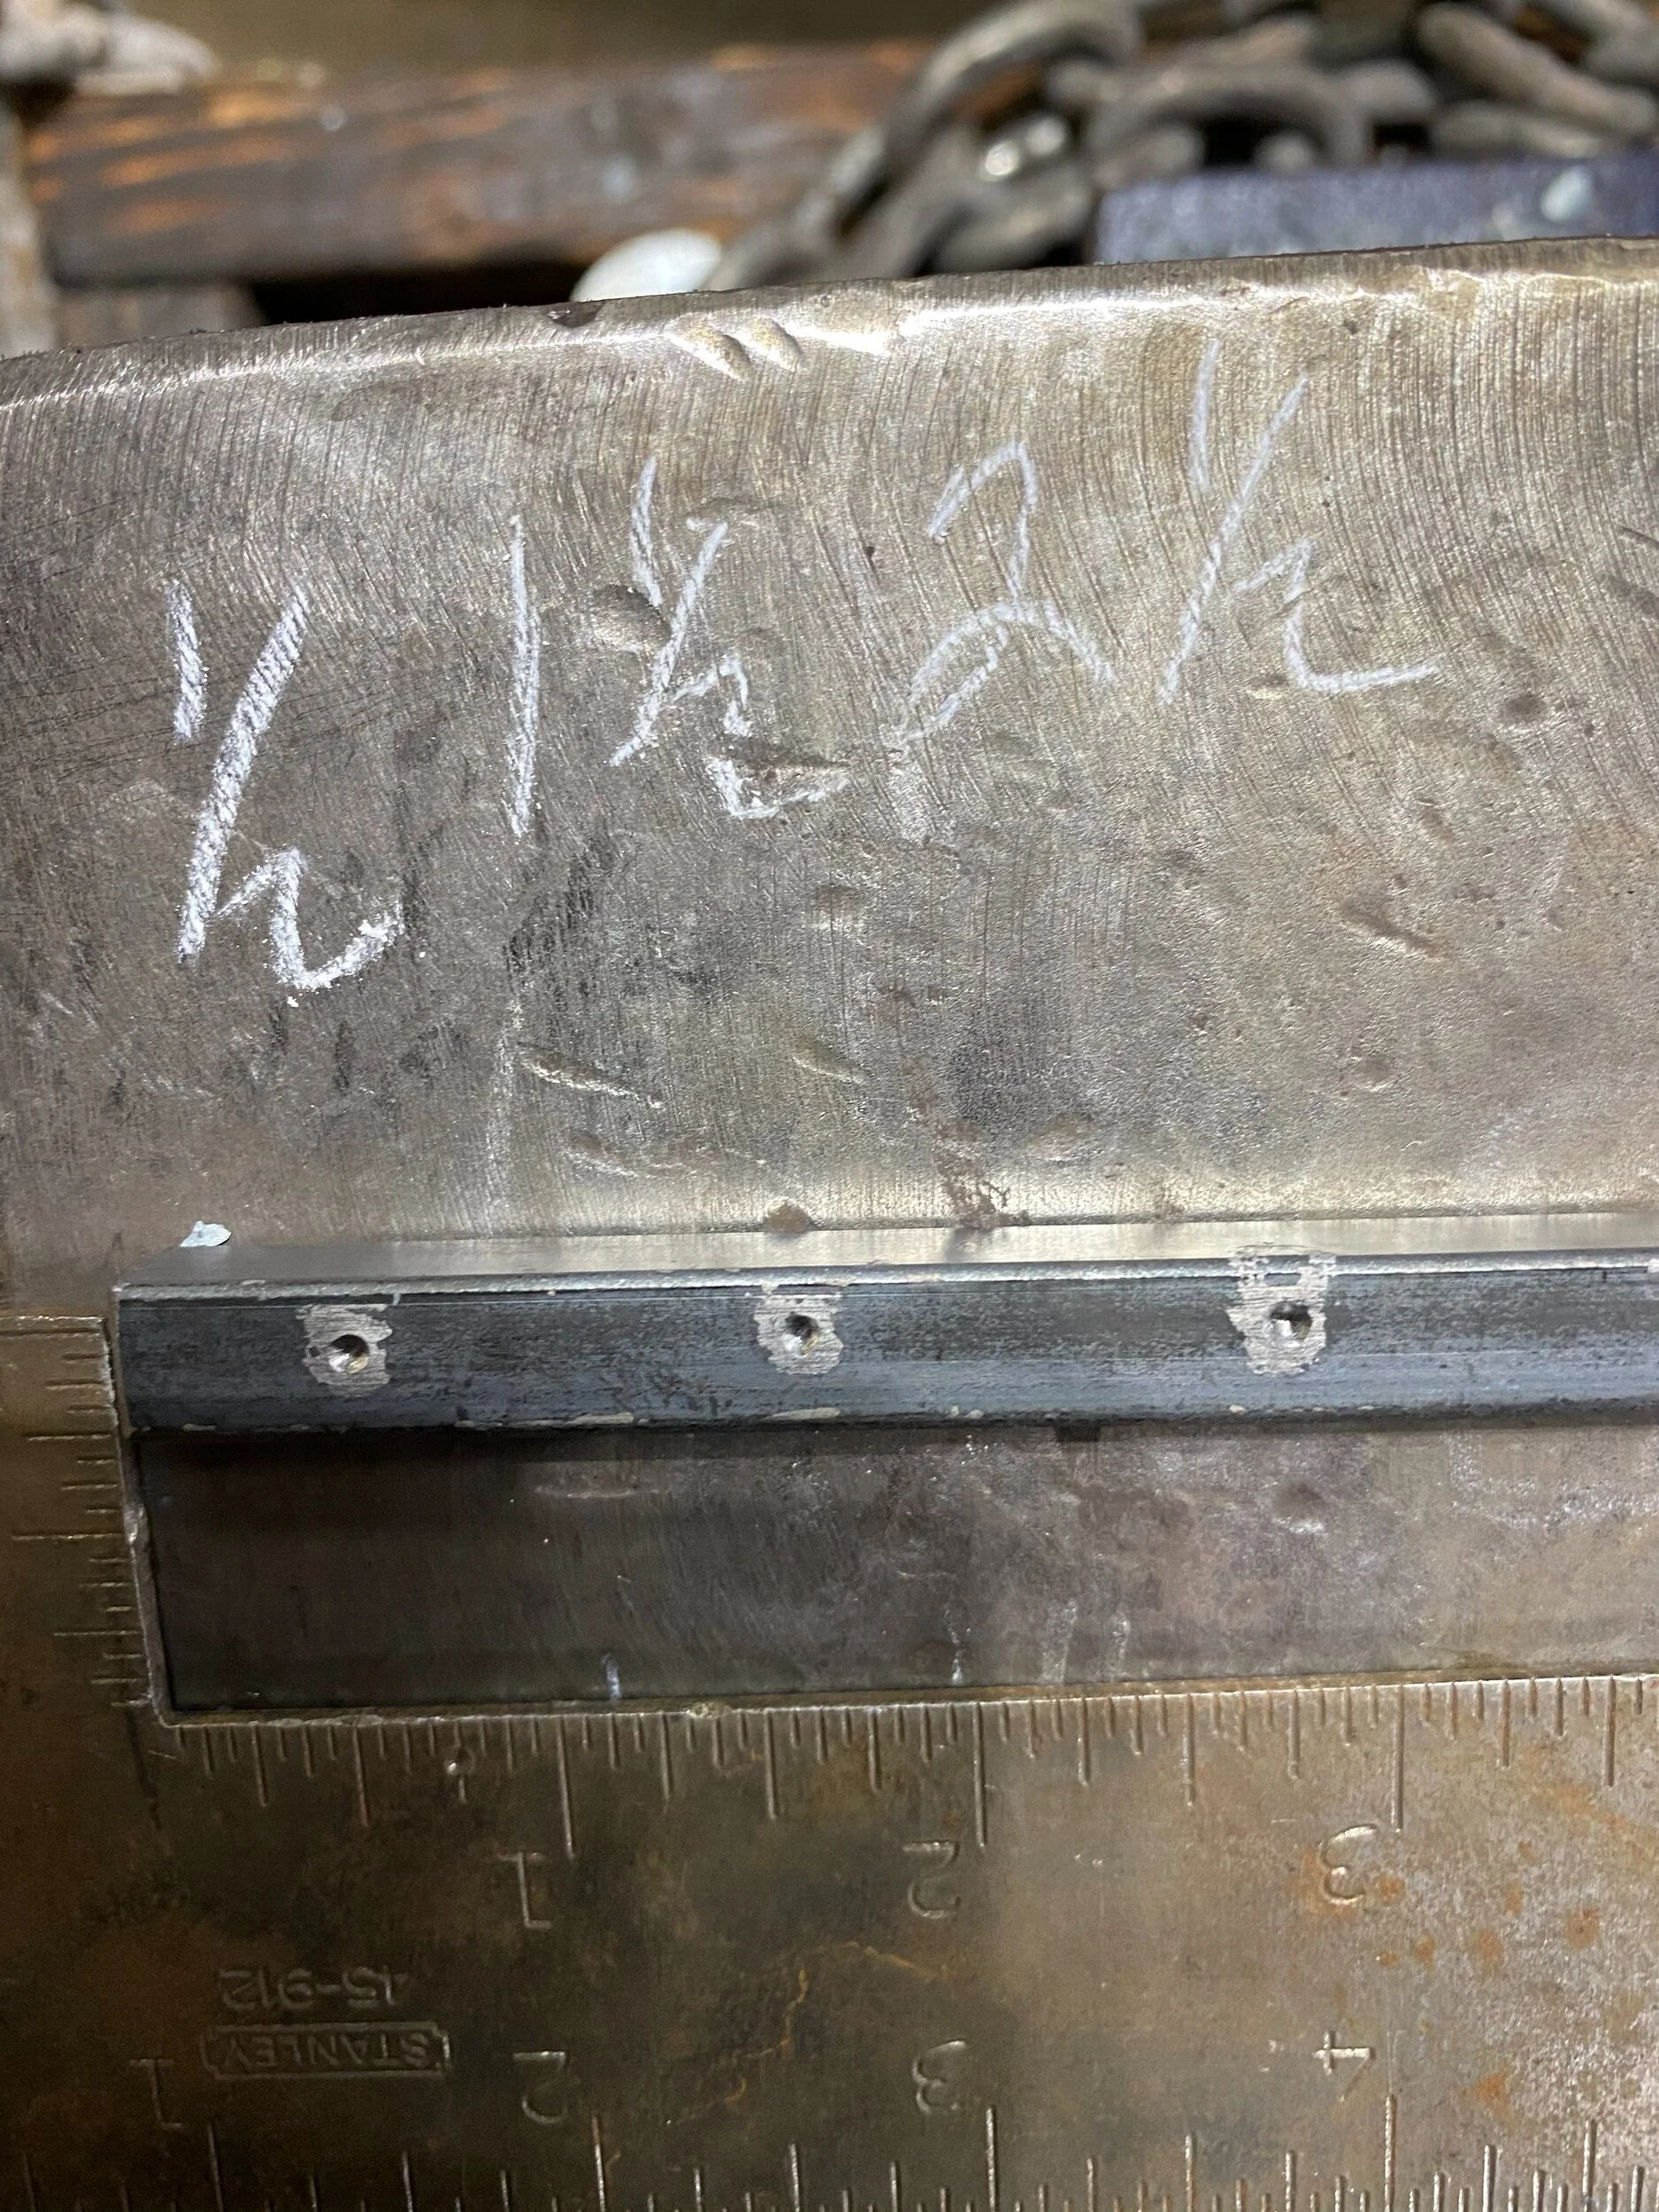
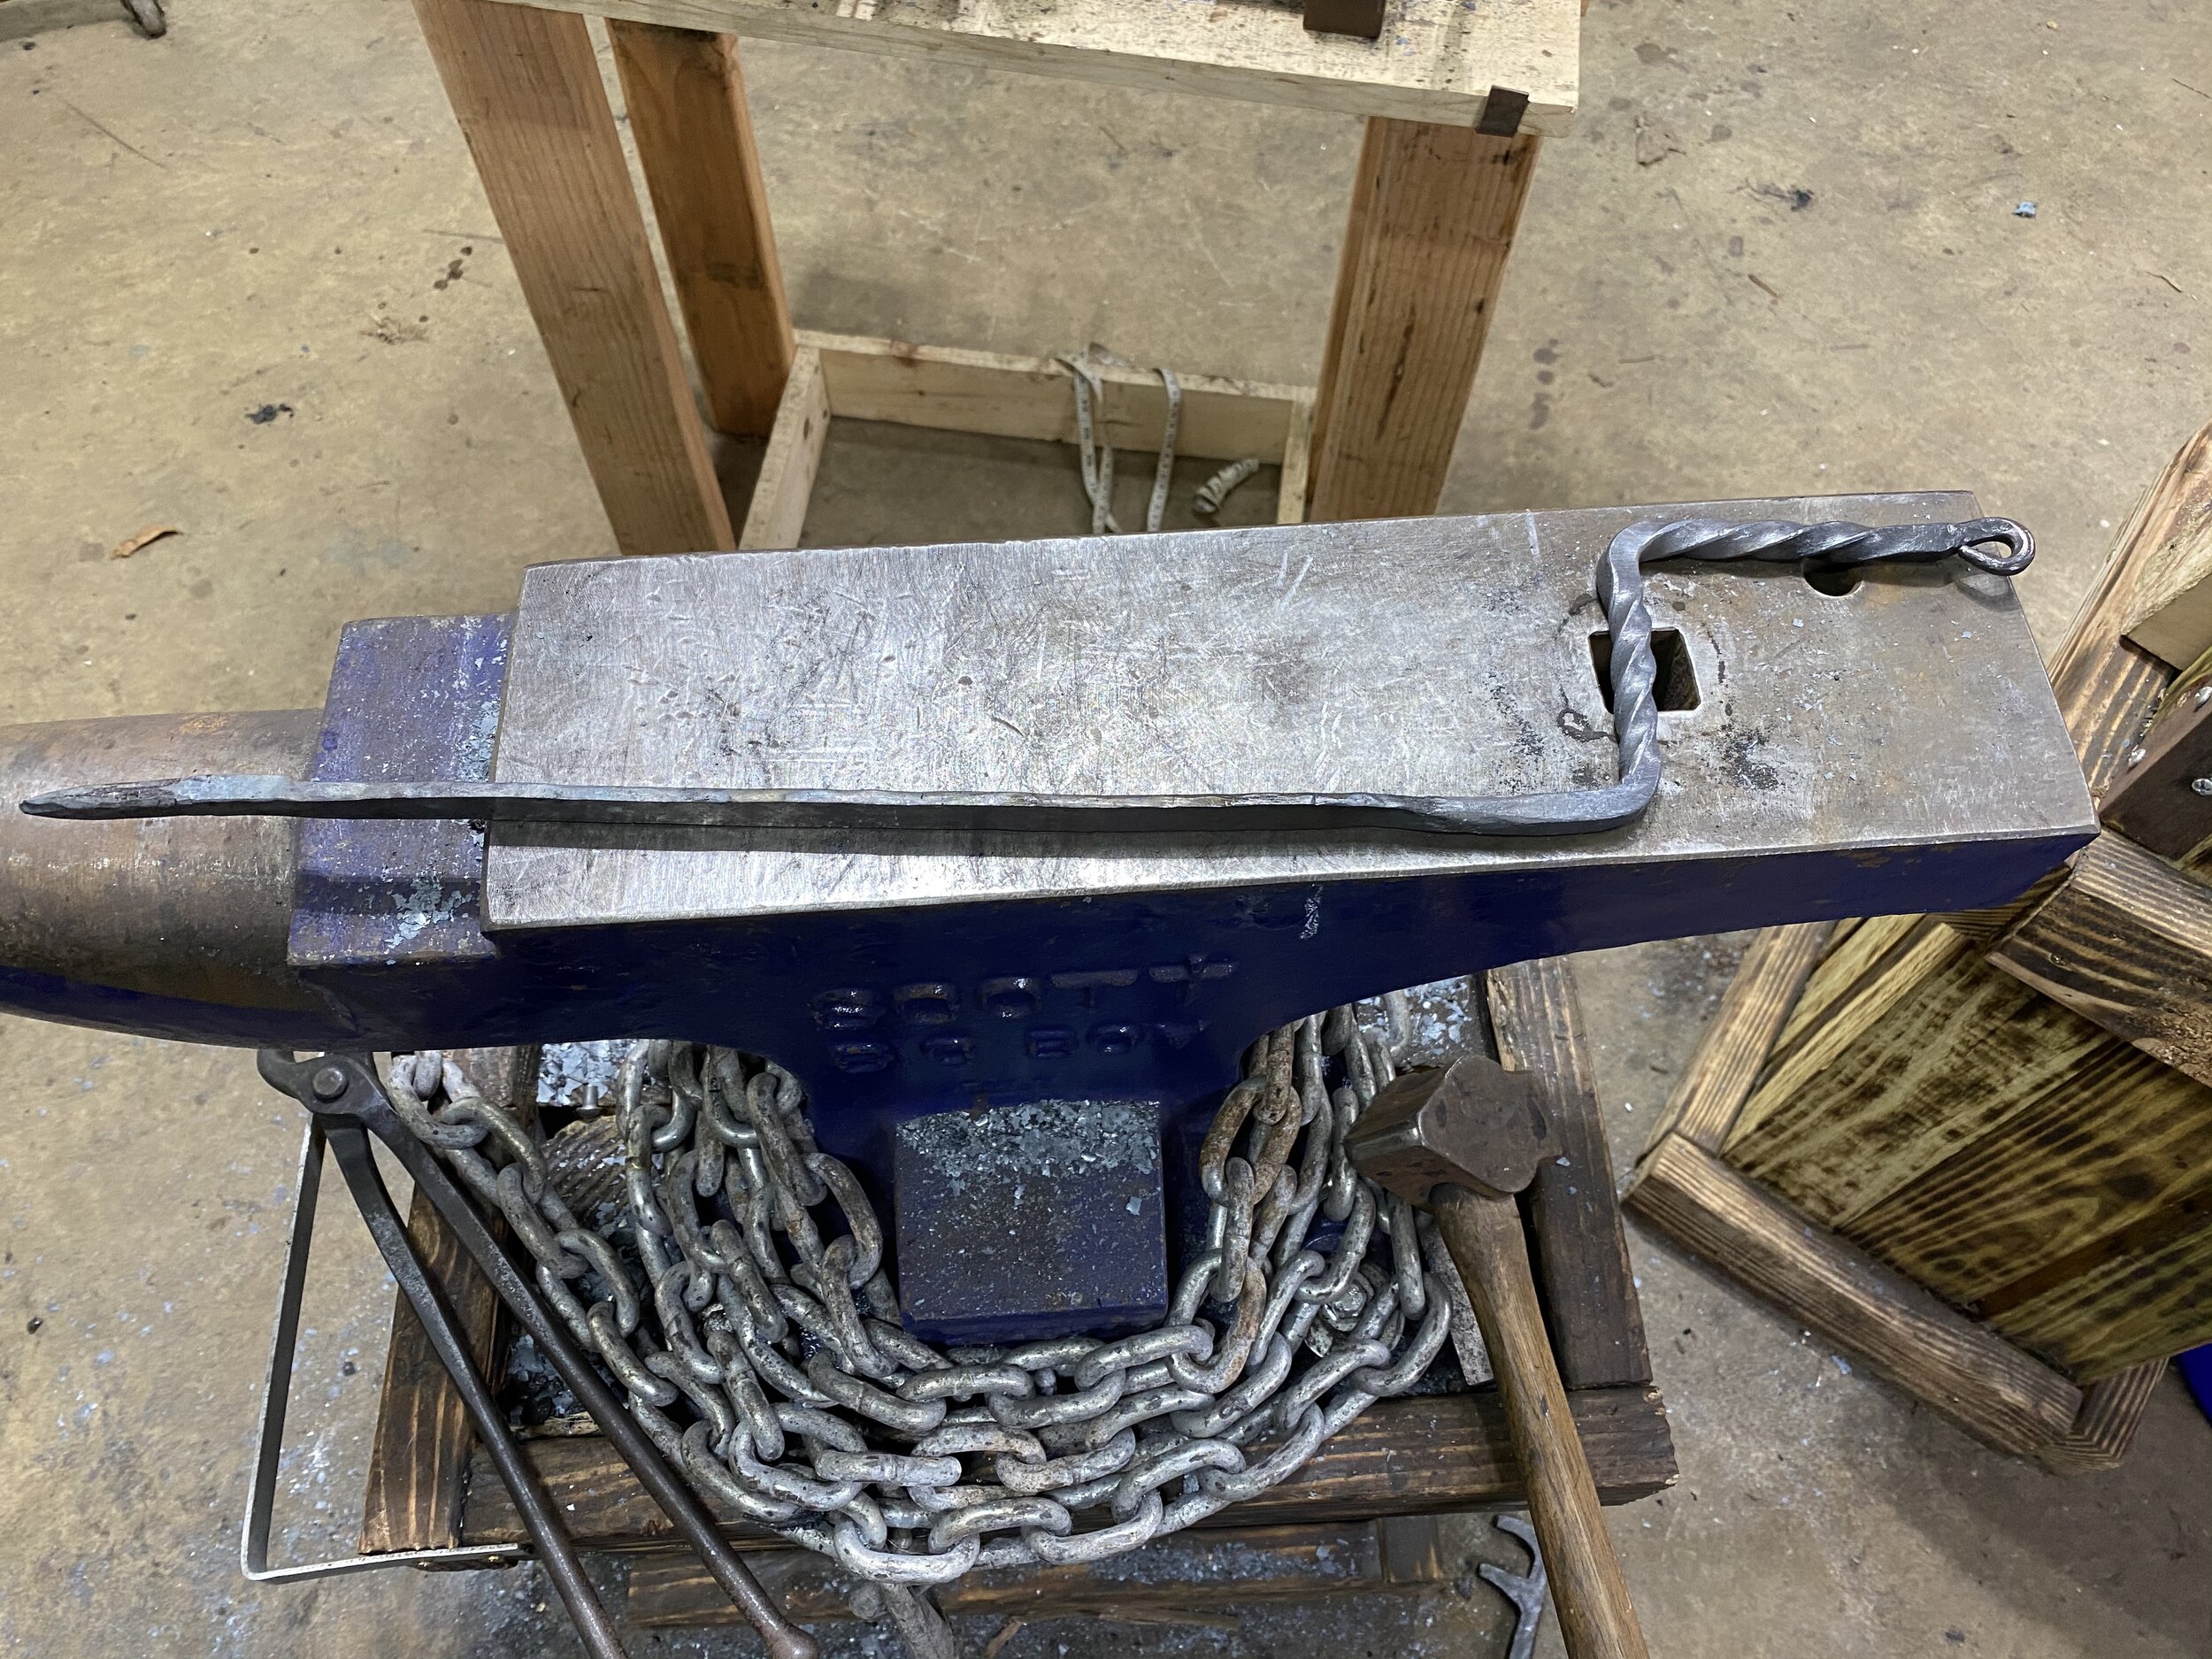
So the idea behind this spit was to have a square section to keep the spit from turning, a round section for easy turning. a flat section with 3 or 4 slots for spits to hold the bird and keep it from turning, the round and flat again and ending with a handle, and finally a hook om the end of the handle for hanging up when not in use. The order of operations were as follows:
Measure and mark for all transitions.
round and point end.
Draw down and out the flat.
punch the skewer slots.
put twists in for the handle.
Form eye on the end of the handle area
Bend the handle.
Make Skewers.


Ant now to try it on the Andirons:


Curtain Tiebacks
Did not take as many pictures of this project, as it will never have documentation written about it. Looking around the house, my wife decided that she needed curtain hooks for the curtains we have in the bedroom and the living room. And they needed to have horses. Happy god damn horses. (I have been accused of making all of my horseheads angry horses. They don’t look angry to me, but I’m not a horse person)


Well, this seemed right up my alley. The next chance I got (the following weekend) I set about making a prototype. My wife did not like how far from the wall most tiebacks stood out and so wanted a much slimmer profile. I thought that by making a swinging hook, this would allow it to lay flat when not in use. To this end, I built curtain hook 1.0. the first problem i found with this was the molding around the window got in the way of the hook, so the base needed to be turned further out. This worked and resulted in the prototype below:
The trouble with this design was once the holder was bent far enough for the hook to clear the frame, even folded it still sticks out to far. So the answer was to move it further away from the window so the holder did not need to stick out so far. In doing this, the size of the hook I had made was acceptable without folding. This meant that the tieback did not, in fact, need to fold. This led to prototype Curtain hook 2.0, a single piece hook with a leaf at the top and the other terminal needed a horse head, designed to sit at an angle and fit next to the frame:


This design was then approved by my wife and production began! For these I needed to make 10 hooks, or 5 sets. In order to get the leaves and horse heads as uniform as possible, I was going to assembly line the process. The first step would be the flat for the screws, then the leaf. This would be set aside and the next one started. This way I would do all the leaves at the same time.


This weekend will hopefully bring more pictures of the projects and maybe some finished hooks.
Thanks for reading, more soon,
Grimm